How to Install Hardwood Flooring

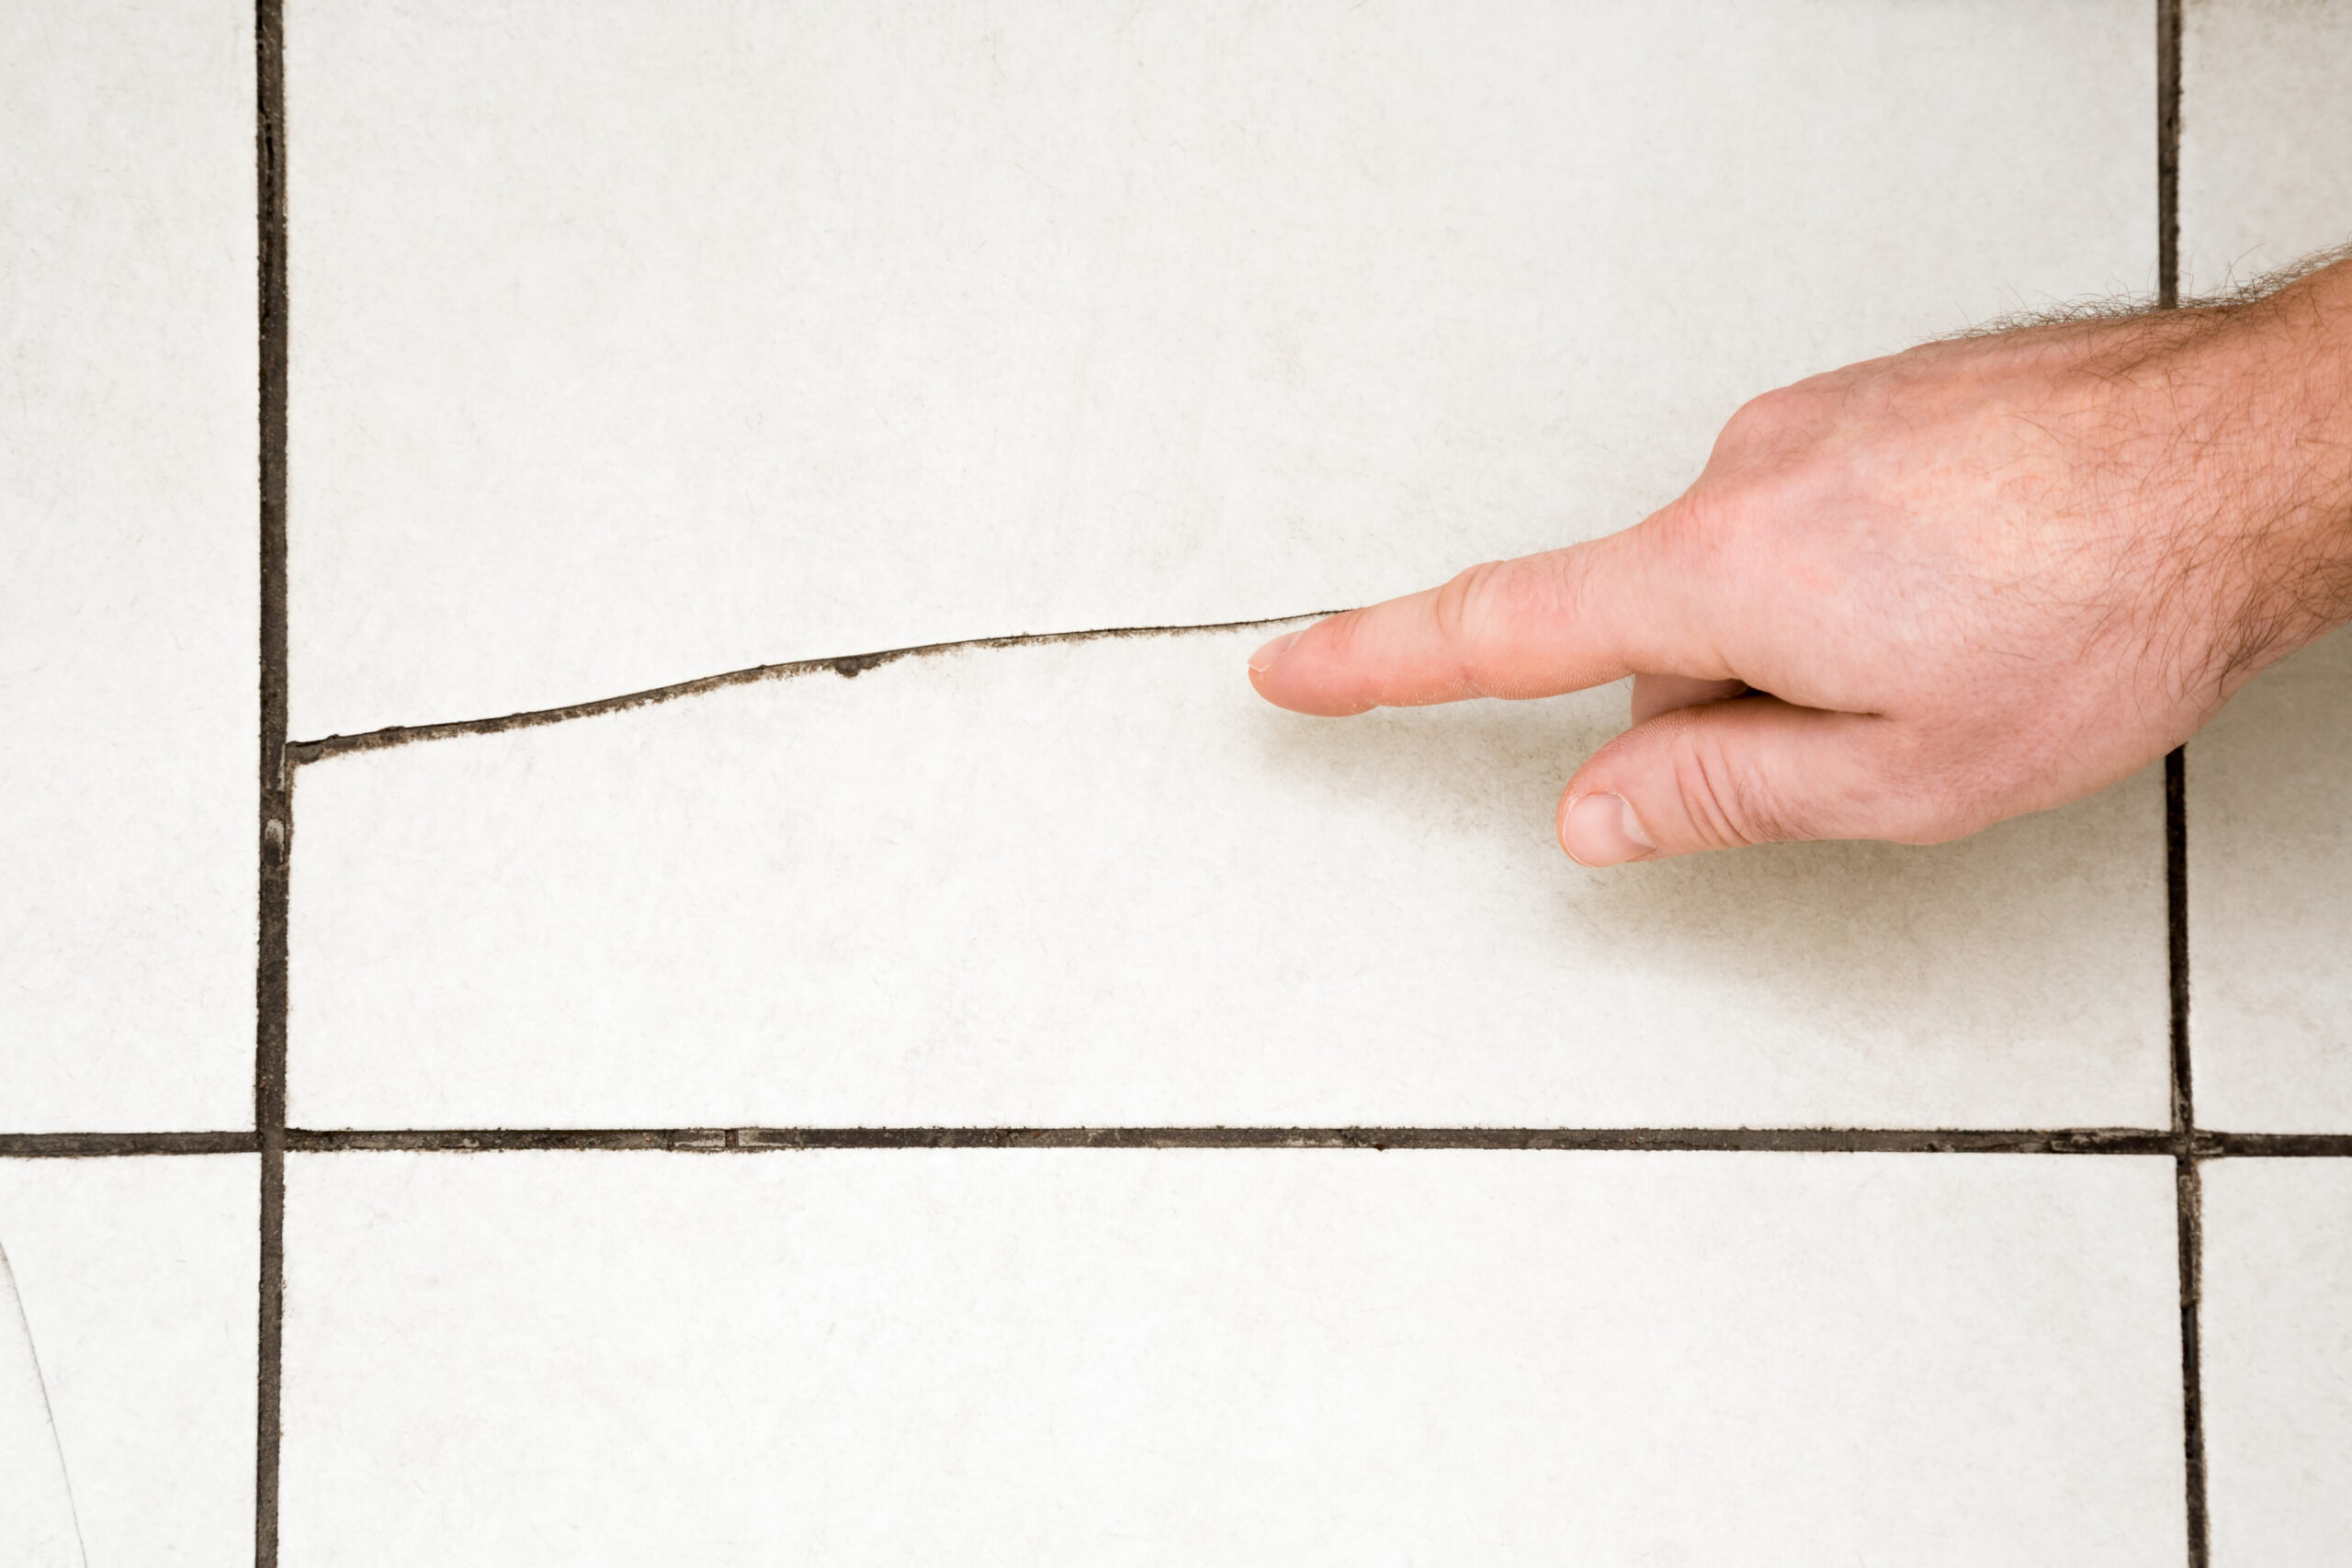
Hardwood flooring can add warmth and style to any room in your home, as well as increase the value of your property. This type of flooring is available in engineered and solid wood options, as well as in a variety of colours. If you want to install hardwood floors by yourself, there are several methods you can learn.

When installing hardwood flooring, there are three basic types of installation methods: nail down, glue down and click lock. The following steps will guide you through the installation process of hardwood flooring so that you can upgrade your home’s appearance without breaking the bank.

Choose Your Installation Method

The type of installation method you choose will depend on your subfloor, budget and the type of wood flooring that you select. For example, solid hardwood flooring is typically nailed down during installation while tongue-and-groove engineered flooring is either clicked together or glued completely in place.

There are three ways to lay hardwood floors so you should decide the method based on your skill level and budget.

  • Glue down installation is a popular option for engineered wood flooring because the pieces connect together and are glued into place.
  • Hardwood flooring is often installed with nails, making the finished product durable and sturdy. A wooden subfloor is required for this method of installation, so if you don’t have one already, then it will be necessary to either remove the existing flooring or create a plywood subfloor. This increases the cost of the project and may not always be practical.
  • Click lock installation is another method that can be used for installing engineered wood flooring. It involves clicking panels together, thereby making it impossible for moisture to penetrate through gaps between boards. This type of installation is often used in areas with cement or tile subfloors and radiant heat systems.

General Tips for Installing Hardwood Floors

Here are a few tips to keep in mind when learning how to install hardwood floors:

  • If possible, begin installing the flooring from the straightest or the longest wall perpendicular to the floor joints.  
  • Make sure you’ve got the right amount of flooring for your space. Most manufacturers recommend a standard cutting/ordering allowance of 5 % , and a cutting allowance up to an additional 10 % if installed on a diagonal surface. Hardwood flooring is sold in boxes so when you order make sure to round it up.
  • Install your flooring on or above grade and always follow the manufacturer’s instructions.  
  • Let hardwood acclimate in the room you’re installing it in for five days prior to installation. The recommended temperature of the room should be 18 to 24 °C (65 to 75 °F) and recommended humidity levels should be 30 % to 55 % .
  • Stack the flooring planks in a log, cabin style or just spread it around the room, but never lay it out directly on concrete. 
  • Most 3/4 inch solid hardwood flooring can be installed using nails or staples over a wood subfloor. Most engineered flooring can be installed using staples, full spread adhesive or a floating method over an approved subfloor. 
  • Make sure you have a sturdy subfloor: 3/4 inch CDX plywood is preferred, but 3/4 inch OSB will also work. You may use 5/8 inch CDX or grooved flooring if your existing wood floors are not up to standard for this application.
  • Often a floor will meet an obstruction such as a fireplace or counter. If so, use  miter boards to create a border that frames the obstruction. Then, align the boards so that the tongue or groove mates with the rest of the floorboards. Cut off the tongue if it is on the edge that meets the obstruction. Afterwards, install the rest of the floor as you normally would, fitting the pieces into the frame as you go. 
  • Safety is key. Protect yourself by wearing work gloves and knee pads while you install the flooring.
  • While most installation methods are straightforward, some methods, such as nail down and glue down may require professional hardwood flooring installation—especially if you’re not particularly skilled in a DIY project.

Prepare the Space

When preparing to install hardwood flooring, always refer to the installation guidelines for information specific to your type of wood and subfloor. Here are some general instructions we recommend following:

  1. Start by removing the baseboards, the old flooring and any residue in the room where your installation will take place.
  2. Make sure your subfloor is level and smooth. Sand down raised spots if needed and fill low spots.
  3. Mark the walls to show the location of the floor joints.
  4. Cover the floor with an underlayment or a moisture inhibitor, such as 15 to 30 lb asphalt-saturated felt or silicone vapor shield. Even if you have waterproof hardwood flooring, a moisture inhibitor will protect your floors and subfloors from both spills and water vapor that comes from the ground beneath the foundation. The underlayment will also help dampen the noise.
  5. To add strength, run the strip flooring perpendicular to the joints.
  6. We recommend measuring and snapping a line or using a string to guide installation of the first row. At each end of the starting wall, measure out the width of a floorboard, plus 1/2 inch for the expansion gap between the flooring and the wall, and make a mark. However, you can also use the longest, straightest wall as your guide.
  7. Lay out the boards in the order you will install them. Pros call this “racking the boards”. Flooring cases tend to be uniform in colour and, if you don’t rack them, you will create noticeable light and dark areas in the floor. Mix boards from different flooring packages to allow for greater shade and colour variation, along with random lengths.
  8. Make sure you finish the process by staggering the end joints, so they are sufficiently offset from the end of the board in the previous row by a minimum of 6 inches.

Nail Down Installation Method

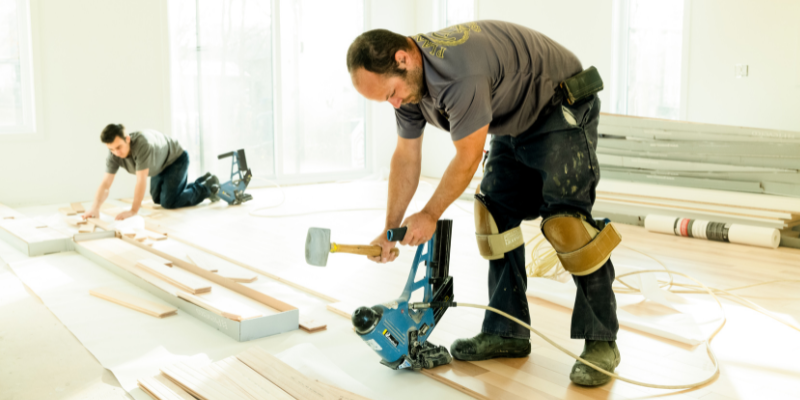
Installing hardwood floors using the nail down method is a popular choice because it’s less expensive than other methods of installation. The following steps outline how to install solid hardwood flooring with this technique:

  1. Use a 3/4-inch spacer to place the first board against the wall, with its tongue facing into your room. Align it along your layout line.
  2. Drill pilot holes along the edge of one board and put them 6 inches apart, 1/2 inch from the face that will be attached against a wall. Drive 6d or 8d flooring nails through the pilot holes. 
  3. Drill additional pilot holes through the tongue at a 45-degree angle, spacing them as directed by the manufacturer’s specifications.
  4. Seat the tongue and groove of each board into its adjoining board, then force them together to form a tight seam with a tapping bloc and an hammer.
  5. Once you’ve nailed down one row of boards, move on to the next until you reach a wall.
  6. Cut the last board to fit, leaving a 3/4-inch gap for expansion. Then nail it into place.
  7. Place the first board of the new row (cutting it if necessary) by ensuring that its end is offset from the end of the board in the previous row by at least 6 inches.
  8. Using a 3/4-inch spacer as a guide, press the end against its neighbour.
  9. Drill pilot holes through the tongues, then nail and countersink them into place from the underside of each board.
  10. Once you have installed two or three rows of boards, there will be enough space between the wall and the board that is being placed for a flooring nailer.
  11. Position the nailer so that it will drive a nail through the tongue of your workpiece. Strike with a mallet to shoot the nail through.
  12. Work across the room, row by row, nailing boards through their tongues into the subfloor. Be sure to leave a gap of about 3/4 inch between each board and the wall. Then, drive a nail through each tongue of each board as you go. Space out the ends of adjacent rows by 6 inches and add more cases if necessary.
  13. The flooring nailer is difficult to use as you approach the opposite wall. When you can no longer swing the mallet, begin drilling pilot holes for face-nailing. Nail down each board after it is placed, but only when all boards have been laid down.
  14. You will probably have to trim the boards at the end of the last row to make them fit. Measure and subtract 3/4-inch for expansion gaps, then cut as necessary.
  15. On a table saw, cut the boards to width and place them.
  16. Use a scrap of wood to keep the boards in place, and drive nails into them as needed.
  17. If you see any noticeable holes, fill them with wood filler.
  18. Install the baseboard and shoe moulding to cover up gaps between the wall and floor.
  19. Make sure that the lower edge of the baseboard is even with the top of your floor, then nail it into place.
  20. Be certain that the shoe moulding is nailed to the baseboard and not directly to a floor or subfloor. Install threshold or transition strips where the edge of the floor is exposed.-

Pro Tip : For a nail down installation, the first and last rows of the boards must be nailed through their faces. All other boards are nailed at their tongues, only drilling holes 1/32 inch in diameter for each nail near the edges will minimize splitting problems caused by face-nailed boards.

Click Lock Intallation Method

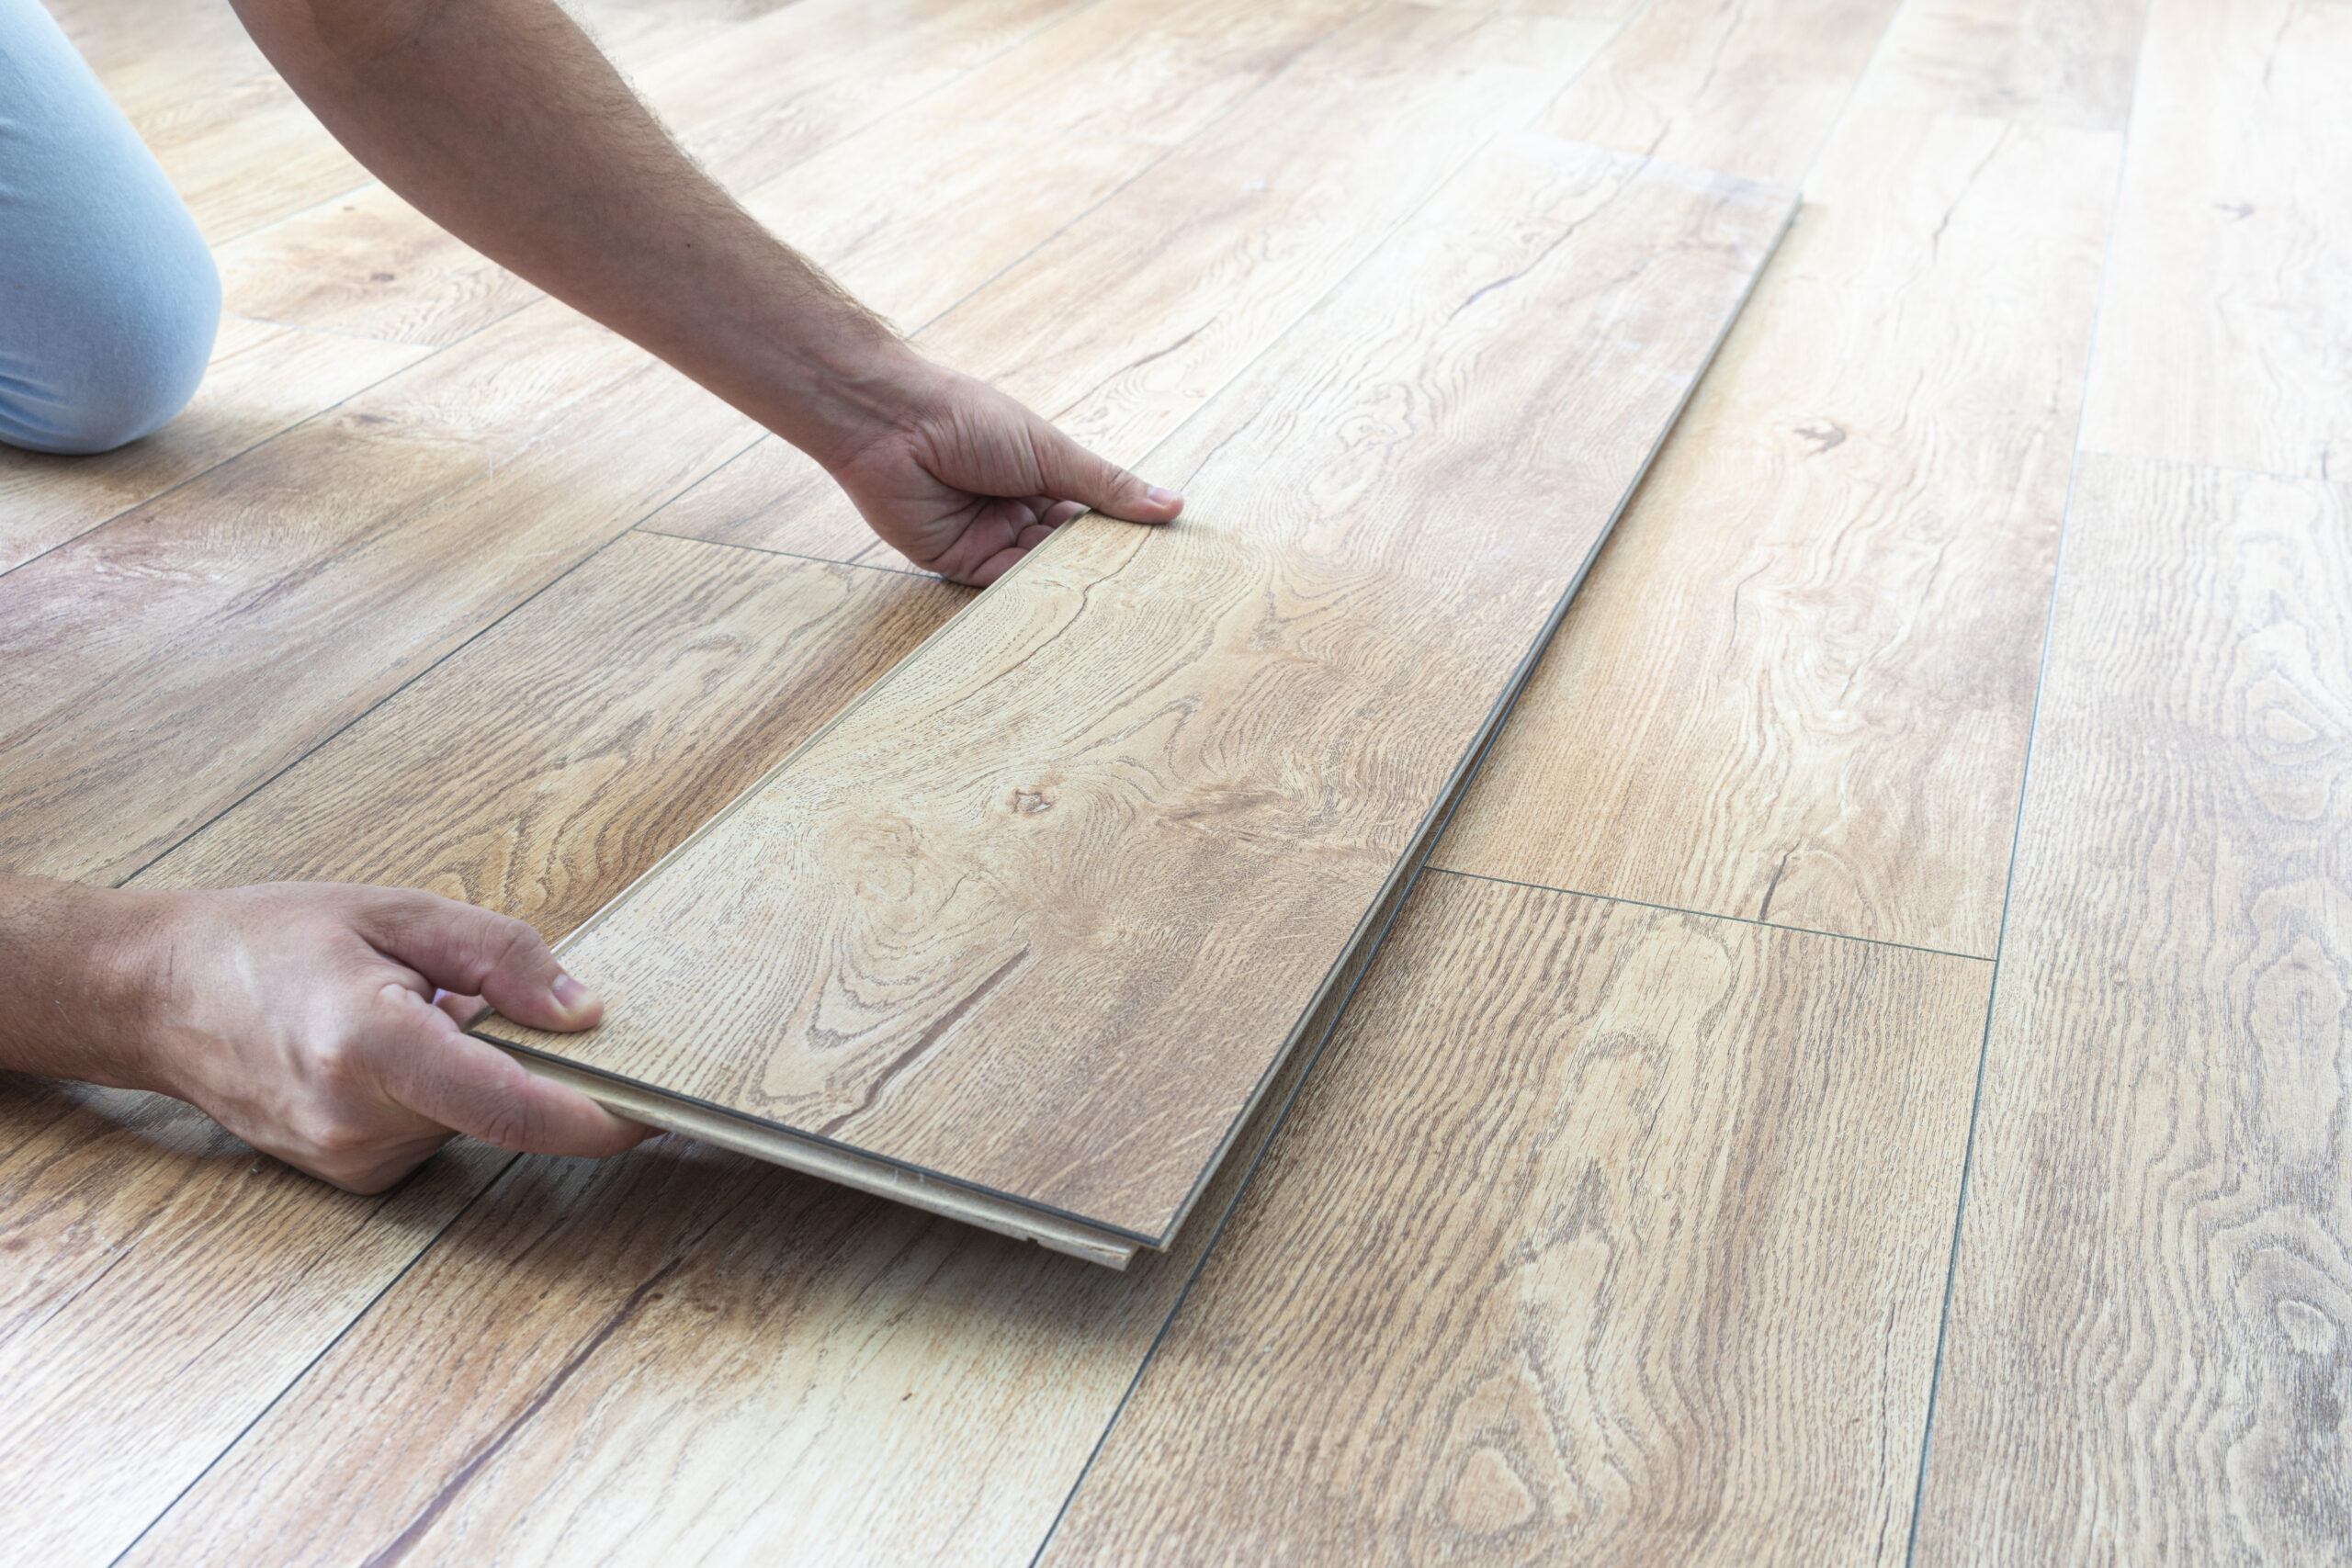
For those who do their own home improvement projects, click lock hardwood flooring is an attractive and well-liked choice. The first row of boards only needs nails. Here are step-by-step instructions on how to install it:

  1. Leave a gap of 1/2 inch with spacers between the wall and the first row of planks to allow for expansion.
  2. Place the first board against the mason’s line with its groove side facing the opposite wall and position one 1/2-inch spacer against each wall and slide the end of the board up against those spacers.
  3. When drilling pilot holes, use the manufacturer’s instructions as a guide for how far apart and how close to edges of walls nails should be placed.It’s safe to space nails every 4 to 6 inches and 1/2 to 1 inch away from the edge against the wall.
  4. Drive the nails through the pilot holes, then set them below the surface by driving them further into place.
  5. Place the upper drop-lock end of the second plank on top of the first one. It does not click lock, so you will have to keep a straight edge along your row as well.
  6. With a table saw, cut the last board of the row and leave a 3/4-inch expansion gap with the wall.
  7. The next step is to install the remaining rows. Start by cutting a section of the first plank lengthwise so that joints are staggered by 6 inches.
  8. Face the previous row, holding the plank at a 30-degree angle with the tongue facing the previous row and insert it into the groove.
  9. Press your tongue firmly against the groove as you slide the plank. Keep this pressure while pressing down to lock in place and seal off any spaces between edge joints.
  10. To line up edge joints, use a tapping block and plastic mallet to knock them into alignment. Whenever possible, protect your board from physical damage.
  11. Cut the last row to width, leaving a 3/4-inch expansion gap on each side of it.
  12. To cover up the expansion gap, install the baseboard and shoe moulding

Glue Down Installation Method

Glue down hardwood flooring is a good choice for concrete floors, as it doesn’t require using an extra vapor barrier—which many budgets find attractive. Here’s how to install hardwood flooring using the glue down method:After the floor has been prepped, spread adhesive evenly over three to six rows of your pattern using a trowel. Wait about an hour for the glue to dry before moving on with installing hardwood floors.

  1. After the floor has been prepped, spread adhesive evenly over three to six rows of your pattern using a trowel. Wait about an hour for the glue to dry before moving on with installing hardwood floors
  2. Spread the glue by tilting your trowel at a 45-degree angle and working in small sections.
  3. Next, lay the first row on the starting line. 
  4. Cut the last board of the row to fit using a table saw, leaving a 3/4-inch expansion gap.
  5. Once you’ve set the second row into place, tap it gently with your rubber mallet to ensure that each groove is fully seated onto the first row’s tongue.
  6. Use spacers to help maintain the expansion gap. 
  7. Tap any rows in place with your rubber mallet to make sure the rows of flooring are flush against one another.
  8. For engineered hardwood flooring, match the ends and push into place.
  9. It is best to trim the width of each board in the last row so that they fit snugly. Measure carefully and subtract 3/4 inch for expansion space.
  10. Cut the boards to width on a table saw. Put the boards in place.
  11. Install the baseboard and shoe moulding to cover the expansion gap.
  12. Install the threshold or transition strips in place where the edge of the floor is exposed.

In Summary

With the right tools and preparation, you can learn how to install hardwood flooring quickly and easily. Now that you’re familiar with all the install methods, you can choose which types of hardwood flooring will work best for your project. Estimate your hardwood flooring cost with FloorBox customer service. If you have a small flooring project, consider renting tools to get it done. It’s only one-time use so there’s no maintenance or storage involved.

The Essentials for Your Project

Working gloves
Buy
Mallet
Buy
Tongue & Groove Adhesive
Buy
Knee pads
Buy
Floor Nailer & Stapler
Buy
Trowel
Buy
Moisture inhibitor
Buy
Wood Nails
Buy
Plastic Spacers
Buy
Tapping Bloc
Buy
Adhesive for Wood Flooring
Buy
Previous slide
Next slide
Genouillère blogue1

Knee pads

liquid vapor blogue

Moisture Inhibitor

blogue hardwood

Floor Nailer & Stapler

Truelle blogue

Trowel

Maillet blogue

Mallet

Glue blogue

Tongue & Groove Adhesive

nail blog

Wood Nails

blogue espaceur

Plastic Spacers

colleeee

Adhesive for Wood Flooring

Taping block

Tapping Bloc

glovess

Working Gloves

Share: