If your laminate flooring isn’t completely outdated or destroyed (bowing in the middle of the room, for example), it may be possible to repair it rather than rip out and replace with new. Repairing laminate is generally quick and easy. If the damage is significant, you might want to replace your flooring altogether, which would be more expensive but not necessarily hard.
Should You Repair Laminate Flooring?
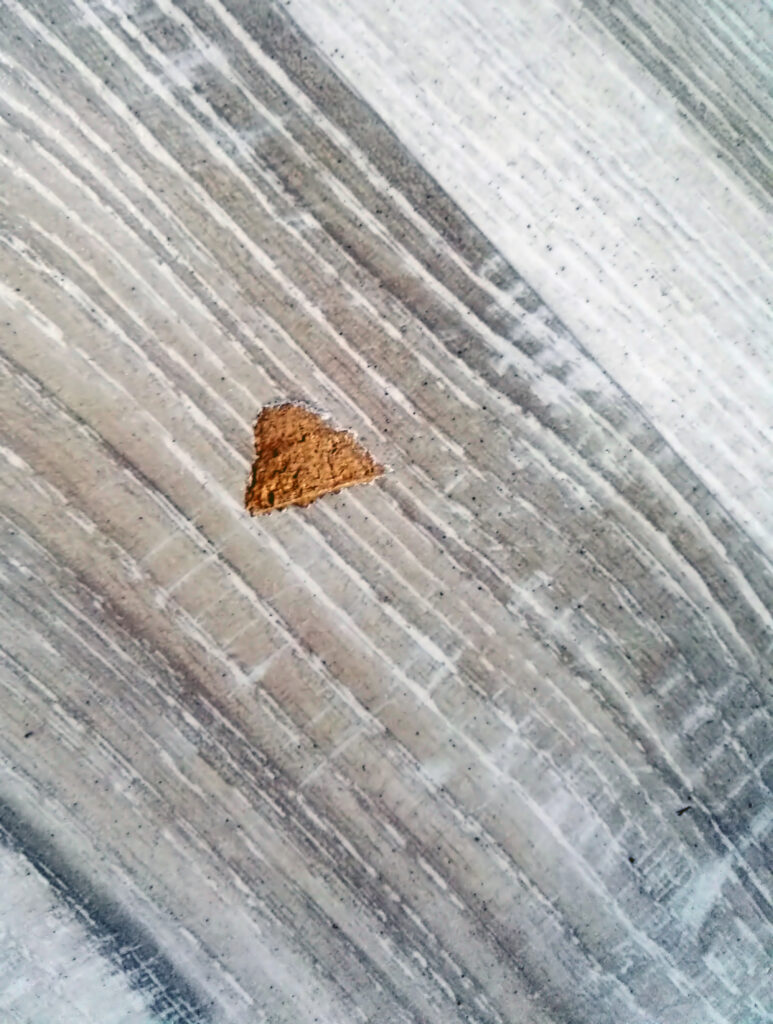
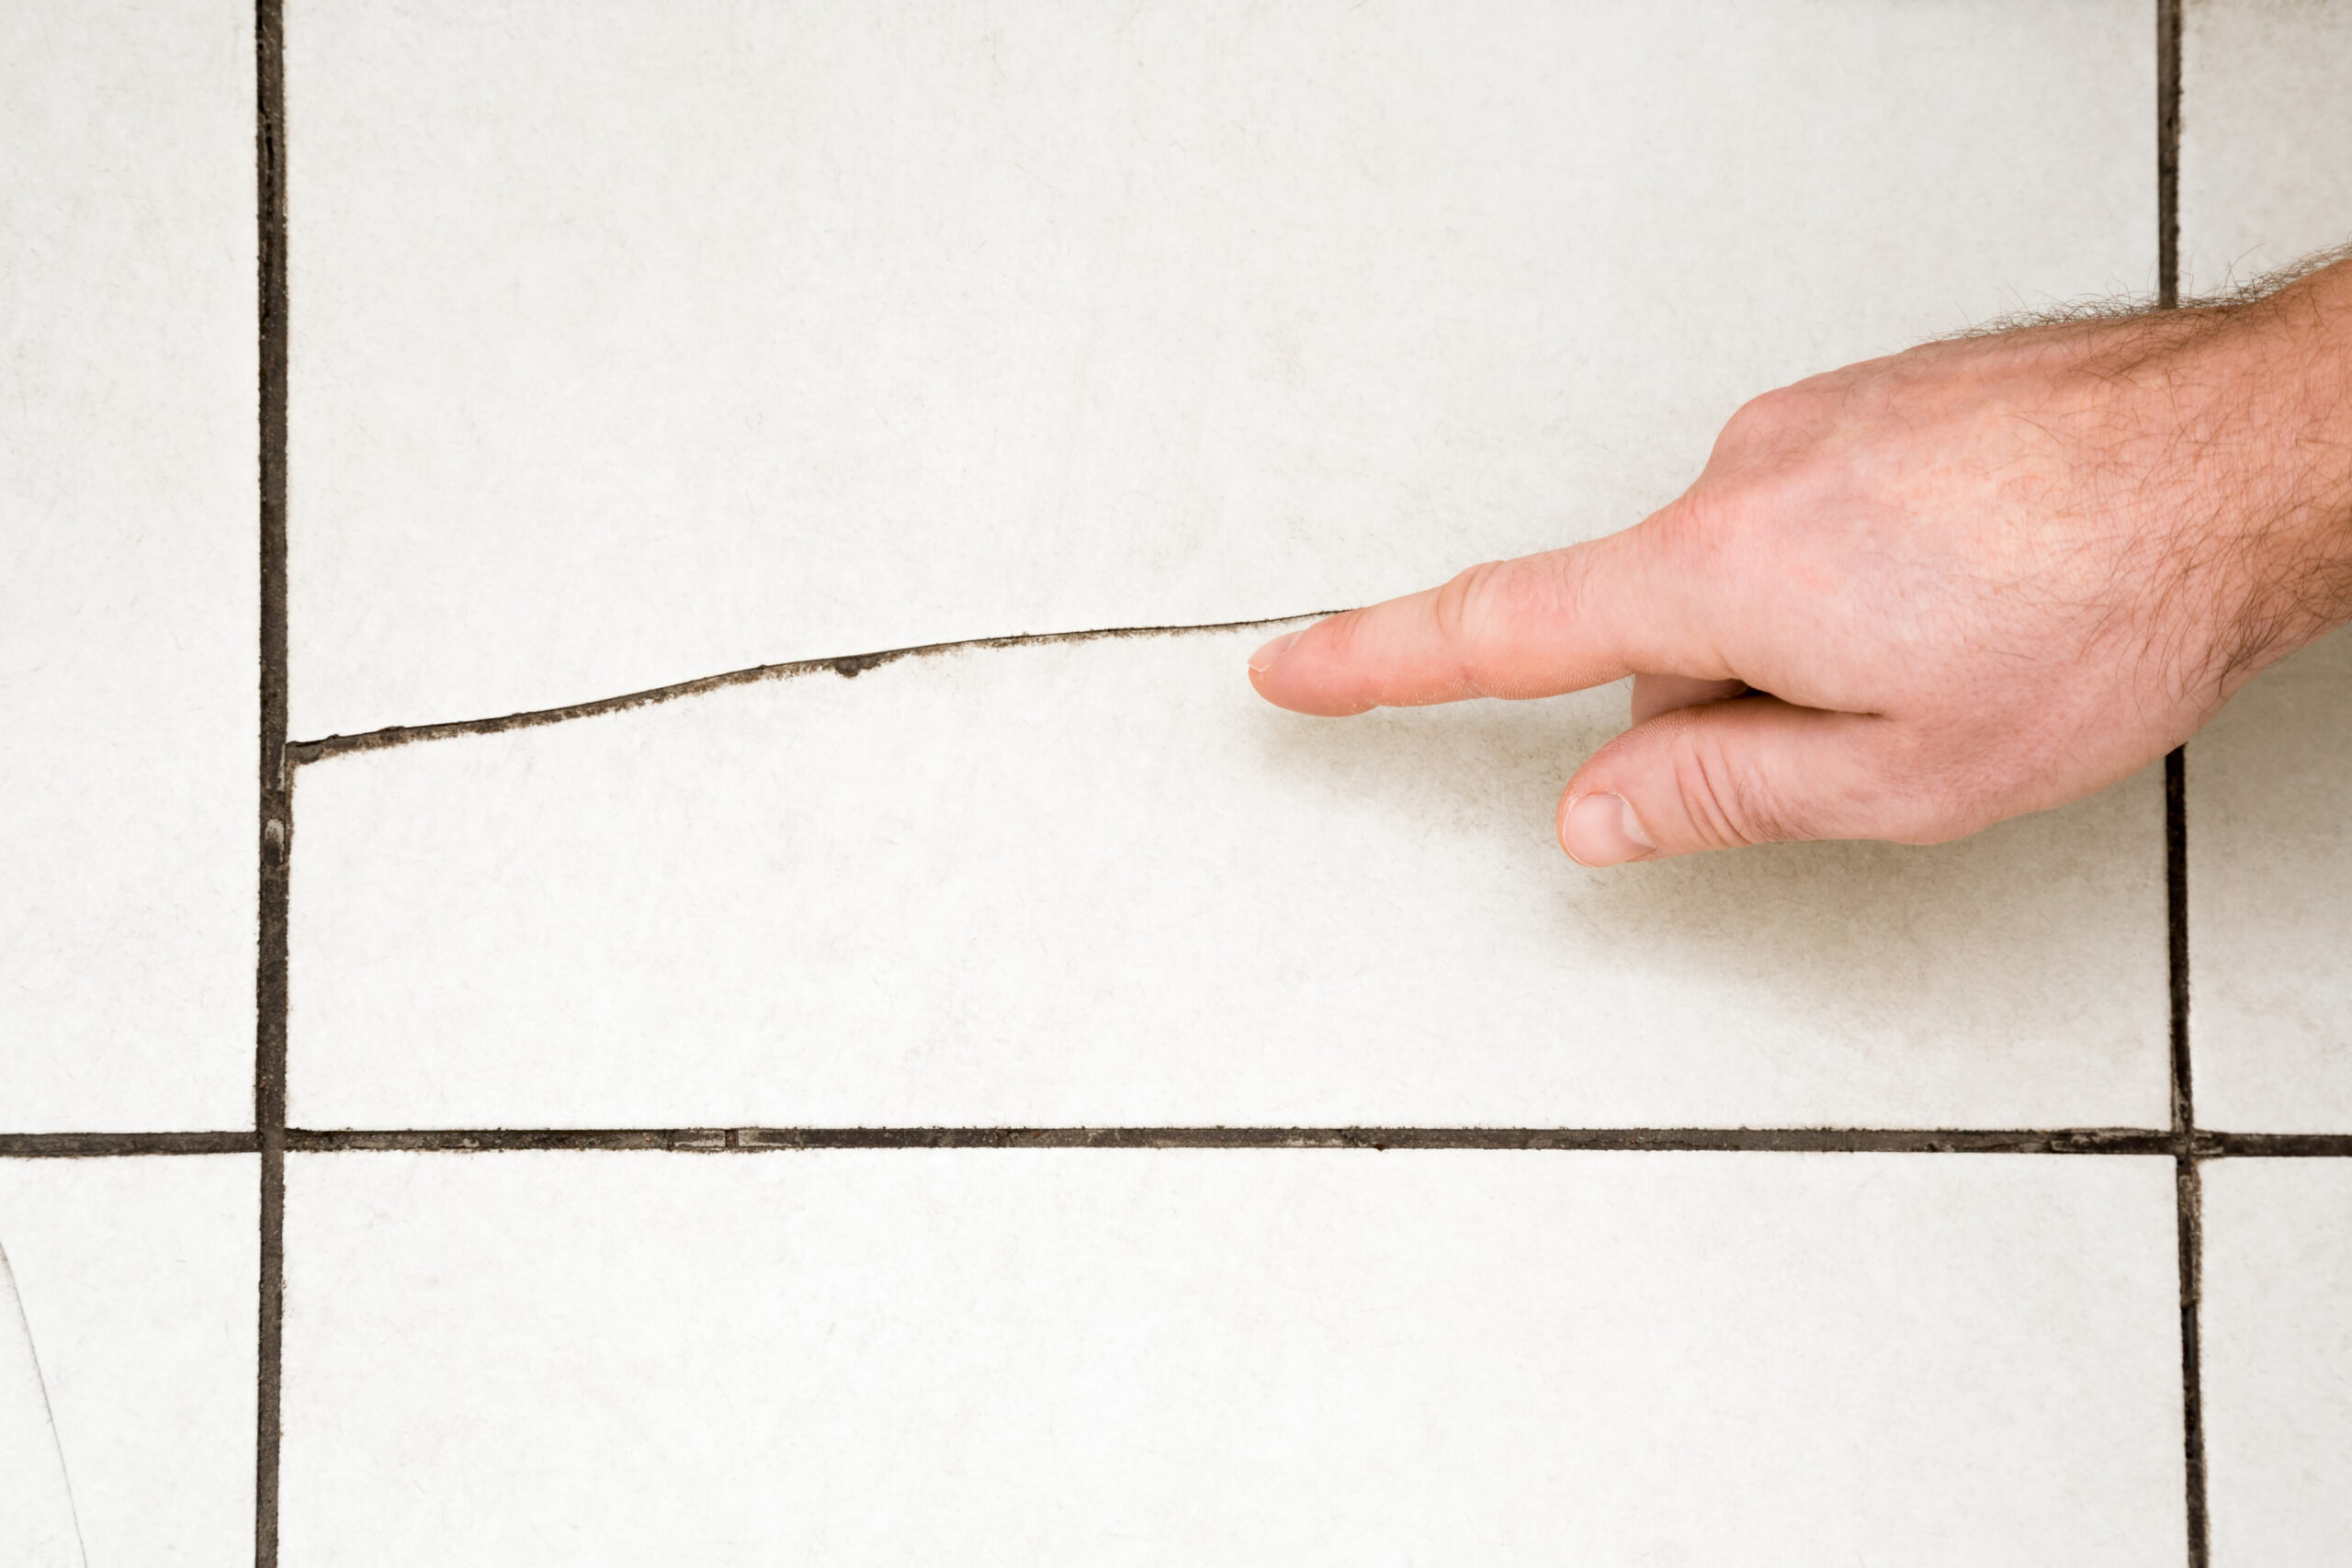
The best time to replace a damaged plank is when the damage is substantial enough that you can see it on the surface of your laminate flooring. Bowing or curled edges and raised spots on a floorboard may indicate water damage, and replacing only the damaged area of your floor is usually possible.
It is possible to correct minor damage to laminate flooring without having to replace any of the planks. Repair kits can be used on shallow scratches, and a stain and clear finish can be applied if the whole floor seems dull.
Safety Considerations
Always wear shatterproof eye protection and a tough pair of gloves when working with power tools or sharp edges. You should also be careful not to cut yourself on the sharp edges of broken laminate pieces.
Step 1: Decide to Repair or Replace
Some repairs are less time-consuming and expensive than replacing the entire floor, but if you feel like it’s time for a change and have some extra money lying around—go for it!
If your laminate floor has scratches that are not too deep, you might be able to fix them yourself by purchasing a scratch repair kit. With a stain or gloss job, you not only enhance the overall visual appearance of the room but also extend its life by sealing in wood’s natural oils.
Step 2: If Replacement, Decide How Much to Replace
Decide whether you should replace all the flooring or just a few planks. If it’s only one or two boards, search through your closet, basement, or garage for suitable replacements. If the material in your window frame is too damaged for repair, you may need to replace it entirely.
Step 3: Disassemble, if Necessary
If the damaged plank is close to an edge of a floor, it may be possible to partially disassemble that section of flooring instead. The groove side (the last row installed) would likely be easiest.
The most reliable way to assess the quality of wood floors is by looking at their edges, where substandard materials are often used. When you remove a baseboard, be careful to pry it up from the wall rather than pulling on its edges. This will help protect your walls from damage by avoiding paint chipping or other peeling issues.
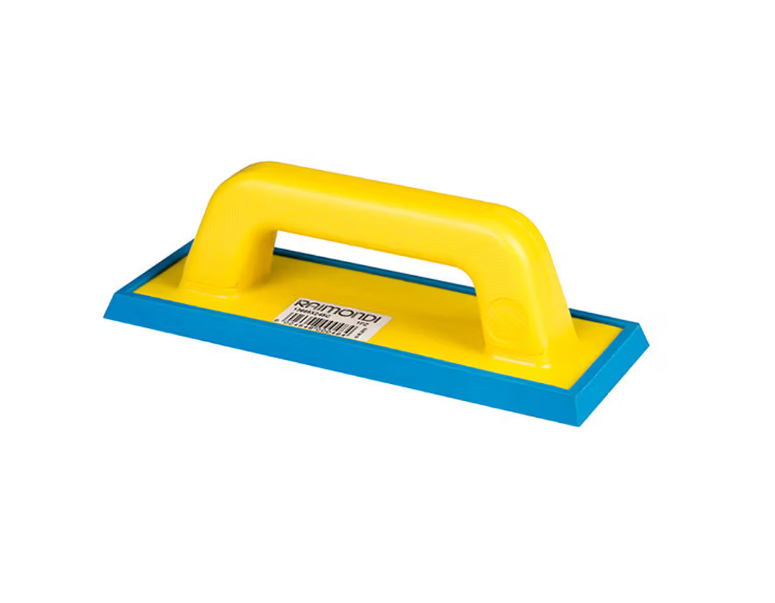
If a damaged plank is close to the end of the floor near where it will be replaced, disassembly should go quickly. Removing the first plank may be difficult because you’re trying to shift it lengthwise; use a tool (such as a grout float) to apply pressure, push hard, and turn until one end snaps loose.
Then it will be necessary to pry up the plank and slide it out from under the neighboring one. Make sure that you do not pull on a plank too hard, as this may cause pieces below them to snap off. Once you’ve removed all the planks from your flooring, remove the one that needs to be replaced and fit in the new piece. Then replace any other damaged pieces of laminate flooring before completing installation by following these instructions on how to install laminate wood floors.
Step 4: Remove the Center of the Planks
If you are not comfortable with a saw, do not attempt to cut out planks that need replacement. Failure to do so could cause damage or injury. Drill 1/2-inch relief holes at each corner of the plank and in the center of its face to start a cut.
WARNING: Do not drill too deep; if a drill goes through the subfloor and strikes a plumbing or electrical line, you risk electric shock.
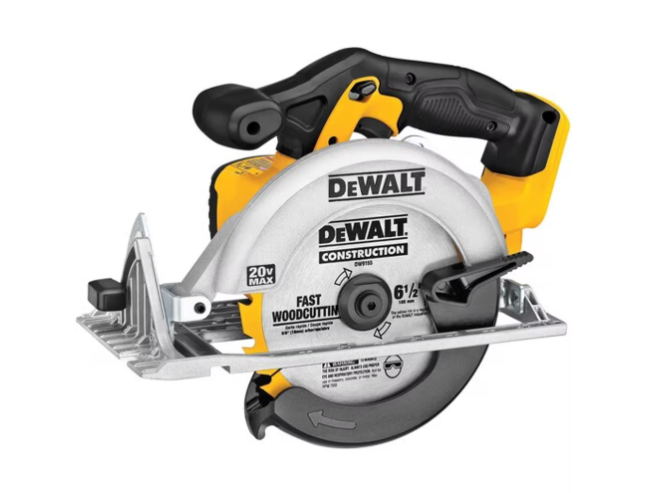
To cut the holes for kick plates, set the depth on your circular saw slightly deeper than you want to end up with. Cut along hand-drawn lines (from relief hole to relief hole) using a circular saw.
Step 5: Cut off the edges and then remove all of the remaining pieces
Next, use the circular saw to carefully cut along both sides of one plank. Make sure that you leave a border around this plank about 3/4″ thick (you will remove this later). Then take your chisel and break out any remaining pieces from inside the seam between each board in order to make it easier for them to separate after being submerged.
Step 6: Remove the Bottom Lip on the New Plank
The tongue and groove design of each plank makes laminate flooring so unique. But the planks need to be lined up properly for this system to work. Before installing the new flooring, it is necessary to cut off some of the tongue (the wood piece running underneath the planks) and part of both grooves. This can be done using a box cutter or utility knife.
Step 7: Remove excess glue and wait for the new planks to dry before replacing them
First, apply a bead of wood glue to all four edges of the new plank; then insert its tongue into the groove of the existing flooring. Planks can be placed on the floor and excess glue removed once it has hardened. Then weights should be used until drying is complete, per manufacturer instructions.