You’ve reached the final stage of yourtile installation, what do you need to know?
Although this project is relatively easy to do, you still need to be well prepared to have a result that meets your expectations. First of all, how do we choose the right grout for our project? The type of grout you use will depend on the finish of your tile and the width of the joints. Most grouts are available sanded or un-sanded.
That’s great, but what’s the difference between the two?
Fine sand prevents cracking and shrinking during the drying period. So if your average joint width is 1/8 inch and wider, go with sandedgrout.
If your joint width is about 1/16 inch or less, shrinkage is less of an issue. Therefore, you can choose un-sanded grout. Also, this type of grout is recommended for tiles with a glossy finish, because you won’t scratch them unnecessarily. It is premixed and ready to be laid, so no mixing is required.
Pro tip : If your tile project is in the bathroom, be sure to choose a waterproof grout. Whether it’s sanded or un-sanded, waterproofing is crucial in the bathroom.
So that’s it, you’ve chosen your grout and you are ready to start your wonderful project, what are the next steps?
Step 1 : Necessary tools and products
Gather the necessary tools and products before you start. It’s important to plan ahead what you’ll need, nothing it is more irritating than being hands deep in grout and realizing you’re missing a trowel!
Step 2 : Prepare the surface.
If the surface that will be worked on is close to the walls, it must be protected withmasking tape. Particles could get lodged in your joints, so it’s important to scrape the joints well to remove any glue residue that spills out. Small pieces of ceramic from a cut can also get into the joints; remove them, you want a clean surface before groutin
Step 3 : Mix the grout (sanded)
Follow the directions on the product you have chosen. It is important to mix the grout well especially if it is colored, you will have a more uniform color. Once mixed, let stand for 10 minutes and mix as needed until the desired consistency is reached.
Pro tip : Add about 10% more to the mixture to make sure you have the right amount.
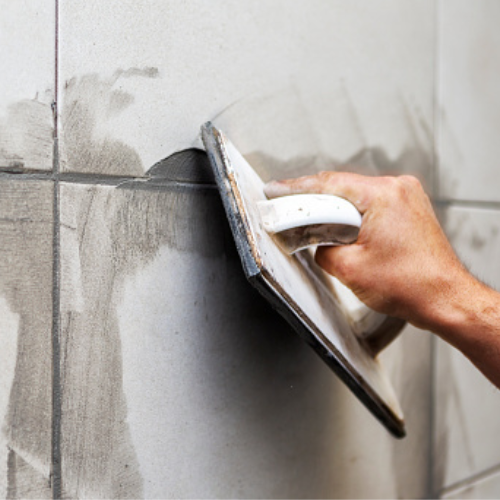
Step 4 : Applying the grout
On a small section at a time, using yourtrowel, spread the grout diagonally from bottom to top. Be sure to keep a 45-degree angle and apply some pressure to fill the joints.
Pro tip : Just dampen the tiles a bit with a water-filledspray bottle to make the application easier.
Step 5 : Get rid of excess grout
Using agrout float, go over the same section again but at a perpendicular angle to remove excess grout. Wait a few minutes and when the grout begins to harden, wipe it off with a dampsponge. Clean your sponge frequently and avoid scrubbing the joints as this can remove grout.
Pro tip : To avoid unnecessary trips to the sink to moisten your sponge, use a bucket full of water.
Step 6 : Clean the ceramic
Once the grout has cured, clean the ceramic by lightly rubbing it with a damp cloth. Then, polish immediately with a dry cloth.
Step 7 :Applying a sealer
First, check the specifications of your grout, some products do not require a sealer. You can apply with a brush or with asealer applicator, if you spray on the ceramic, clean immediately with a cloth and let it dry (usually 24h).
Important : Not all grouts have the same drying time, especially the one used for the shower, be sure to let them dry at the time recommended by the manufacturer.
In Summary
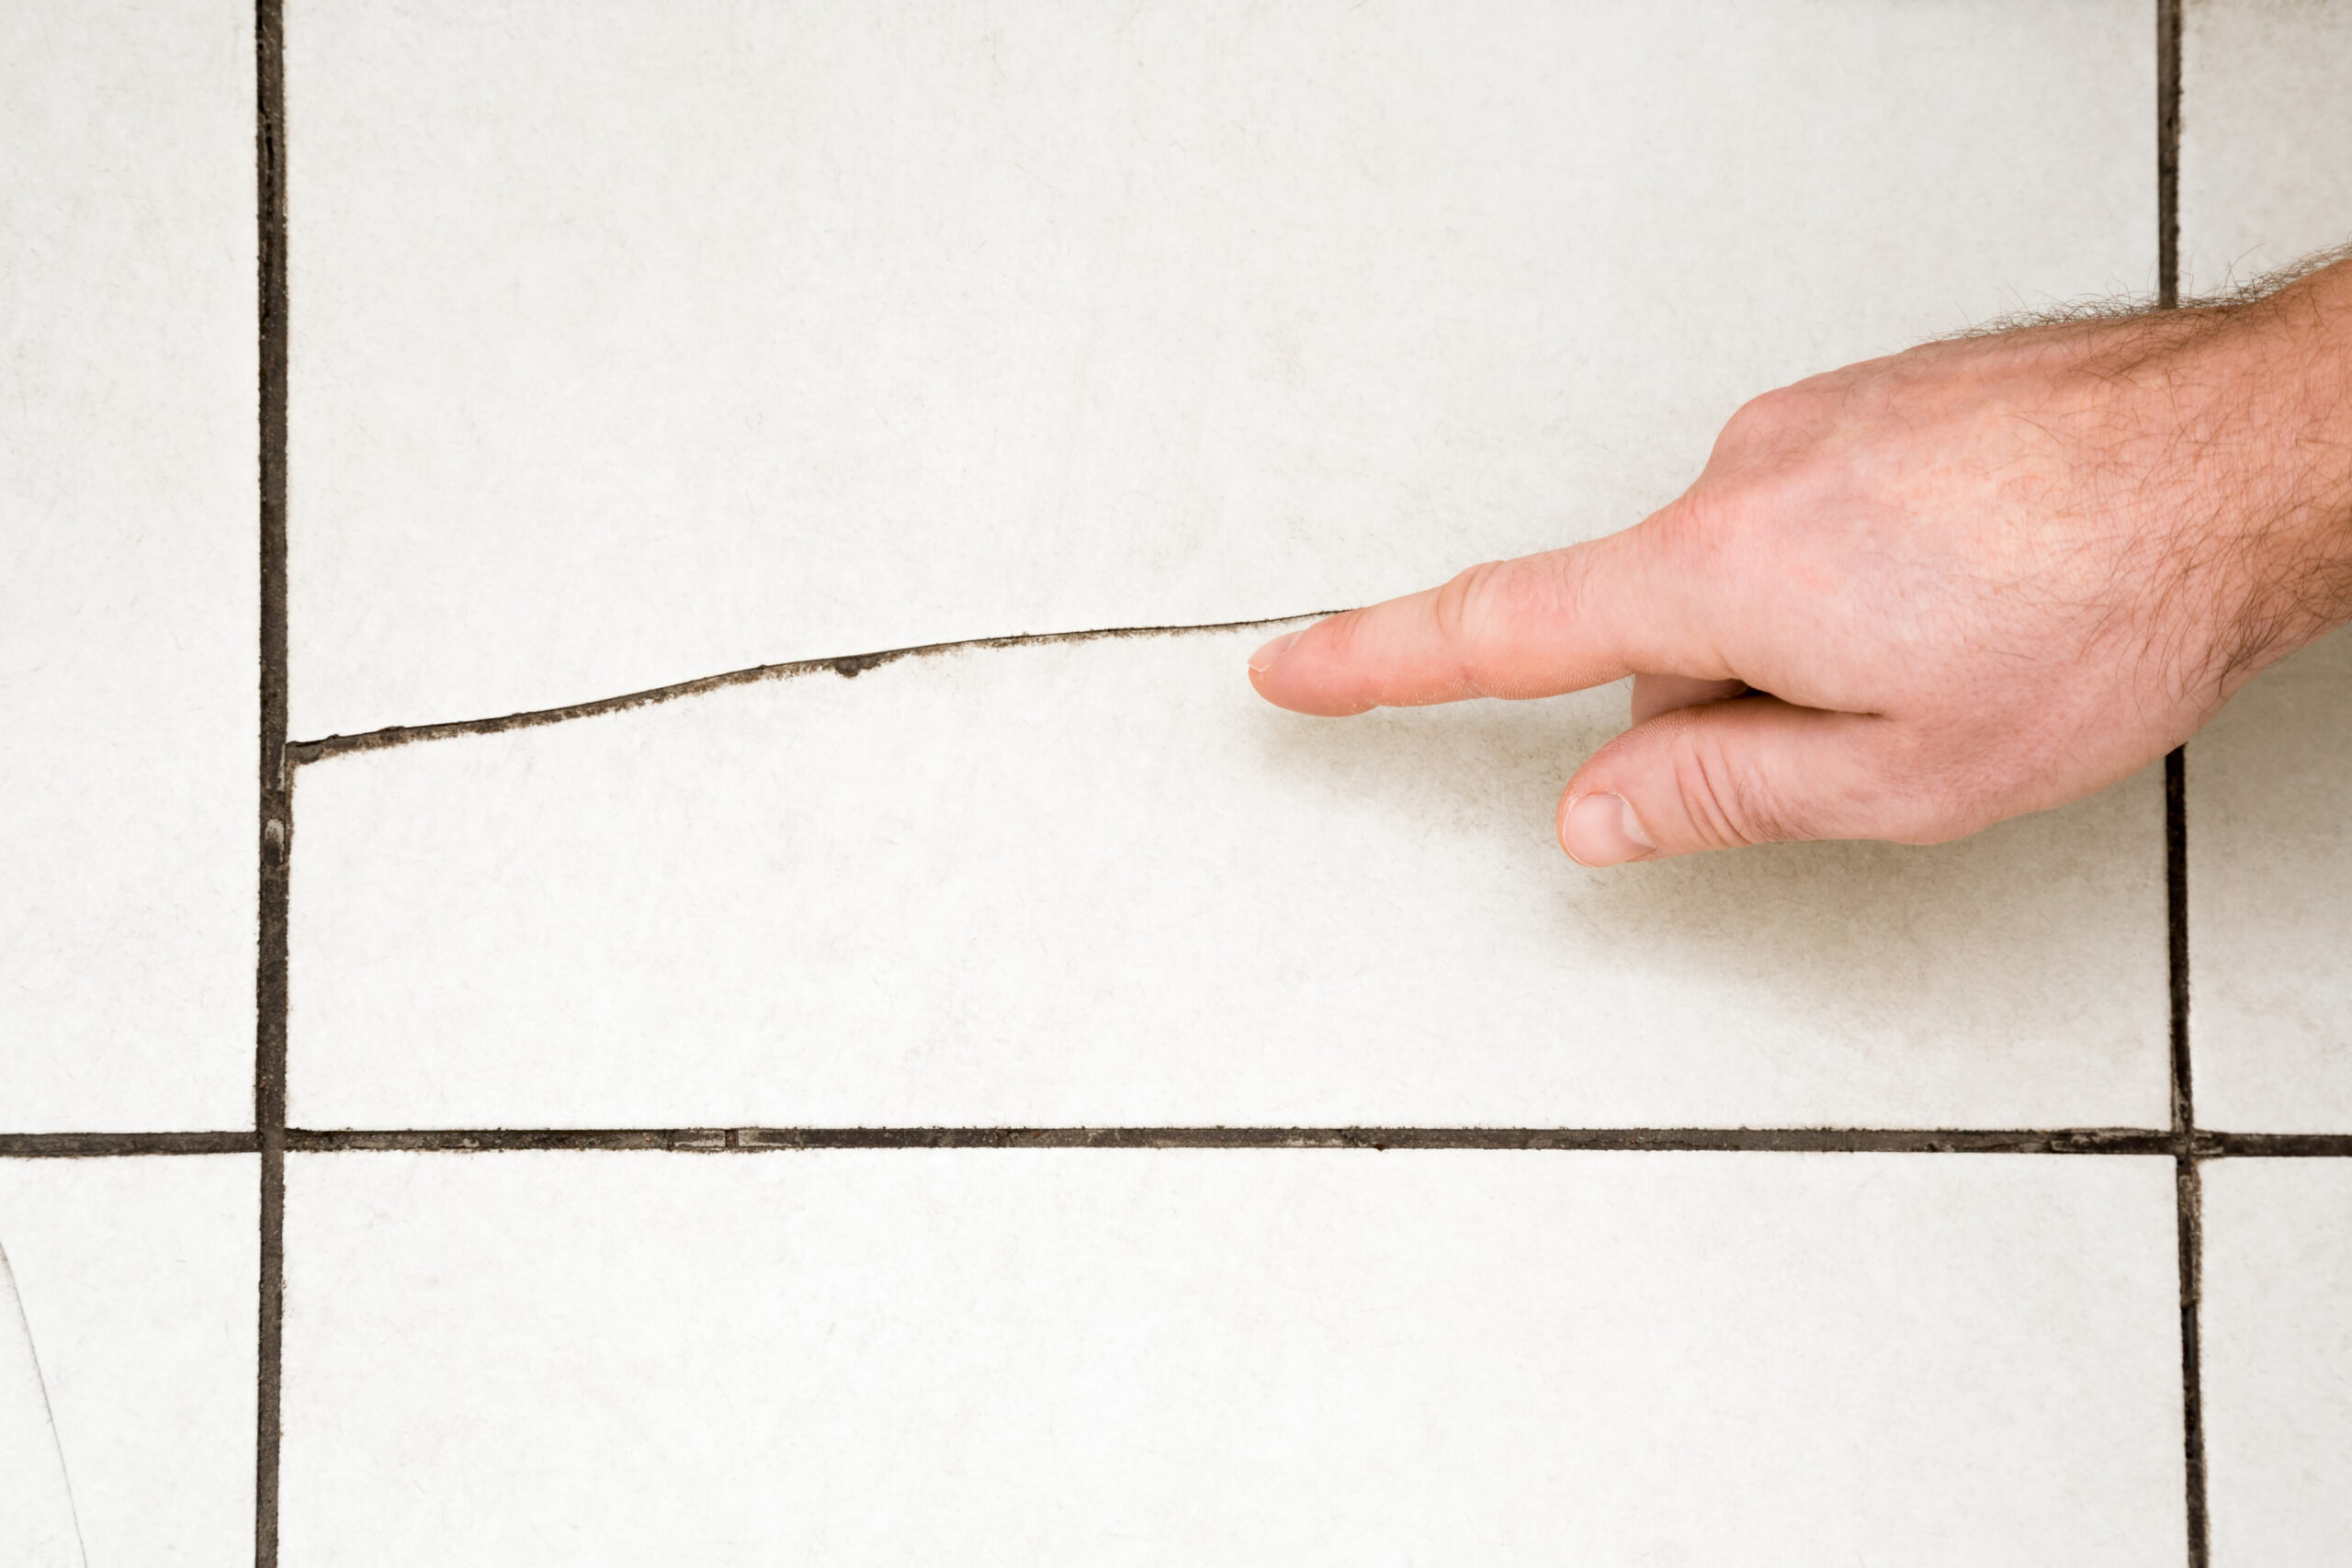
For lasting results, prepare properly, use the right tools, and take the time to do it right. The absence of watertight joints will force you to repair or even redo the tiles. Don’t neglect the maintenance of your grout if you want to keep it nice and clean for a long time.