If you want to ensure that your shower remains watertight, whether it’s a new plumbing installation or an upgrade for your current one, consider replacing the shower base. While it is possible to install a shower floor using a pan liner and tiles, installing a ready-made shower base makes the process easier. Ready-made bases are usually made of acrylic (fiberglass), composites, or other materials that provide extra strength.
With so many options available, you can find the size and style of the shower base that fits your bathroom. This guide teaches you how to install a new shower base, including floor prep and installing a drain assembly.
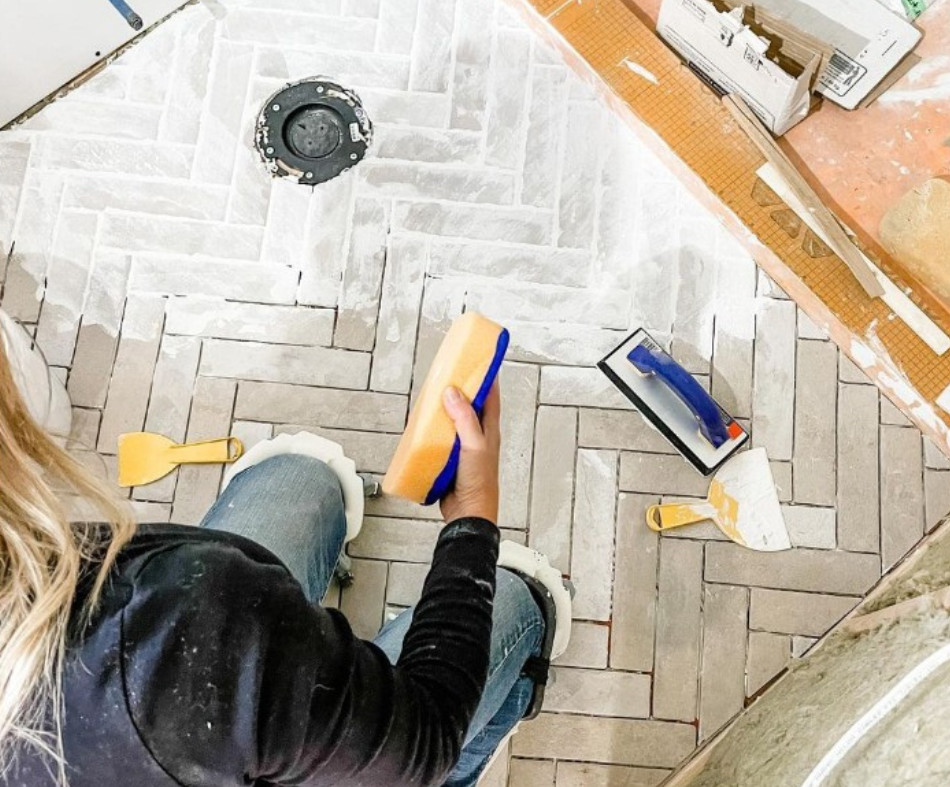
Test-fit the Shower Base
Place the shower base in position. Use a pencil to trace around it, marking the line onto your subfloor.
Drill 3/16-inch holes at each of the stud locations
If the existing shower drain hole does not line up with your new base, measure, and mark where you will need to cut out a section of the base.
Using a jigsaw or circular saw, cut an opening in the subfloor for the shower drain pipe. The size of this hole should not exceed 5 inches but check with your shower pan manufacturer’s specifications before making cuts.
Relocate the P-trap and waste pipe for the shower drain so that they extend approximately 1 3/4 inches above the finished floor level (the distance specified in the manufacturer’s instructions).
Pro tip : It is a good idea to have someone assist you with this task.
Prepare the Subfloor
The bottom of the shower base needs to sit on a flat, level surface. Check left and right and front-to-back to make sure that your subfloor is perfectly even.
If the subfloor is flat and level, you’re ready to proceed to step 3.
If your subfloor is uneven, spread an even layer of self-leveling compound. Make sure the subfloor adheres to whatever material you are using (OSB, cement board, plywood, etc)
Run the self-leveling compound up to the line you drew in Step 1. If necessary, screw a piece of 1×2 along the line to create a ‘dam’ that will keep the compound contained within your shower base.
Allow the self-leveling compound to set and harden according to the manufacturer’s instructions.
Install the Shower Dran Flange
Make sure that the shower drain flange fits tightly against the shower base.
Place a layer of latex/acrylic or silicone caulk along the underside rim of the shower drain flange, per the manufacturer’s instructions. If putty is used as an alternative to caulking, it should be applied only when compatible with your shower base material, so you should check the manufacturer’s instructions carefully before applying any product.
Position the flange through the top side of your shower base and press it down so that excess caulk comes out.
Once the caulk is dry, simply wipe away the excess with a paper towel or an old cloth.
Place the rubber washer around the threads of the shower flange and against the bottom of your shower base.
Next place the friction washer (a thin, cardboard-like piece of rubber) over the threads on top of the flange.
Secure the locking ring to the threads of the flange by tightening the gasket and friction washer. Use adjustable pliers if needed to tighten further.
Secure the Shower Base
When replacing a shower base, some manufacturers require that the new base sit directly on adhesive or in small mounds of mortar.
If adhesive is called for, spread adhesive within the area where the shower base will sit.
If mounds of mortar are called for, position them on the subfloor at marked locations per the manufacturer’s instructions.
To install the shower base, set it in place and press firmly.
Adjust the shower base until it is level in all directions.
To protect the surface of the shower base, place cardboard or another material underneath.
Screw the shower base’s rim into wall studs with 1 1/4-inch exterior-grade screws, making sure to drill through pre-existing holes first.
Attach Gasket and Drain Screen
Position the rubber gasket over the drainpipe coming up through your shower’s drain flange.
Then, thread the gasket setscrew over the rubber gasket.
Tighten the screws with a screwdriver until they are snug.
To install the shower drain screen, screw or snap it into place so that it sits flush with the pan base.
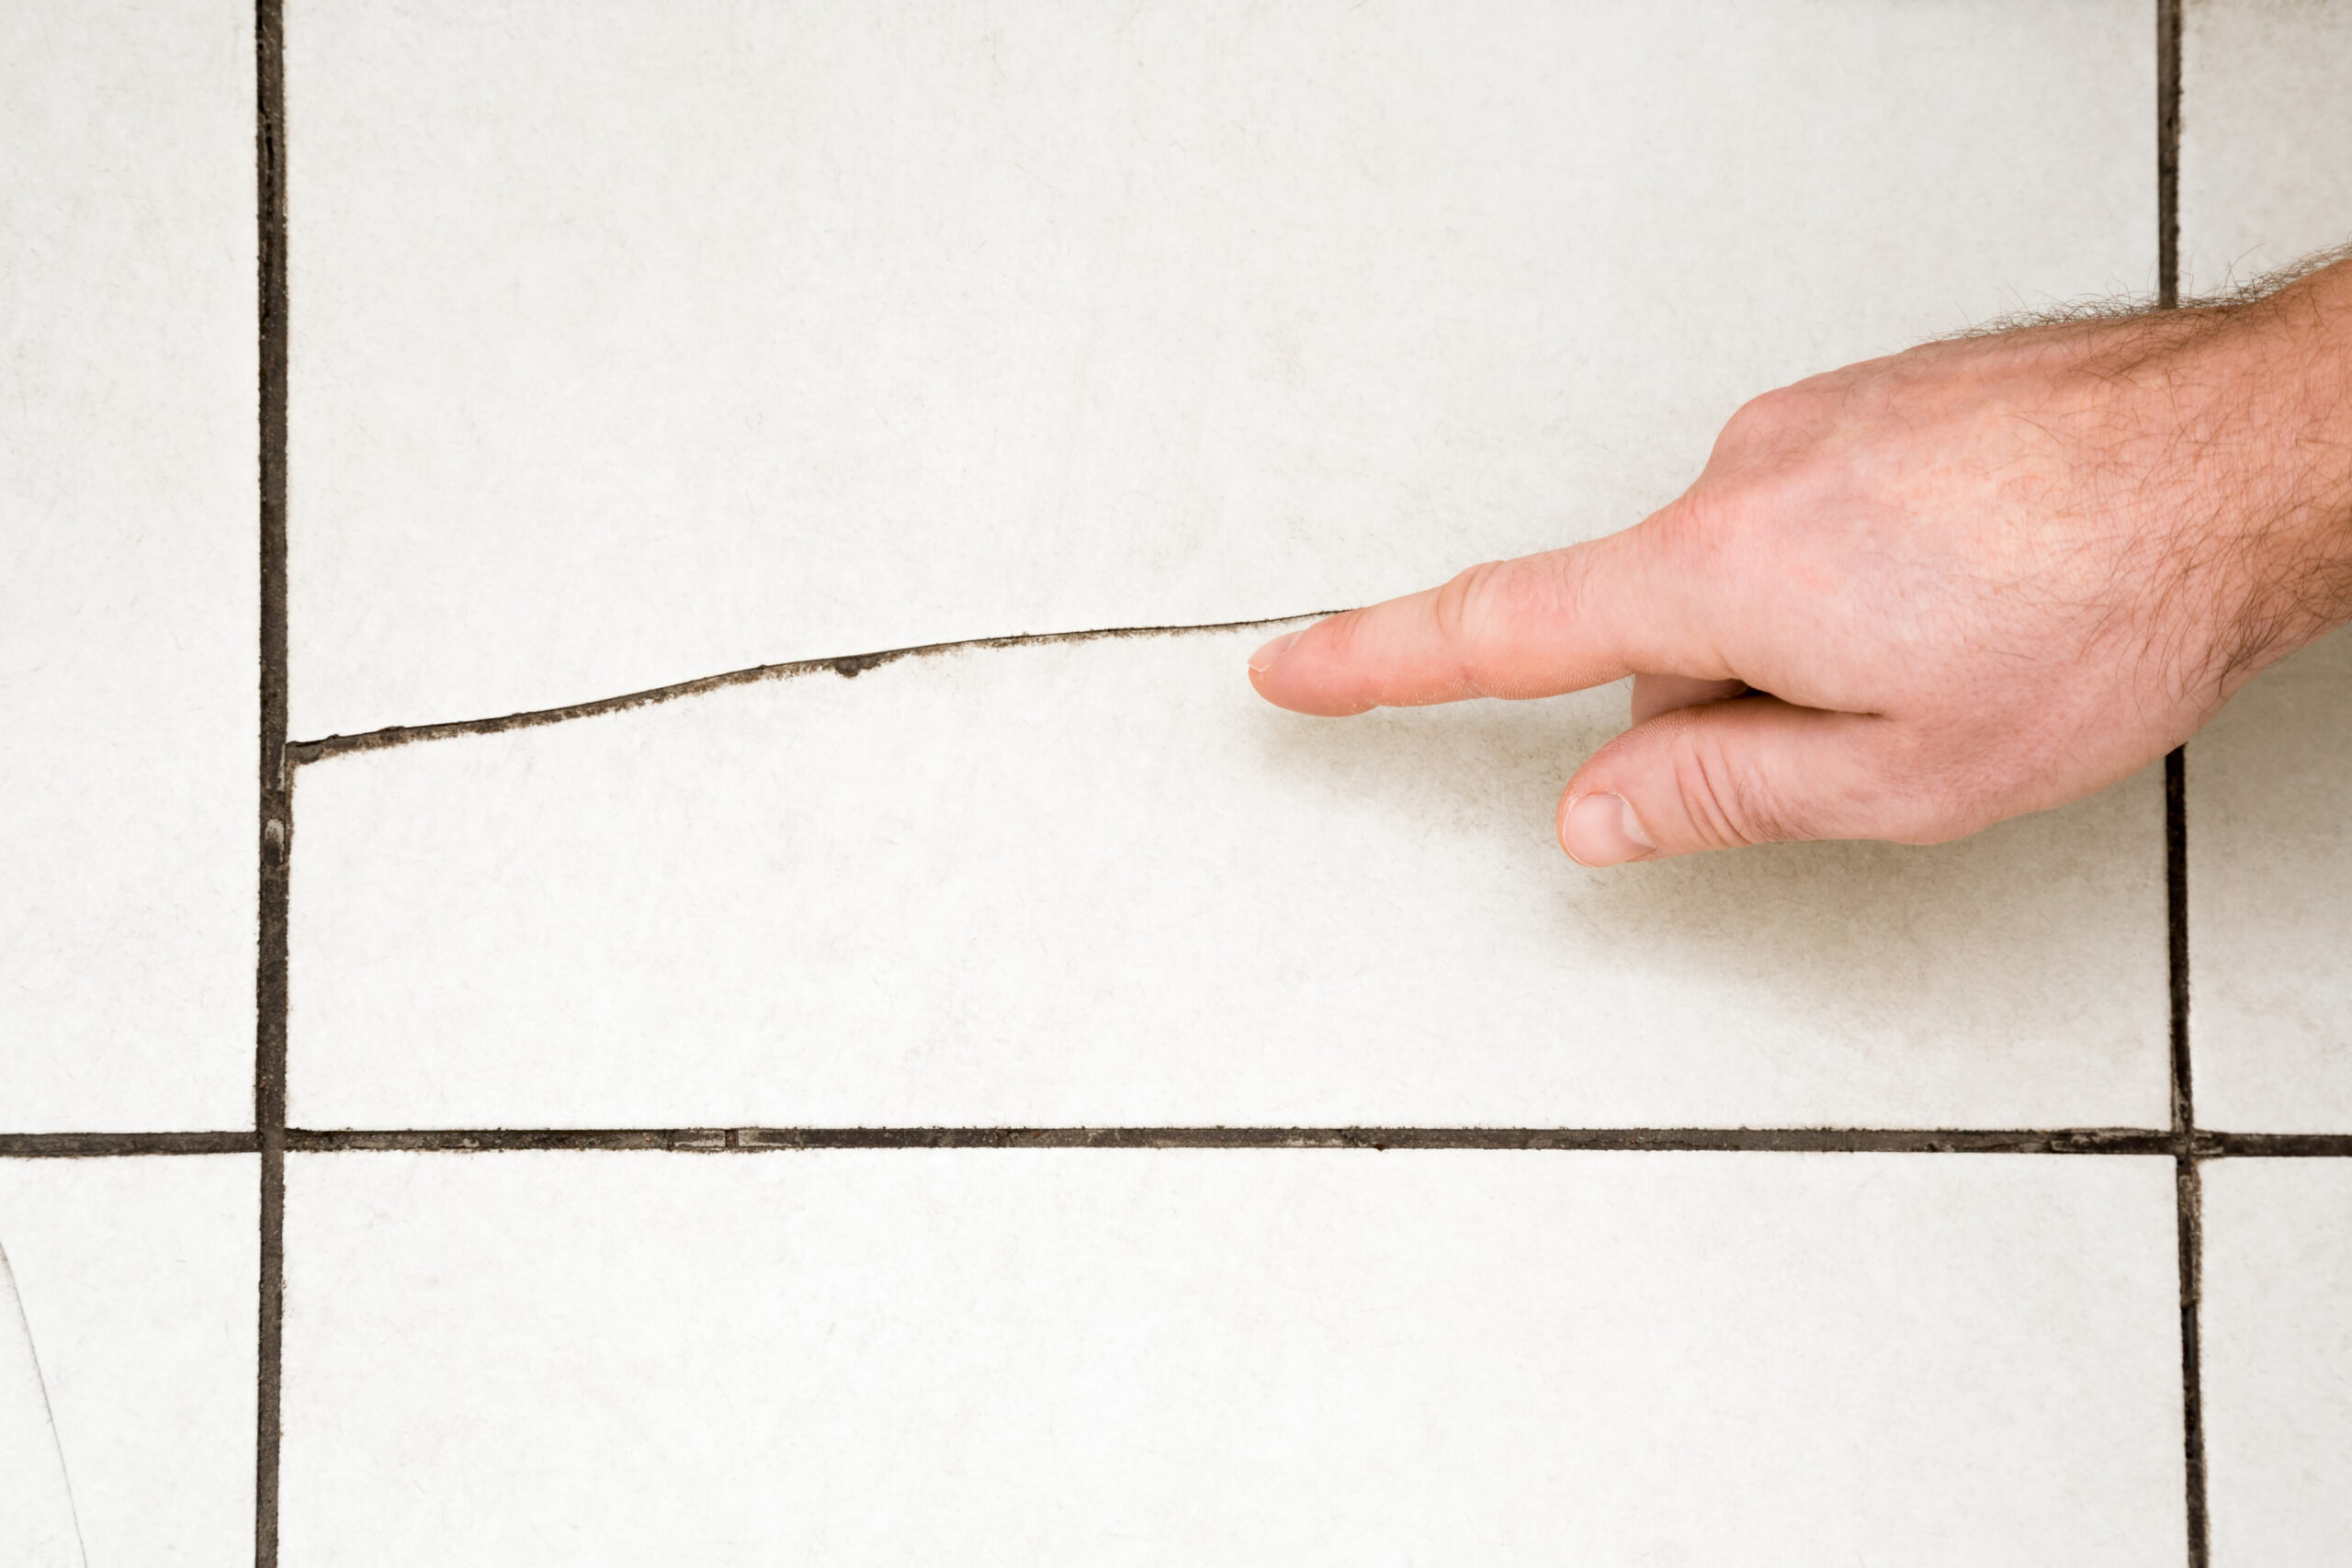
Test for Leaks
Allow the thin set mortar or adhesive to dry completely before proceeding.
Check for leaks in the base and drain as well as around the shower stall. If needed, get an inspection done by a professional plumber.
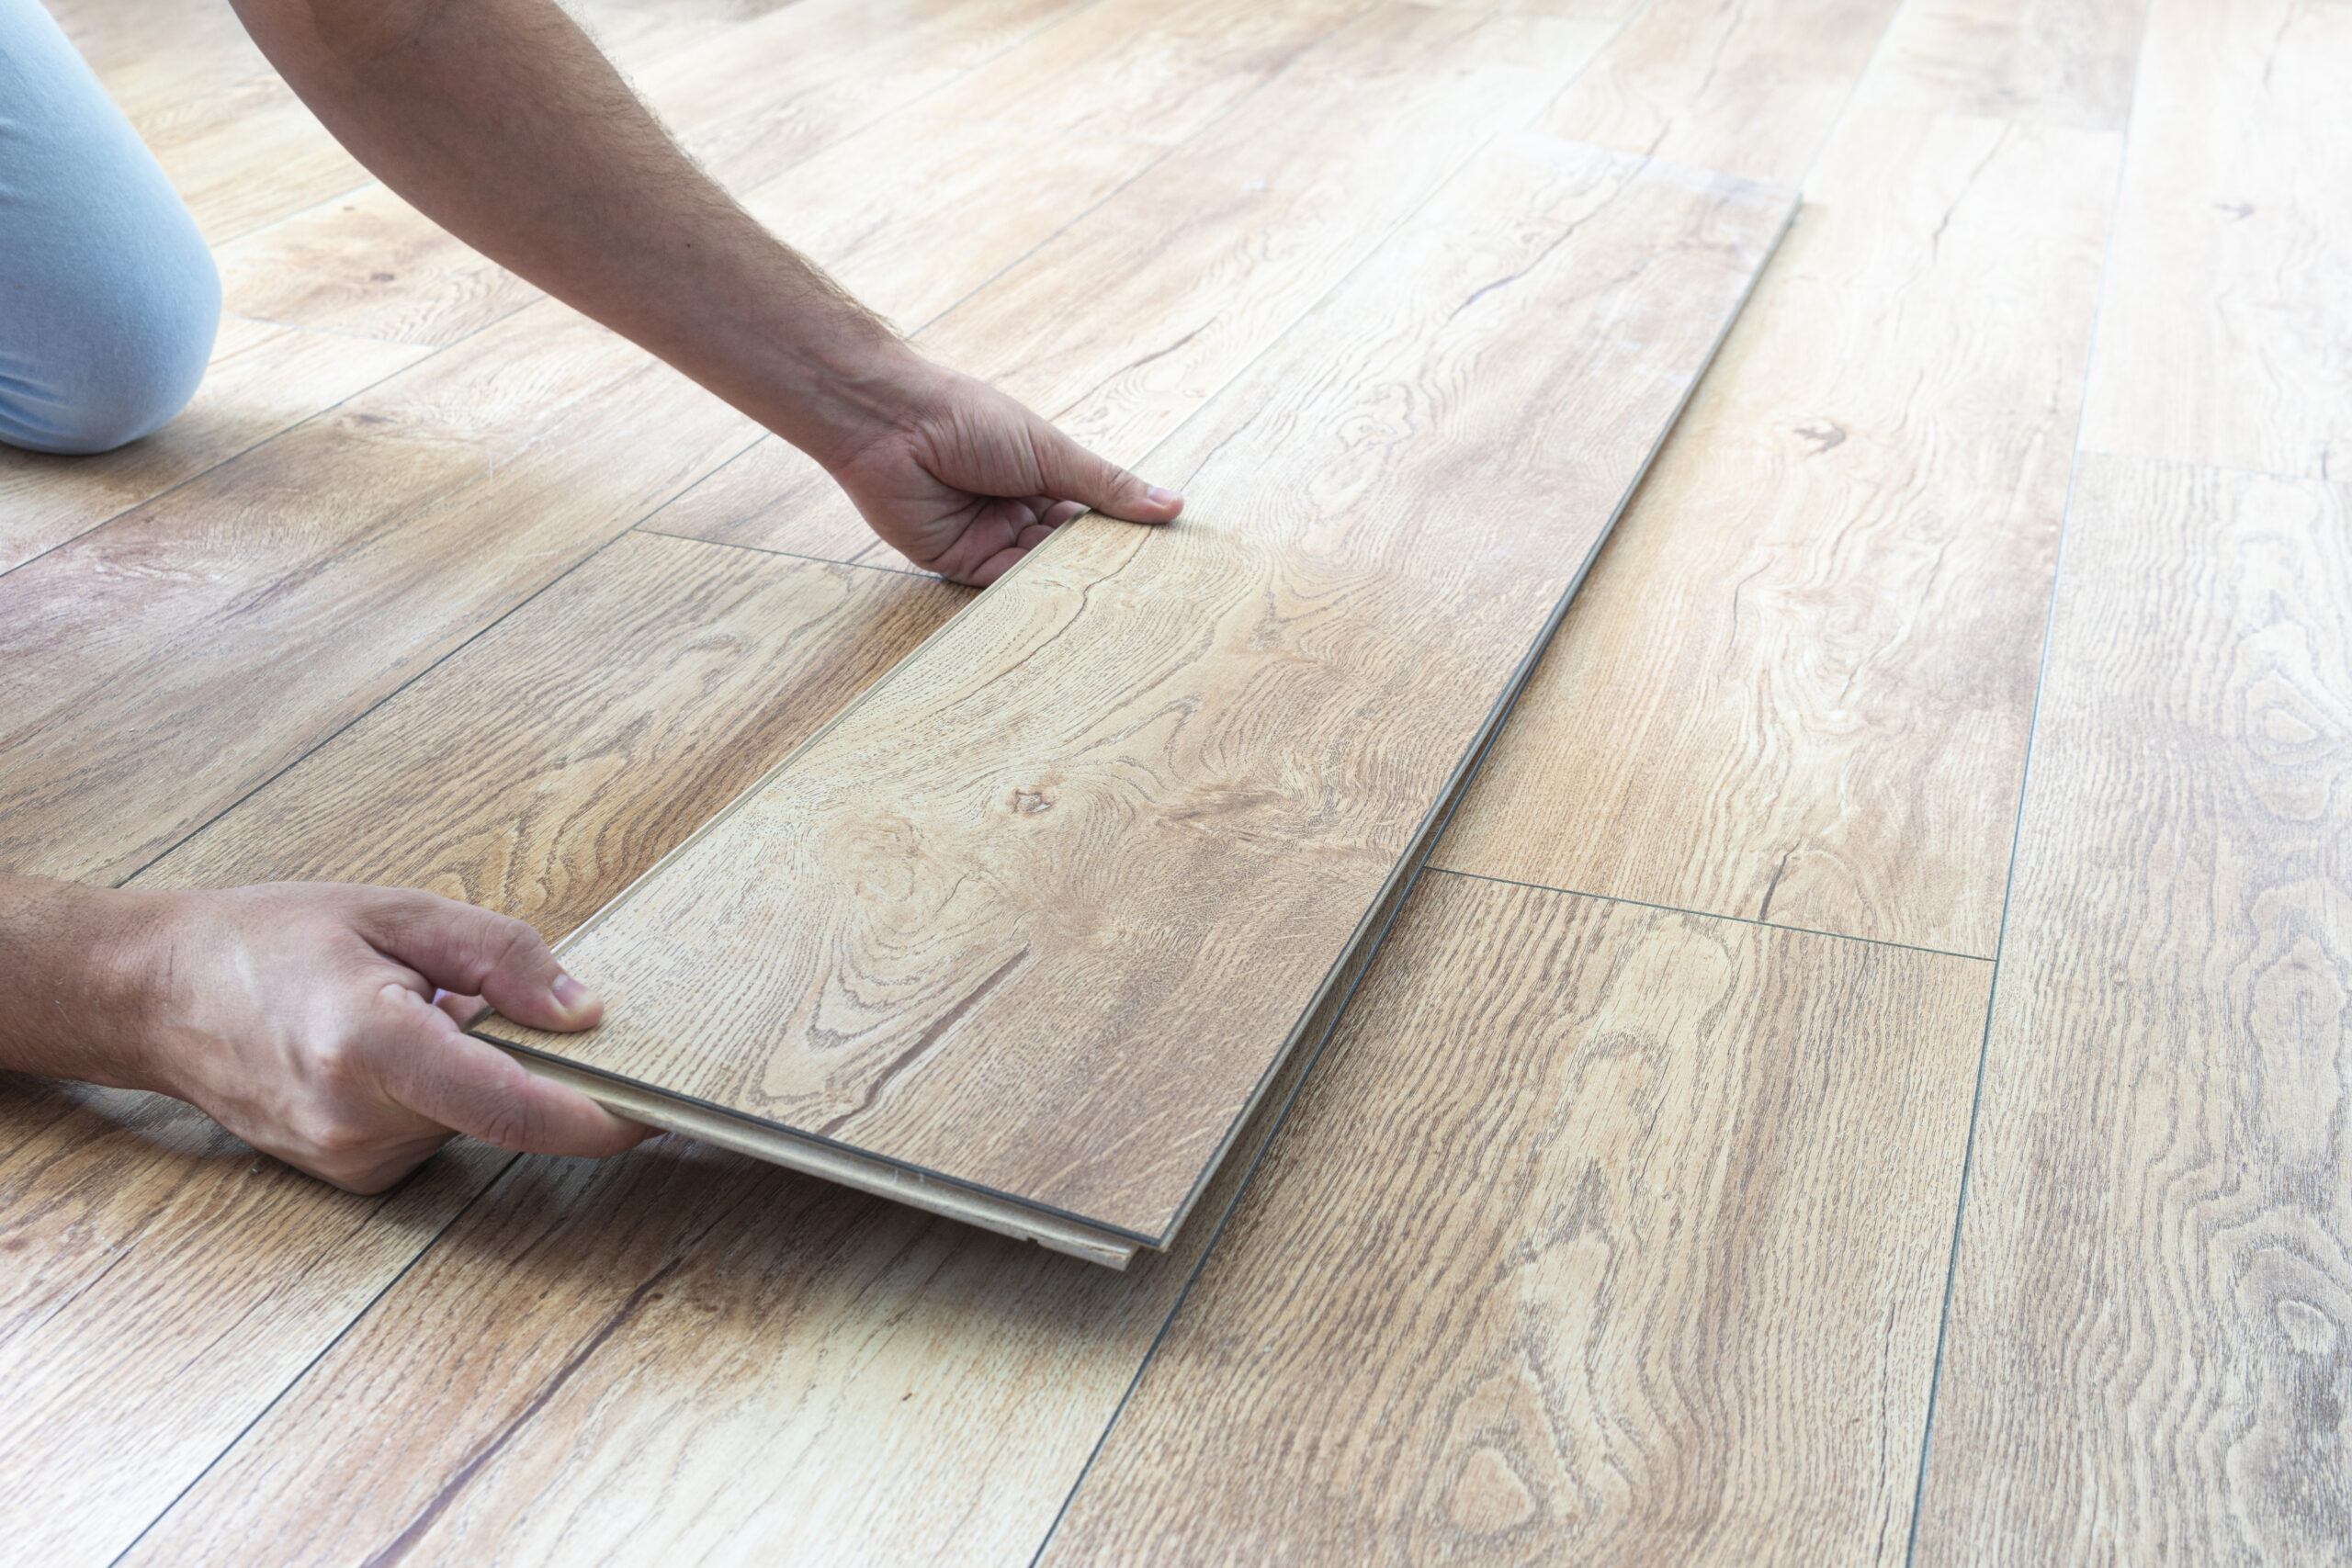
In Summary
Once your shower pan has been installed and is watertight, it’s time to install the walls of your new shower. We’ve hopefully made this process easier than ever with our step-by-step guide. Find what you need with FloorBox.