Installing carpet can seem like a challenging task, but with planning and careful measurements as well as the right specialized tools for the job, it is possible to do it yourself. Installing your own carpet can also save you money when compared to hiring professionals or buying new flooring from retail outlets.
This guide will show you how to install carpet, tack strips, and padding. It also explains the best way to lay your carpet so that it won’t bubble or loosen over time.
Measure the Room
When installing a new carpet, you should start by taking accurate measurements of the room. Measure both its length and width, then multiply these measurements together to find the square footage.
One square yard is equal to 9 square feet. To convert from one to the other, divide the number of square feet by 9: 90/9 = 10 yards.
If your room isn’t a perfect rectangle, measure its square footage in sections. Then add them together to find the total square footage.
Once you have measured your room, order the carpet. Order 10 to 20 percent more than is required so that there will be plenty of extra for mistakes or cutting off walls. You’ll also need tools and supplies such as tack strips, adhesives, and edging to complete your carpet installation project.
Prepare the Subfloor
Before installing carpet, it’s important to prepare the subfloor :
Remove the old carpet or flooring.
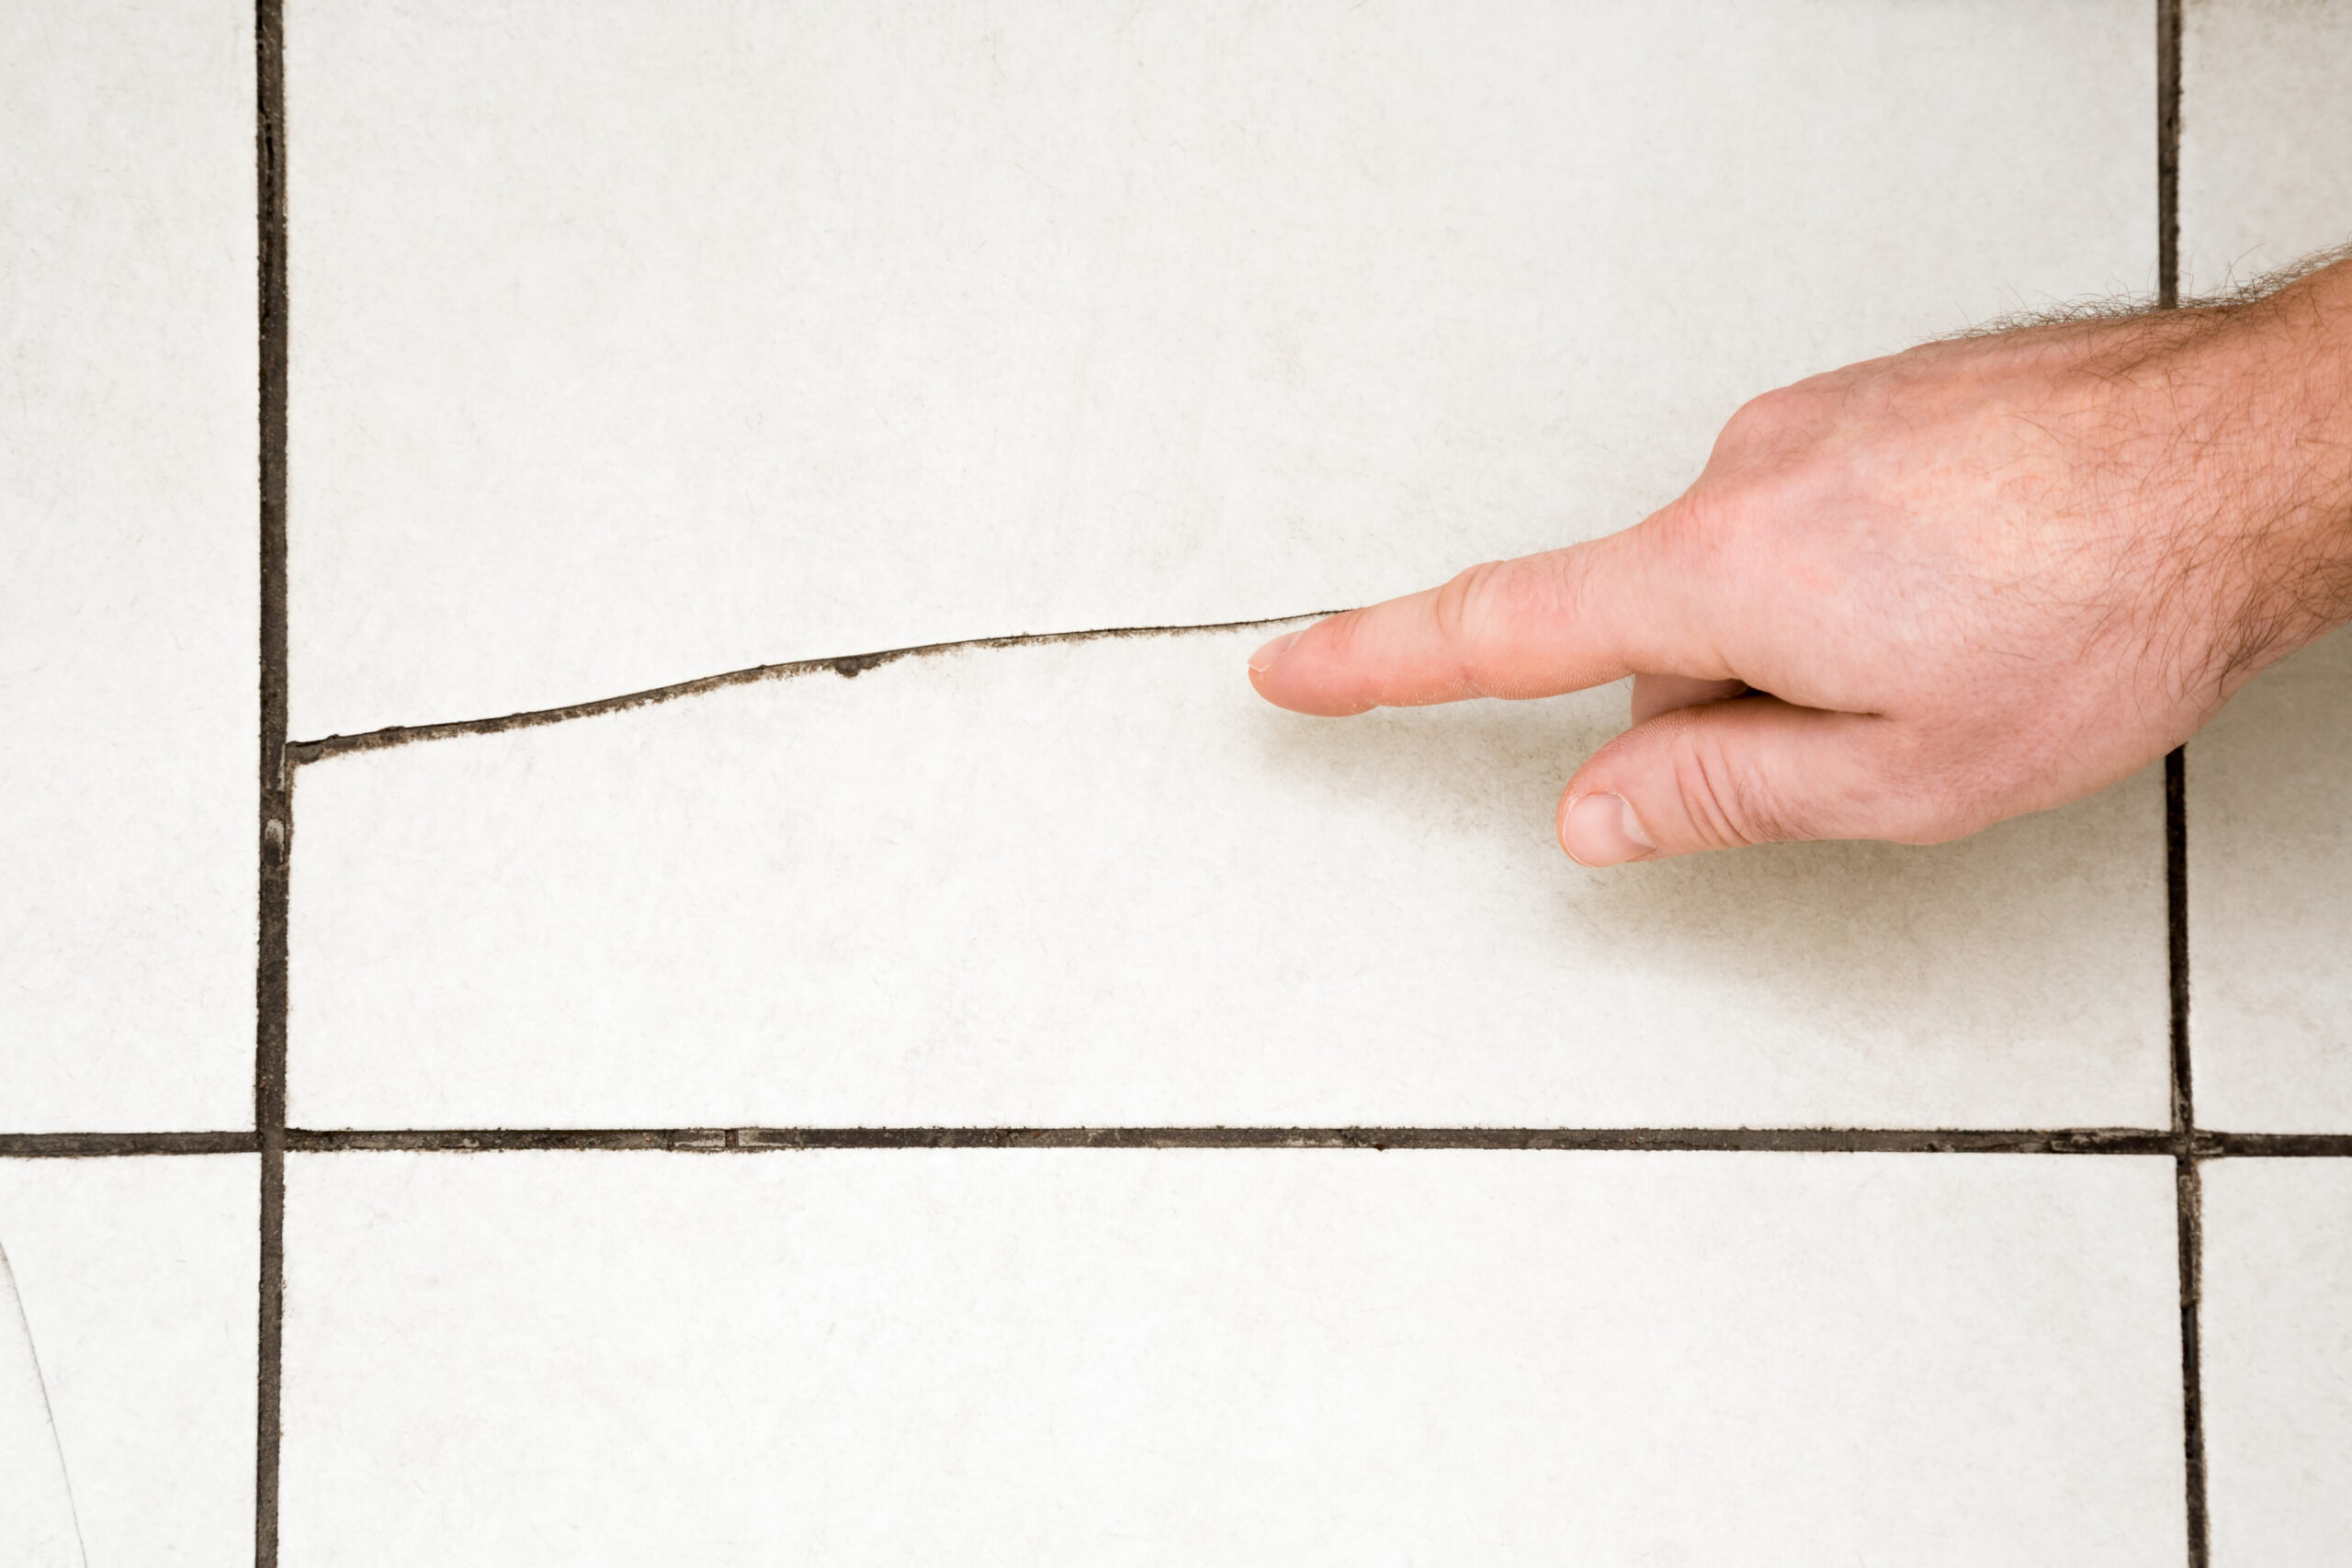
Before installing new carpeting, carefully sweep and vacuum the subfloor. Repair any cracks or other damage before proceeding.
Remove all doors that open into the room, including closet and balcony doors.
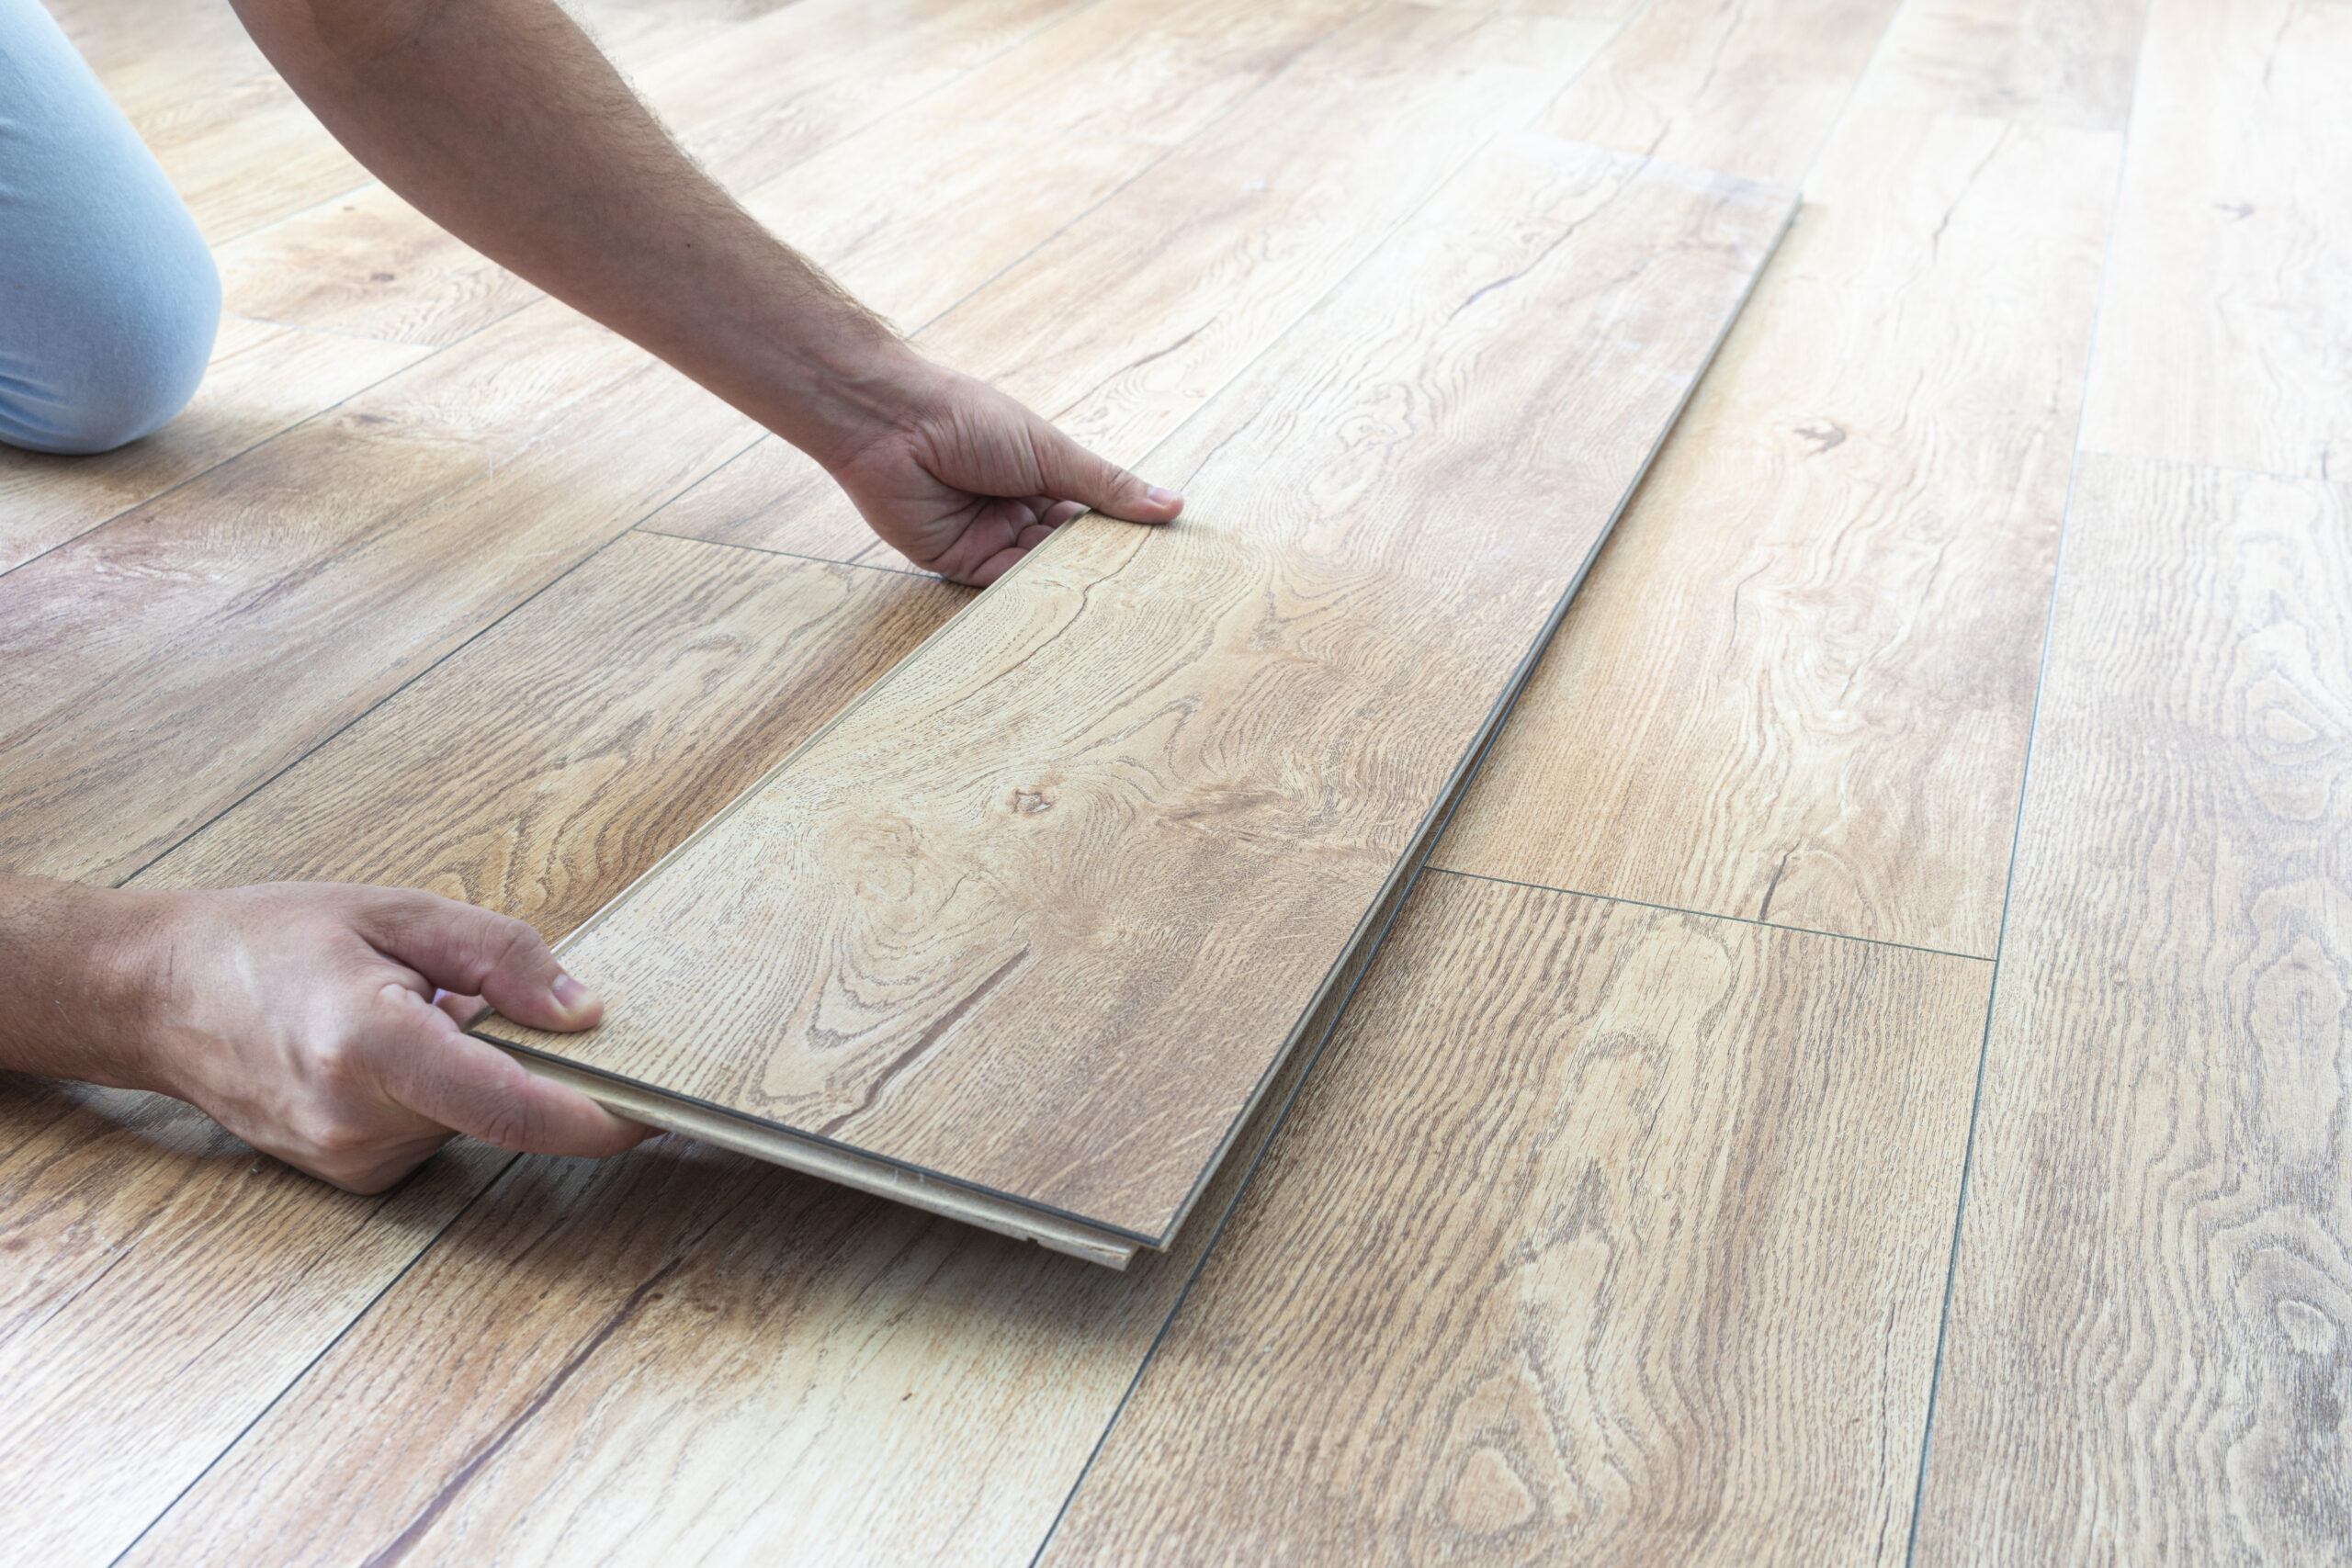
If you’re replacing old wall-to-wall carpeting, leave the baseboards in place. If you’re replacing a different type of flooring such as hardwood floors or tile you may need to remove and replace the baseboards.
You can reinstall baseboards before or after installing the new carpet, depending on your preference. In this guide we do it beforehand.
Check your carpet manufacturer’s recommendations for mounting baseboards. Most recommend installing it before the floor gets covered with padding and carpeting, leaving an approximately 1-inch gap above the subfloor (which will vary based on the thickness of materials).
Install the Carpet Tack Strips
Once the subfloor is good to go, go ahead and install the carpet tack strips:
Grab a small hand saw or some specially designed snips to cut the carpet tack strips to fit the room’s perimeter.
Make sure the tack points are facing the wall as you position the strips. Each tack strip should be right up against the next one, end to end.
When it comes to door frames, wrap the tack strips around them. But don’t put any tack strips across the openings of the doors. You definitely don’t want to accidentally step on those sharp points.
Leave a gap between the walls and the tack strips that’s about two-thirds the thickness of the carpet. You can use a scrap piece of carpet as a guide.
Securely fix the tack strips onto the wooden subfloor. In case of a carpet installation on concrete, employ masonry tacks or an epoxy adhesive for fastening the strips to the flooring.
Pro tip : Tack strips are also known as tackless strips because they eliminate the need to use individual carpet tacks to secure the carpeting onto the floor.
Install Carpet Padding
Carpet underlay reduces sound, provides insulation, prolongs carpet lifespan, and enhances comfort when walking. It is essential to install new carpet underlay whenever installing a new carpet.
Both carpet and carpet underlay are available in fixed widths. Depending on the size of the room, multiple pieces of underlay or carpet may need to be laid. The meeting points of these pieces are known as seams.
Ensure that the seams of the underlay are perpendicular to the seams of the carpet by positioning the underlay on the subfloor. When laying the carpet on top of the underlay, the carpet seams should be perpendicular to the underlay seams.
Trim the length of the carpet underlay to fit the room using a carpet trimmer or sharp carpet knife. The edges of the underlay should align with the tack strips, without covering them.
Connect neighboring pieces of underlay using masking tape, approximately 2 to 3 inches wide, or as instructed by the manufacturer. The underlay should cover the entire floor area planned for carpeting.
Secure the carpet underlay along the edge of the tack strip using a staple hammer-tacker.
Remove excess underlay at the edge of the tack strip.
Staple the underlay at the seams, ensuring that the staples are not placed next to each other.
When installing carpet underlay on a concrete surface, follow the recommendations provided by the manufacturer regarding carpet adhesive.
Measure & Cut the Carpet
Getting the right measurements for your space is super important when you’re doing a DIY carpet installation.
Measure the room along the longest wall, and don’t forget to add an extra 6 inches to that measurement.
Take the carpet outside if you can and unroll enough of it.
Grab a carpet knife and notch the back of the carpet at the right measurement.
Roll up the carpet, making sure the backing is facing outwards. Then, snap a chalk line across the back of the carpet at the notch you made earlier.
Flip the carpet so the chalk line is facing up, and slide a board underneath it to create a solid surface for cutting.
Now, use a straightedge as a guide and run a carpet cutter along the chalk line. Remember to always use a sharp blade for this job.
Lay the Carpet & Secure the Seams
Once you have cut the carpet to the desired size, carefully unroll it. Place the backing face-down along the wall, ensuring it rests on the padding in the room. Remember, the carpet seams should be positioned at right angles to the padding seams.
Leave approximately 3 inches of extra carpet next to the wall. This allows some flexibility during the installation process.
To ensure a smooth and flat appearance, make relief cuts at corners. Using a carpet knife, cut from the top to create clean and precise corners.
When unrolling additional pieces of carpeting to cover the floor, pay attention to the direction of the carpet’s pile. It should align consistently across all the pieces.
To join two pieces of carpeting, employ heat-activated seaming tape. Place the tape where the pieces meet. Carefully verify that the adjoining edges are straight, touching each other without overlapping.
Begin securing the seam by lifting and bending back one side. Slip the seam tape halfway underneath the carpet that is resting on the floor.
Lower the raised portion of the carpet, ensuring that the seam remains tight along its entire length. This step ensures a seamless and professional appearance.
Follow the guidelines provided by the tape manufacturer. Using a heated seaming iron, slowly glide it along the seam to activate the adhesive on the tape.
During the drying process of the adhesive, place flat and heavy objects on top of the seam. This practice helps to maintain even pressure and ensures a secure bond.
Anchor Along the First Wall
Position a knee kickerapproximately 3 inches from a long wall, preferably near a corner.
Apply pressure to the kicker, striking it with your knee, to stretch and pull out any wrinkles or slack from the carpet as you latch it onto the strips. Move along the wall, repeating this process until the carpet is securely attached.
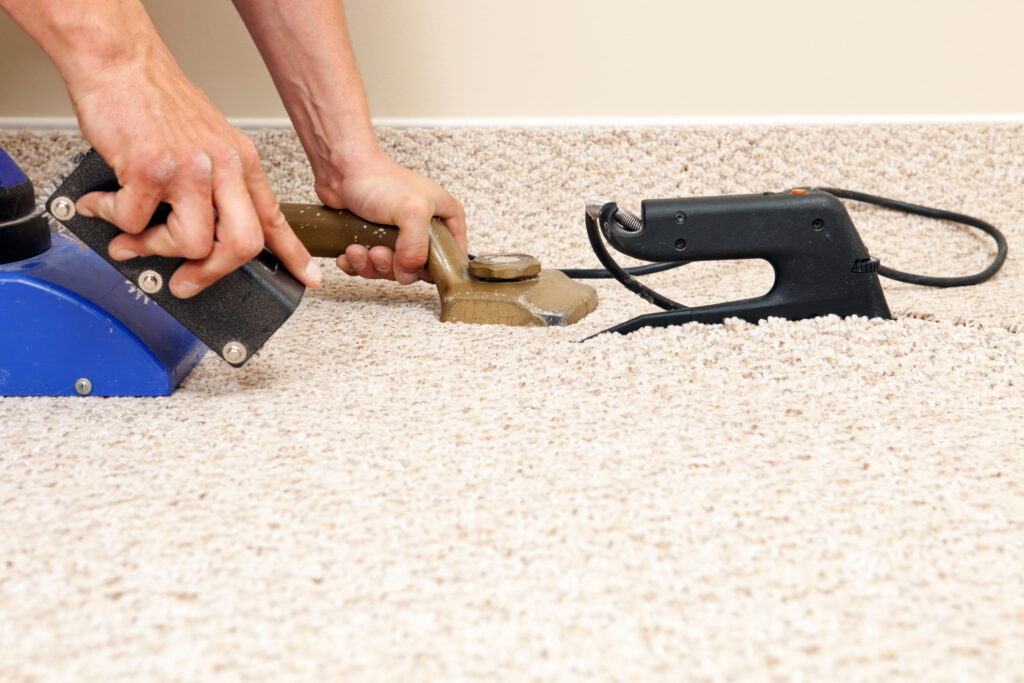
Once the carpet is properly attached along the first wall, it’s time to trim the excess from the edge using a wall carpet trimmer. Here’s how:
Adjust the wall trimmer to match the thickness of the carpet. This ensures a clean and precise cut.
Keep the shoe of the trimmer pressed tightly against the carpeting, and guide it along the wall while keeping the carpet tight against the baseboard.
After trimming, use a carpet tuckeror stair tool to press the cut edge under the baseboard.
Stretch the Carpet
Position the head of the carpet stretcher several inches away from the wall where you want to attach it. The teeth on the head will grip the carpet for a secure hold.
Adjust the extension rods behind the stretcher, ensuring they extend across the floor and back to the first wall.
To protect the baseboard from potential damage, place a scrap board wrapped in a piece of scrap carpet against it.
Now, push the lever of the stretcher down to stretch the carpet taut.
Reach in front of the power stretcher to hook the carpet onto the tack strip. Make sure to work in sections, stretching and anchoring the carpet along the wall as you progress.
As you stretch the carpet along each section, trim any excess carpet using the wall trimmer. After trimming, tuck the trimmed edge neatly underneath the baseboard for a clean finish.
Once you have anchored the carpet to two opposite walls using the stretching and trimming technique, repeat the entire procedure to stretch, anchor, cut, and tuck the remaining walls.
Install Transition Strips
To finish your carpet place a carpet transition strip at thresholds where the carpet meets another type of flooring. These strips ensure a smooth and seamless transition between different floor surfaces. If you’re dealing with uneven floors, use carpet edging to connect them smoothly.
Seal the edge of the carpet with latex seam sealer. This prevents the carpet from unraveling and ensures long-lasting durability.
Install a binder bar or transition strip over the carpet edge using a brad nailer.
Replace any doors, baseboards, or trim that you may have removed earlier in the project. This step helps bring the entire room together and adds a polished touch.
In Summary
Remember, although installing carpet can be labor-intensive, it’s a straightforward process. As you gain experience and learn the nuances of carpet installation, it becomes easier over time. The result is a room with a transformed look and enhanced comfort.
By considering these final steps and exploring the available resources, you’ll be well-equipped to complete your carpet installation project successfully.