Installing cement board before installing tiles is essential for waterproofing the floor. Installing cement boards may seem like a daunting task, but this task is rather simple if you take your time and carefully follow the instructions. You will also learn how to use a thin mortar for laying tiles and for strengthening the floor.
What is Backer Board?
Backer board, called support board, is a thin layer of concrete with fiberglass mesh on both sides. It is usually available in sheets of 3 feet by 5 feet and is used for most projects.
The cement board will prevent leaks and water damage to the structure of your home and the floor itself. Unlike wood or drywall, cement panels will not rot, deform, or be susceptible to mold when exposed to water. That is why they are used in permanent installations.
Plan where to place the backer board
To install a cement board like a pro, it is important to plan its location. Make sure that the joints in your panel do not line up with those in the subfloor. Cover each area where a joint is present and shift their placements like bricks.
If necessary, you can cut the support panel to accommodate obstructions or small spaces. Mark it with a utility knife, then use a jigsaw with a carbide blade for smooth cuts. Use a chalk line to mark where the cement board will go on the subfloor.
Spread Mortar
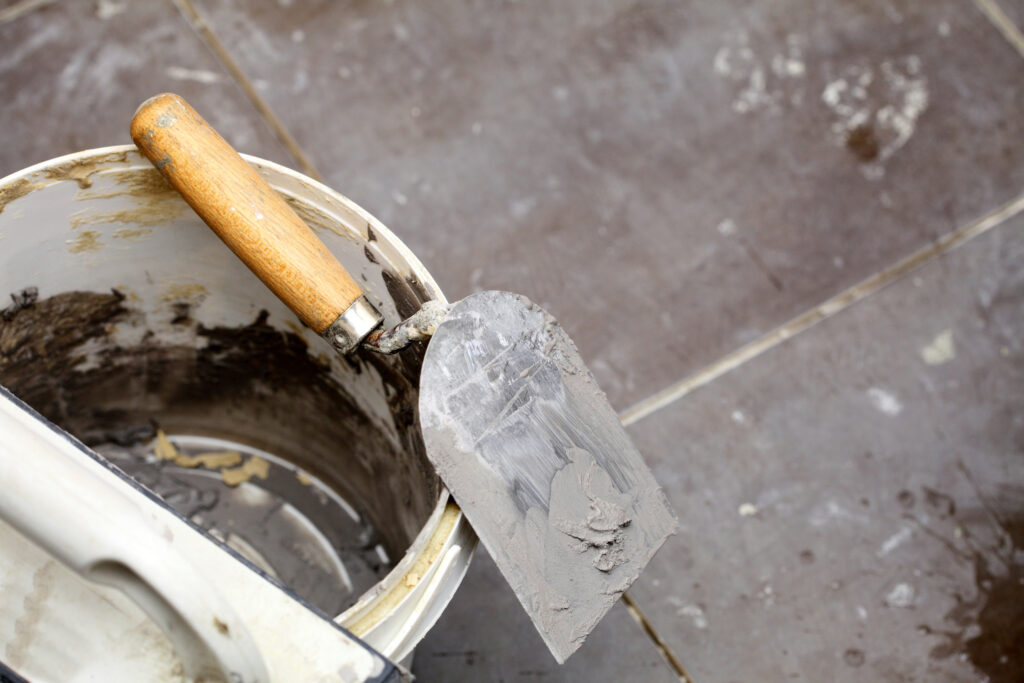
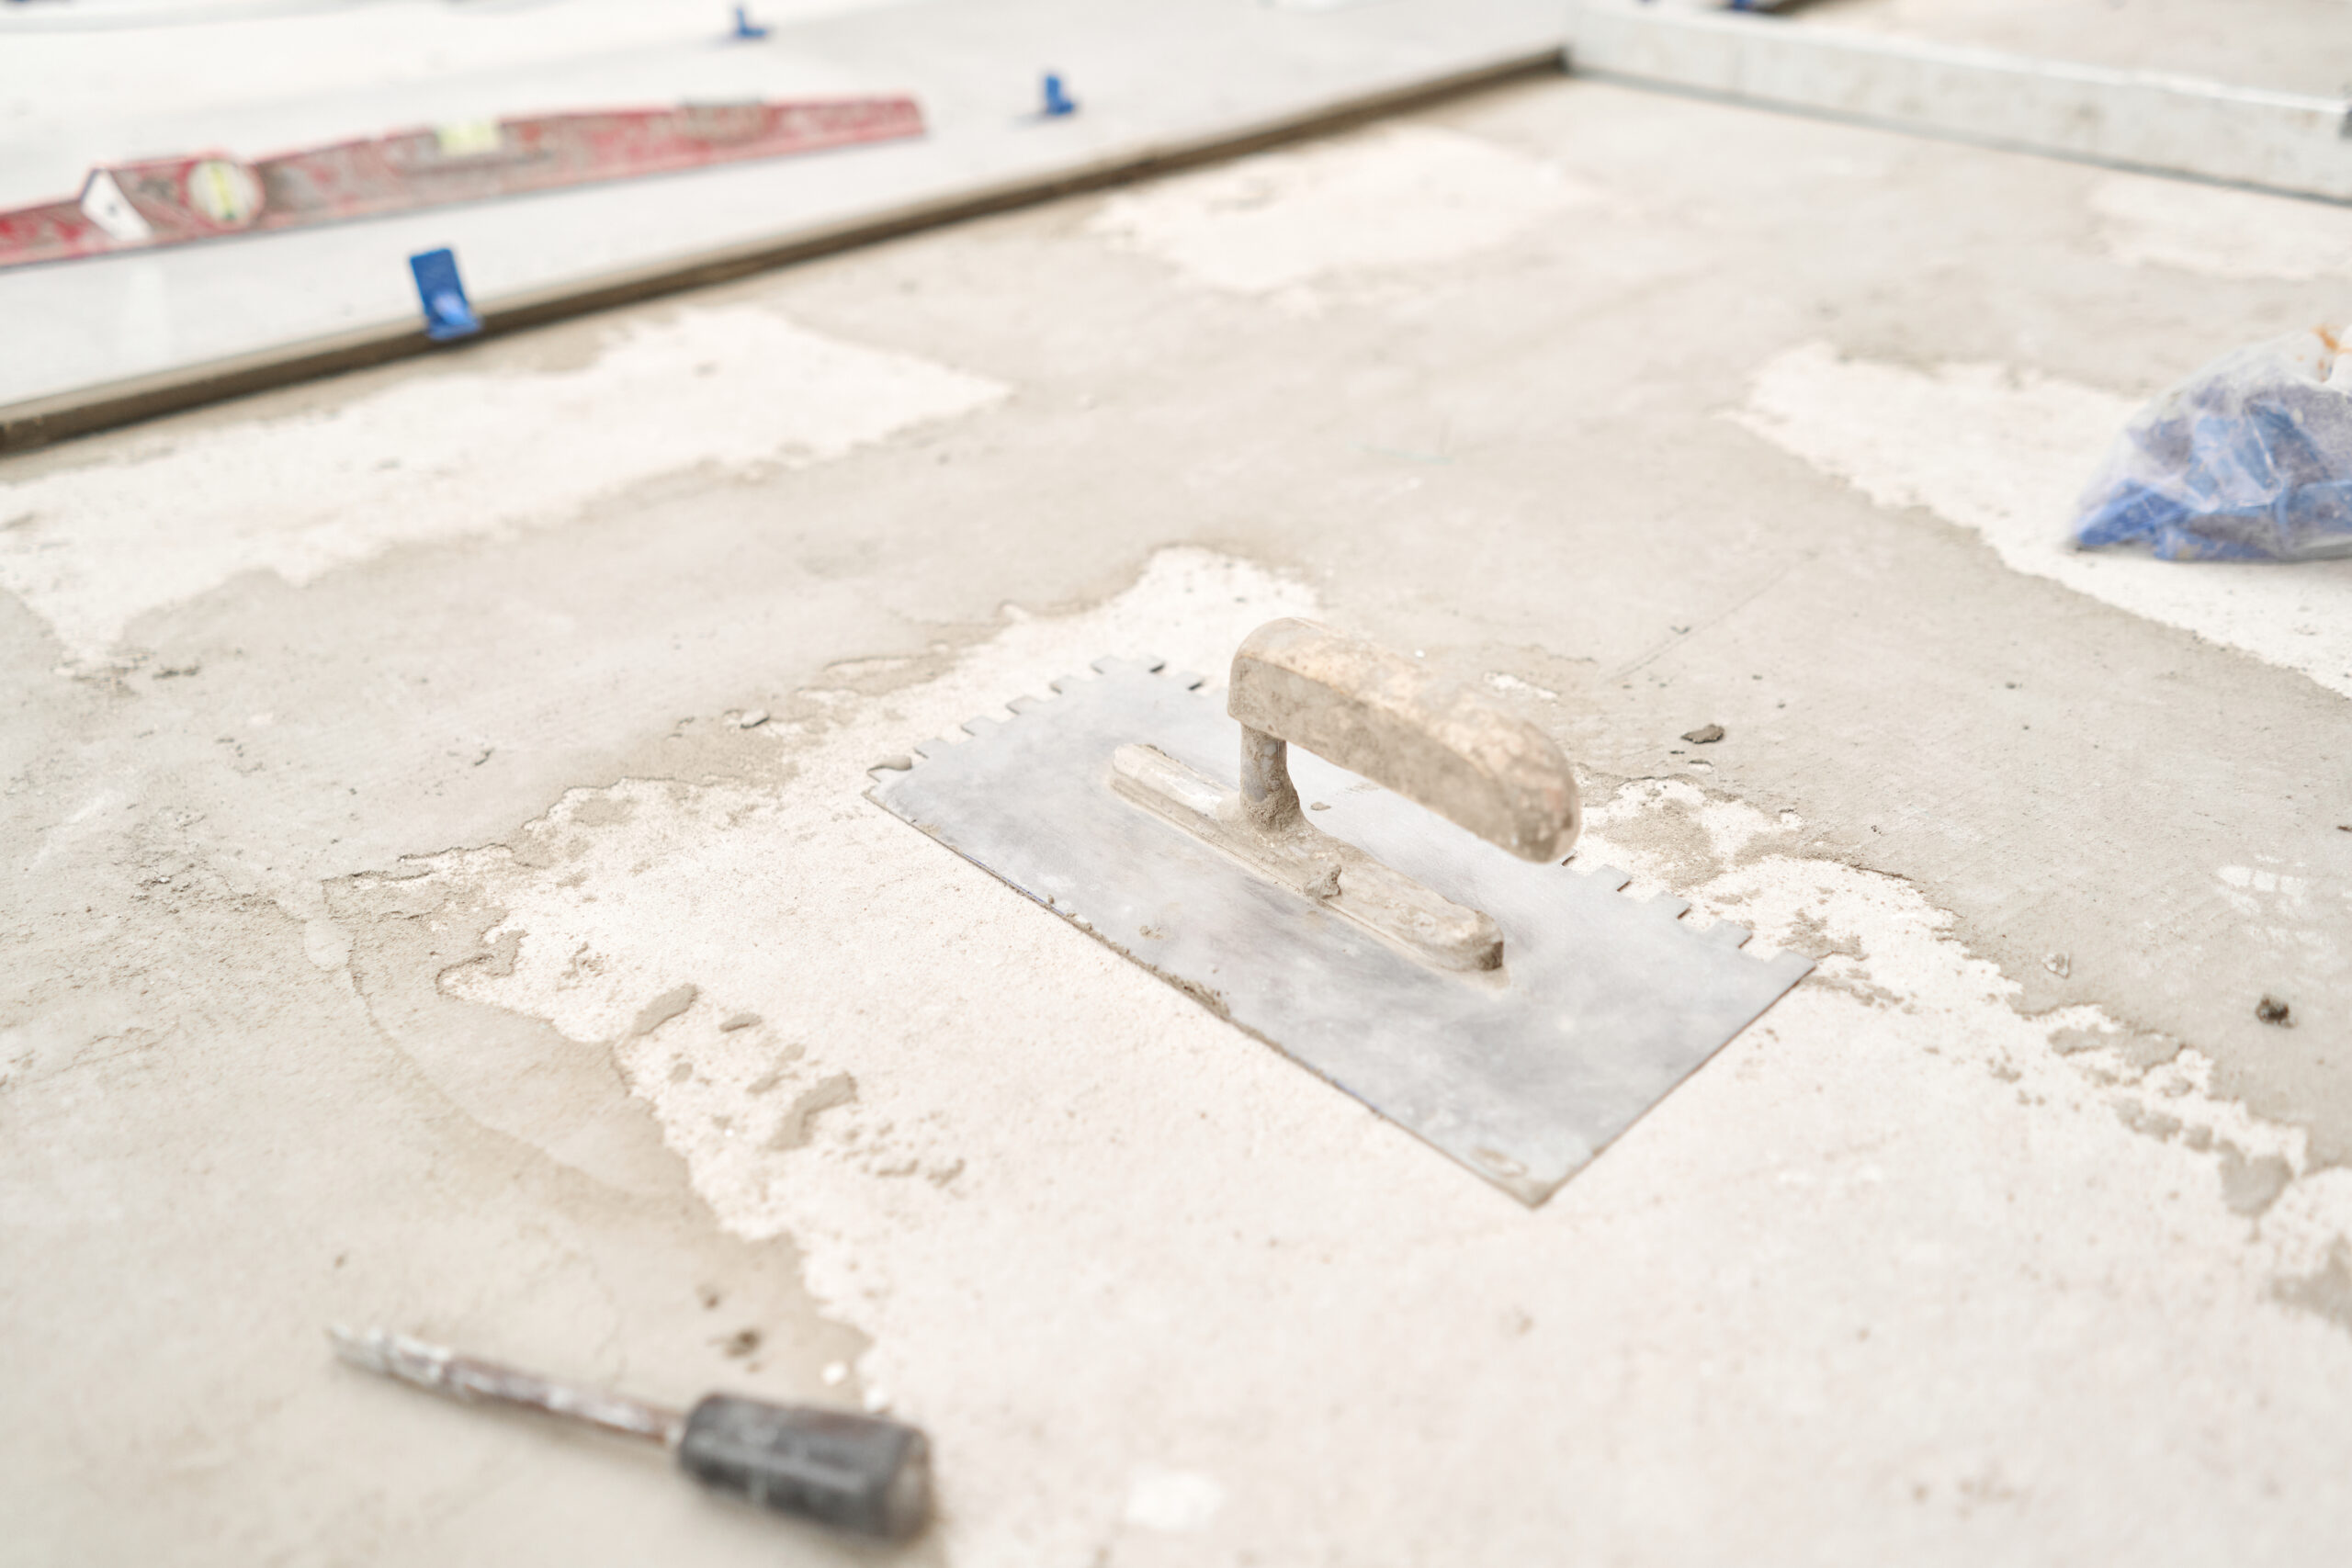
Thin-film mortar dries slowly, allowing you to fix and readjust the panel. The ingredients of this type of mortar are cement, fine sand and a water retention agent. The smooth side of a 1/4 inch notched trowel is used to spread enough mortar. You then rake the thin layer with the notched edge, creating parallel lines in your mortar.
Lay the Backer Board Sheets
While the mortar is still wet, carefully lay a sheet of support board on top and place another.
Leave about 1/4 inch between the board and the wall.
Leave no more than 1/8 inch between each board and the edges of your tile.
Secure it with screw in backer board
Insert a new screw every 6 to 8 inches into the cement board, at least 1/2 inch, but no more than 2 inches from the edge of each sheet.
Push the screws into the support panel until their heads are aligned with its surface.
Fill the Joints with Mortar
Use the flat edge of your notched trowel to fill the gaps between the large leaves.
Smooth the mortar to a height of about 1 ½ inches on each side of the joint. This will facilitate installation of fiberglass tape.
Cover the joints with fiberglass tape to strengthen them
Cut the fiberglass tape to length with the thin side of your trowel. Press it into place in the joint mortar, then scrape off any excess when done.
Cover Fiberglass Tape with Mortar
Spread a thin layer of mortar over the fiberglass tape with the flat side of your trowel or paint scraper.
Allow Mortar to Set
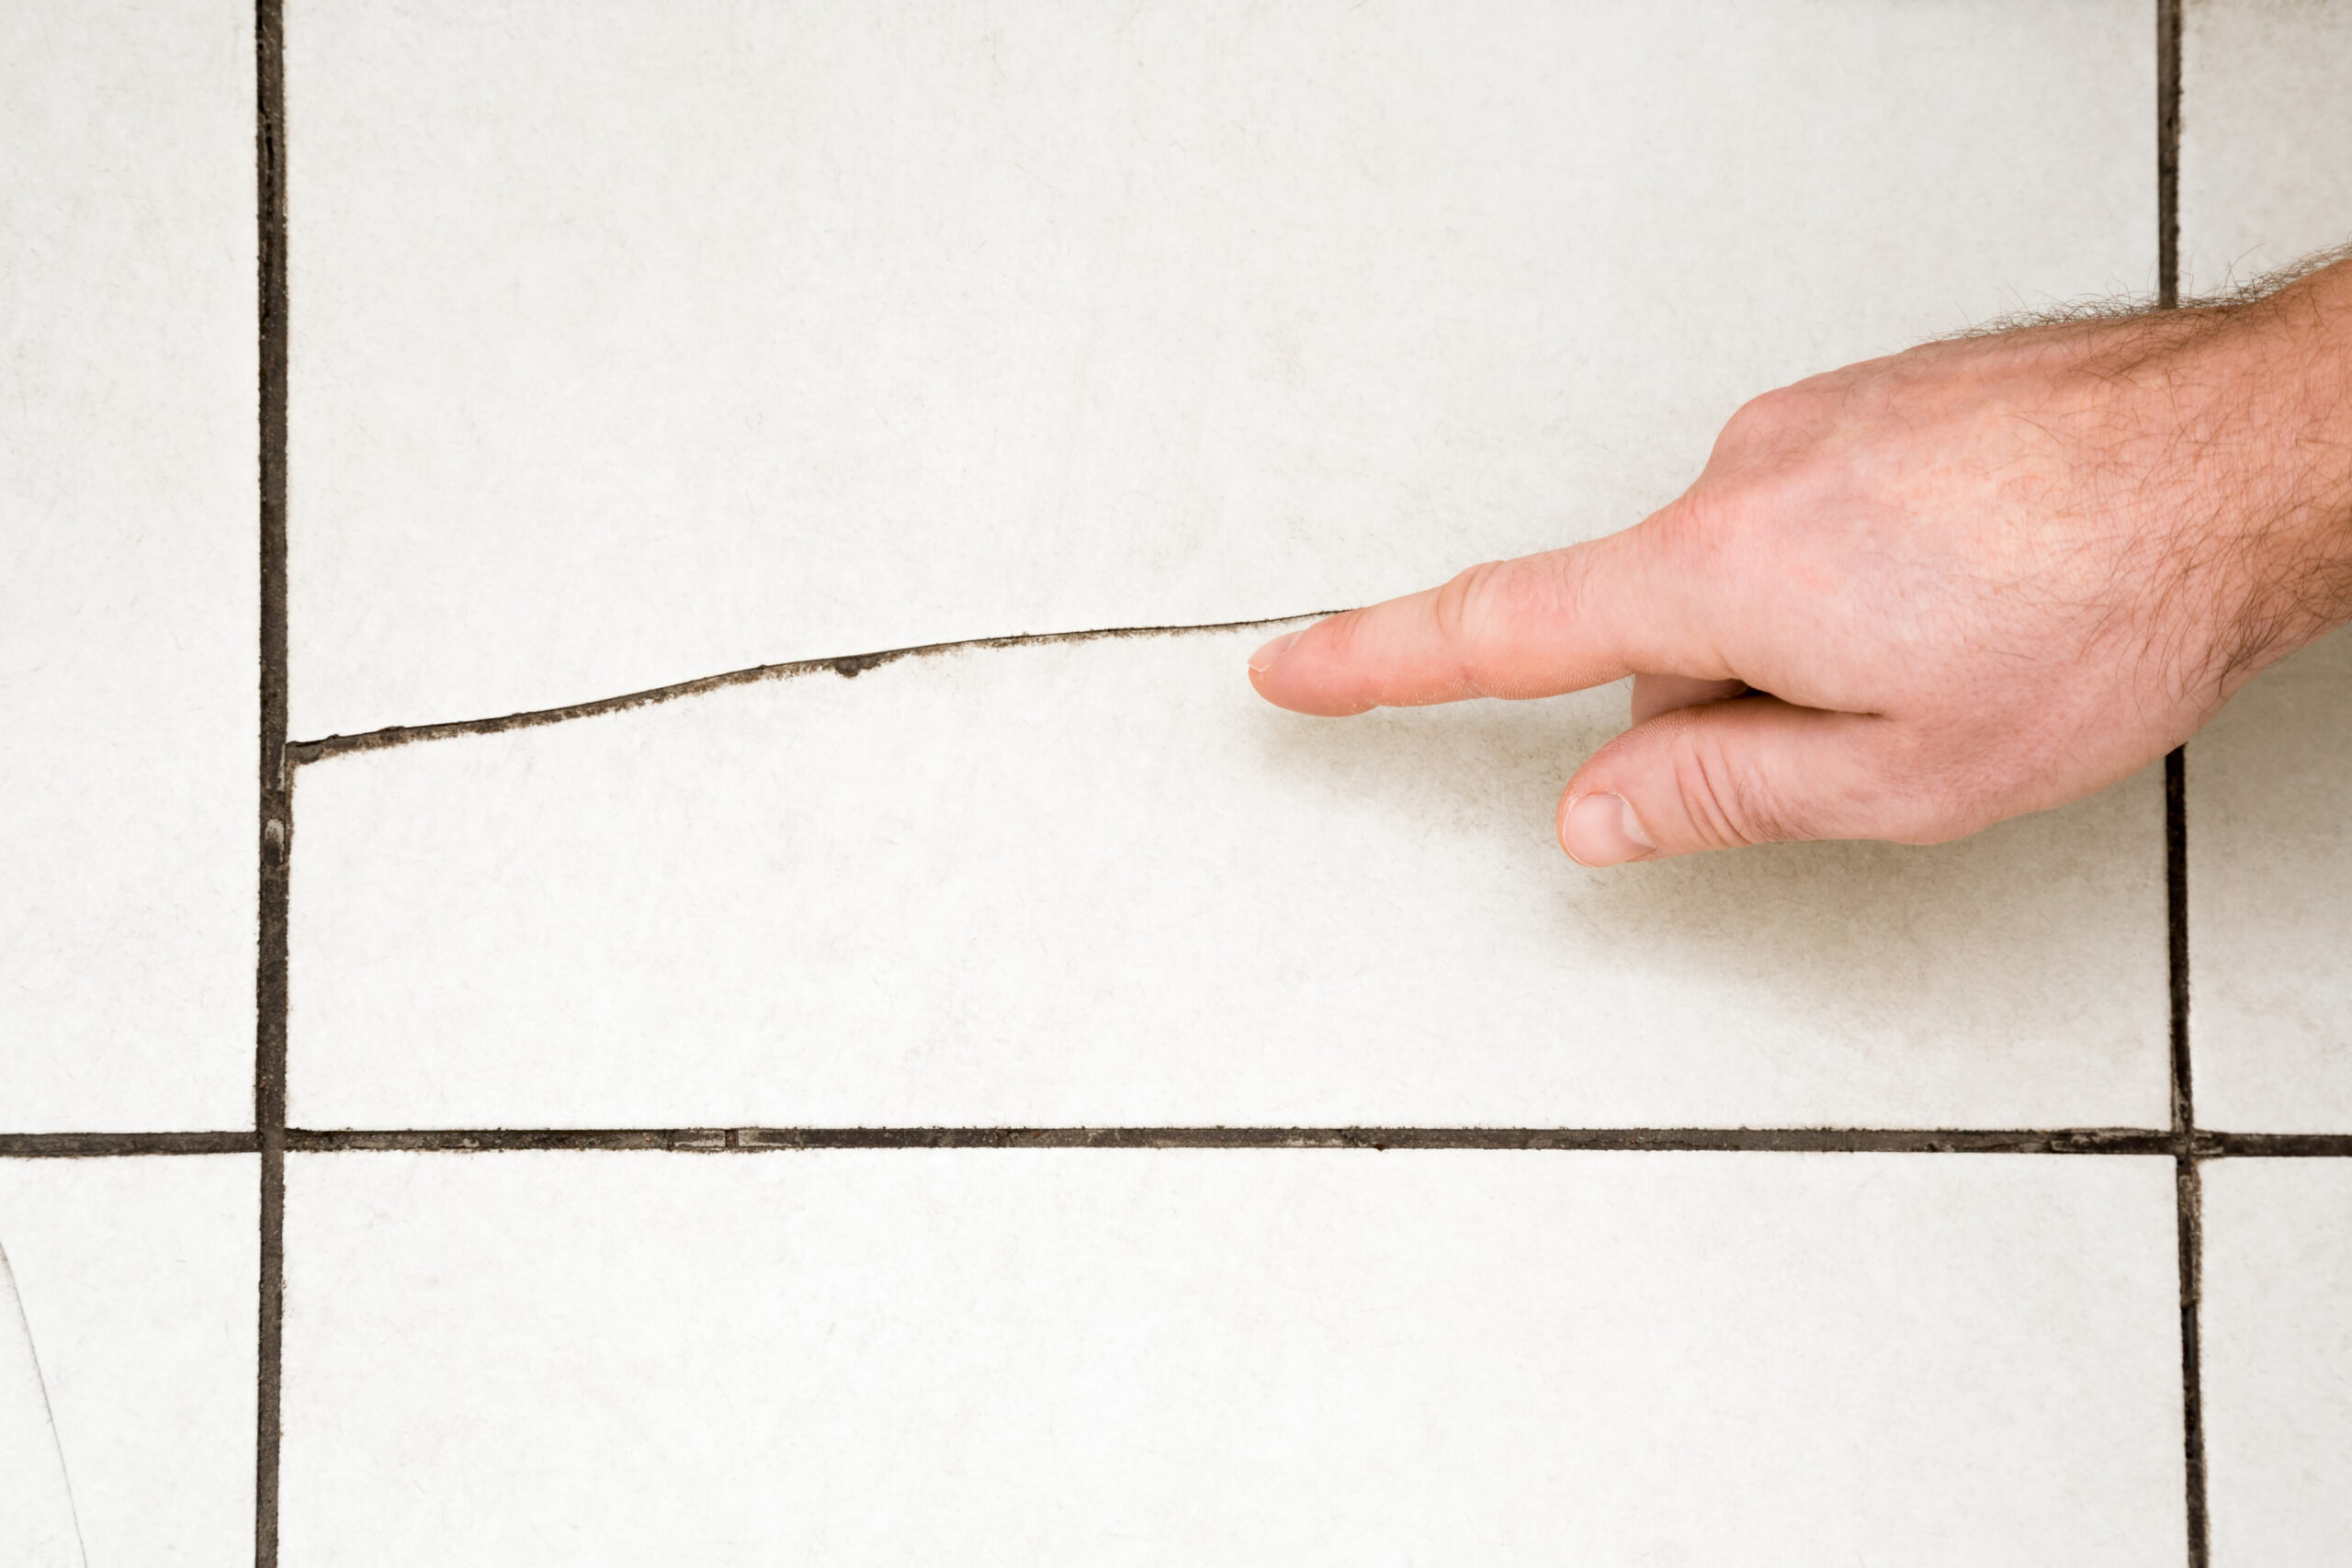
It is tempting to start tiling right away, but it is important to wait until the mortar is completely fixed and dry. This process can take 24-48 hours before you start laying your tiles.
Fully bonded mortar means that your cement board will not bend, protecting both tiles and grout from cracks. If water seeps into the cracks in the basement of your floor, it will be retained by this connection between the cement panels and the subfloor.
Cement Board Tips
Here are several tips to keep in mind when installing cement boards.
Cement board can be effectively used instead of the traditional wall panel to create a waterproof bracket for shower or bathtub contours. To do this, you need to remove the existing material before installing the backboard on studs.
Cement boards can be used on countertops to install tiles, but only if an additional sheet of support boards is added.
Never use standard screws when installing the cement board. Standard screws will corrode and can damage the material to be fixed. Always use cement screws.
Installing cement panels under your tile can help protect the subfloors from water damage. It also provides a smooth and solid base for your tiles to rest on.