Installing vinyl flooring is an easy project that you can do by yourself. It’s a less expensive alternative to hardwood, making it ideal for do-it-yourself home improvement projects and it gives a realistic look and feel. This guide will tell you everything you need to know on how to install vinyl plank flooring in your home. However, make sure that you always follow the specific installation instructions that come with your product.
Advantages of Installing Vinyl Flooring
Vinyl is a versatile, durable flooring option. It feels great for the feet and creates a sleek look in any room. Additionally, vinyl flooring is stain-resistant, water-resistant and can reduce the amount of noise coming from upstairs. This makes it a popular choice among families with children or pets.
For the same reasons (economy and easy maintenance), people often choose to install vinyl plank flooring in bathrooms and basements. However, you can choose to install vinyl plank flooring in your kitchen or bedroom. It’s easy to apply over any rigid and leveled surface—including concrete, wood or another layer of vinyl.
Choose Which Type of Vinyl Plank to Use
Before installing vinyl plank flooring, you should determine which type of vinyl plank is best suited for your renovation project. Vinyl planks can be sorted into three main categories, based on their installation method: GripStrip, click lock and glue down.
Interlocking vinyl planks create a floating floor. However, unlike other types of floating floors that use adhesives to connect the pieces, these planks interlock with tongue-and-groove joints so they can easily be put together for a reliable fit.
GripStrip vinyl flooring comes with an adhesive layer that keeps the planks connected. This installation method is designed to create a floating floor. It involves covering the subfloor with GripStrip vinyl planks without adhering or fastening them in any way. Floating floors are a quick and easy way to install new flooring without necessarily having to remove the existing floor.
Glue down vinyl plank flooring adheres to the subfloor using either one of two types of adhesives: hard-set or pressure-sensitive. Hard-set adhesive is spread along the subfloor and then vinyl planks are laid down on top of it. Pressure-sensitive adhesive is pre-applied to the bottom of each plank, so when you press one into place, it sticks immediately. Although both types of vinyl adhesive are durable, the pressure-sensitive type allows you to replace individual planks more easily.
All three installation methods are easy to follow, require little time and can be used over any rigid and level subfloor. The method of renovation that you choose depends on your personal preferences and the type of room being renovated. When choosing between different kinds of vinyl plank flooring, keep in mind that GripStrip is often water-resistant while click lock can be entirely waterproof.
Tools for Vinyl Flooring
To install vinyl flooring, you will need a few relatively simple tools, including a knife to score the planks and snap them into place. Vinyl cutters are a good solution too. For more complicated cuts, a jigsaw or miter sawwill work better than a vinyl cutter. Other tools you’ll need include a measuring tape, chalk or crayon and straightedge. A tapping block with rubber mallet may also be recommended by some manufacturers. If you are installing glue down vinyl planks, make sure you have vinyl floor adhesive and a notched trowel. If your room has a baseboard or moulding at the bottom of the wall, use a pry bar to temporarily remove it.
Pro Tip : It’s a good idea to use safety goggles, work gloves during the installation, and knee pads can also be helpful.
Preparation for Vinyl Plank Installation
Before you begin the installation, measure and prepare the subfloor. Measure the dimensions of your room to determine how much vinyl plank flooring you will need. To ensure that you have enough flooring, buy 10% to 20% more than the measurements of your room. This will ensure that you will have enough planks to cover your entire floor and to have extra pieces left over for your future repairs or replacements.
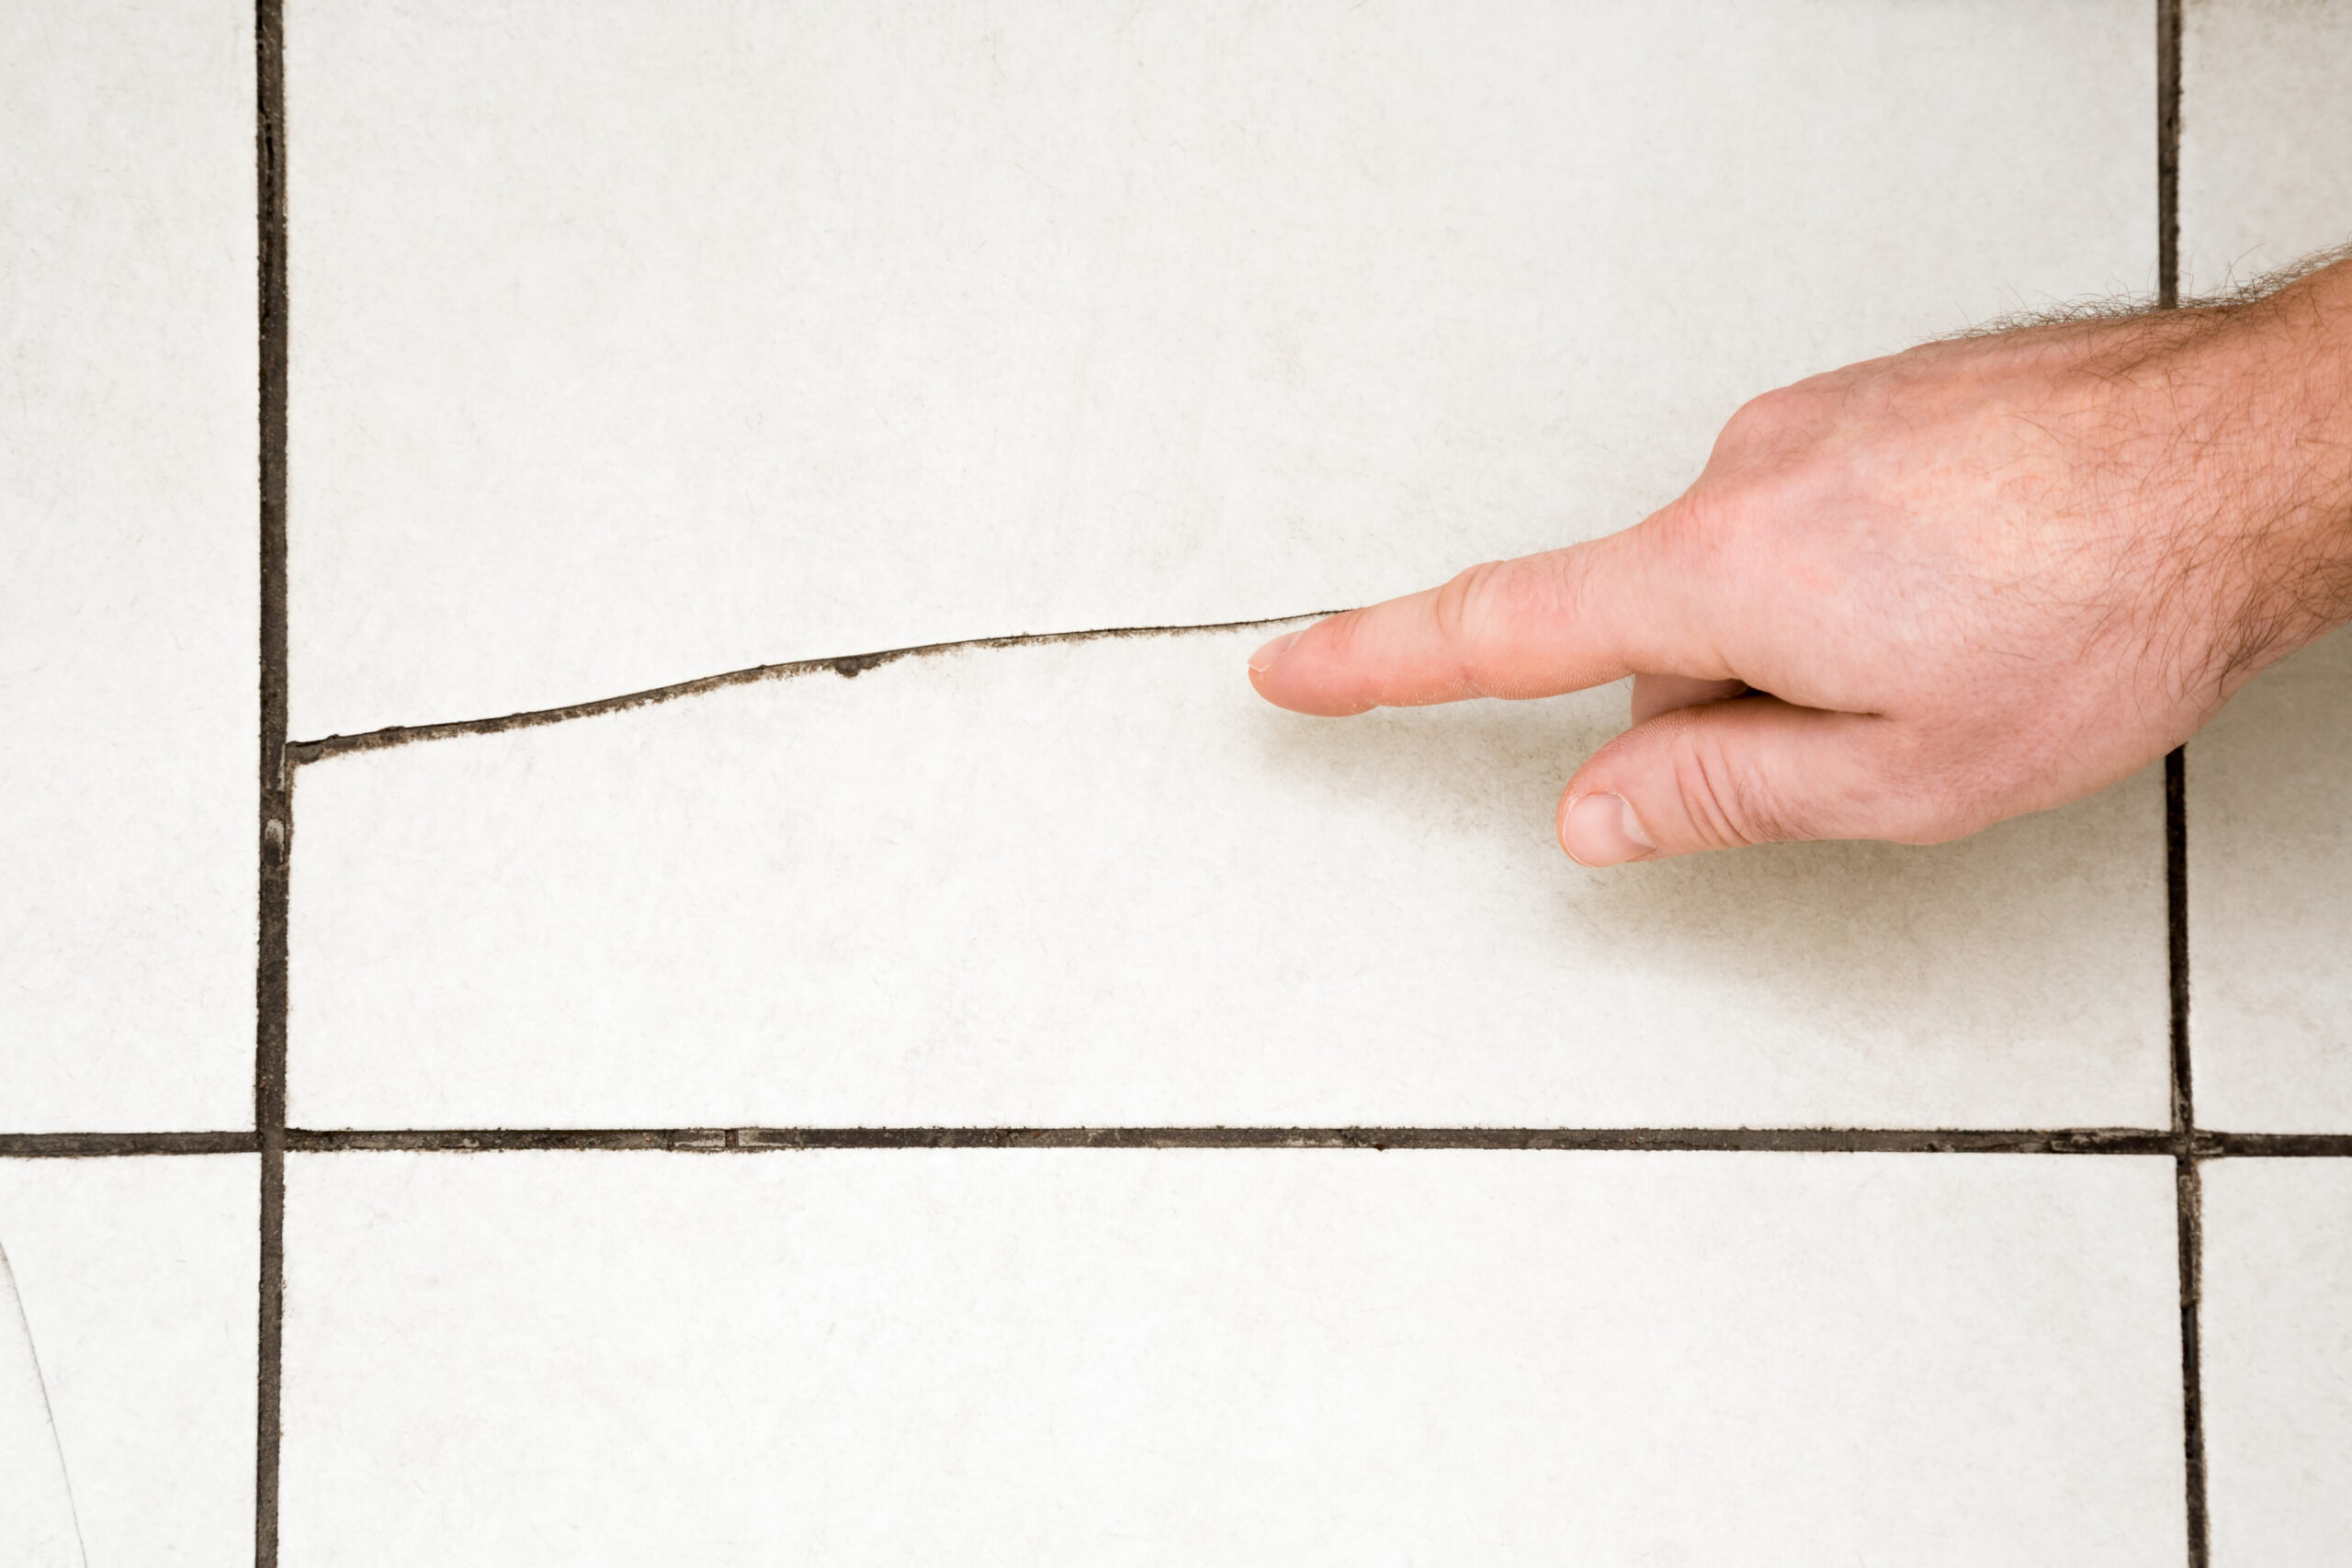
Remove old carpeting and vinyl flooring. Make sure the subfloor is clean, rigid, leveled and crack-free before installing new Vinyl Flooring. If you are installing vinyl planks in a bathroom, removing the toilet temporarily may be necessary. If the subfloor is uneven, you can fix low spots with a self-leveling compound and sand down high ones.
Pro Tip : Never sand down old vinyl flooring, as it may contain asbestos. Instead, remove the pre-existing vinyl if it’s not level and install new flooring
Planning Your Vinyl Plank Installation
Before installing the flooring, plan how you will lay it out—this gives you a head start on installation and ensures that the job goes smoothly.
Using the room measurements you took in the previous step, determine how wide each plank should be based on its distance from the wall. For the best appearance, make sure that your border widths are no less than half their initial width. For example, if a vinyl plank is 6 inches wide, cut it to be at least 3 inches wide for a border strip. It’s possible to only trim the last row, but if that row can fit less than half of a plank’s width, then you will need to also trim the first row so that there are as many full planks as possible.
Starting at the longest wall will keep you from having to make more cuts.
Each package of vinyl plank flooring contains planks with different patterns and colours. Before laying them down, remove all the planks from their packages and mix them together to create a natural-looking variation.
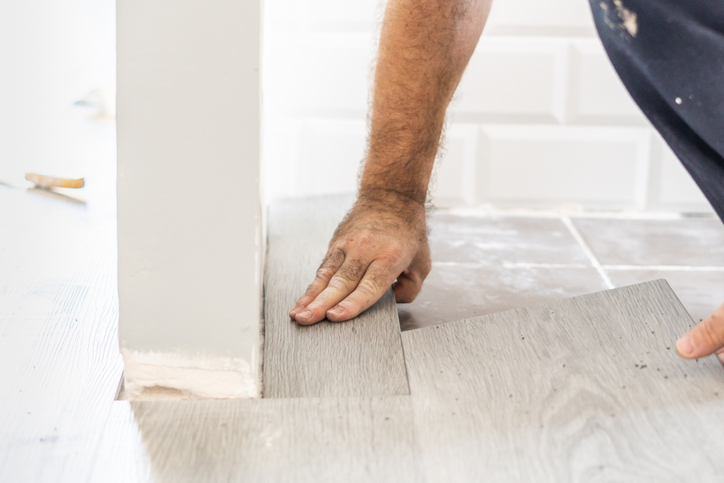
Undercut the door jambs so that when you have fitted the planks in place, they will slide easily beneath them.
Plan the placement and length of your planks so they fit your room perfectly. Then, stagger their ends by about 6 inches between each row for a more pleasing appearance.
Leave the manufacturer’s recommended amount of expansion space between the planks and walls. Mark this distance with a chalk or crayon line to make sure you don’t go over it.
Place all cut edges of the vinyl planks against the wall so that when you reinstall your baseboards, they will cover the cuts.
When figuring out how to install vinyl flooring around an unusual shape, trace the shape onto a piece of paper and use that as a stencil when cutting.
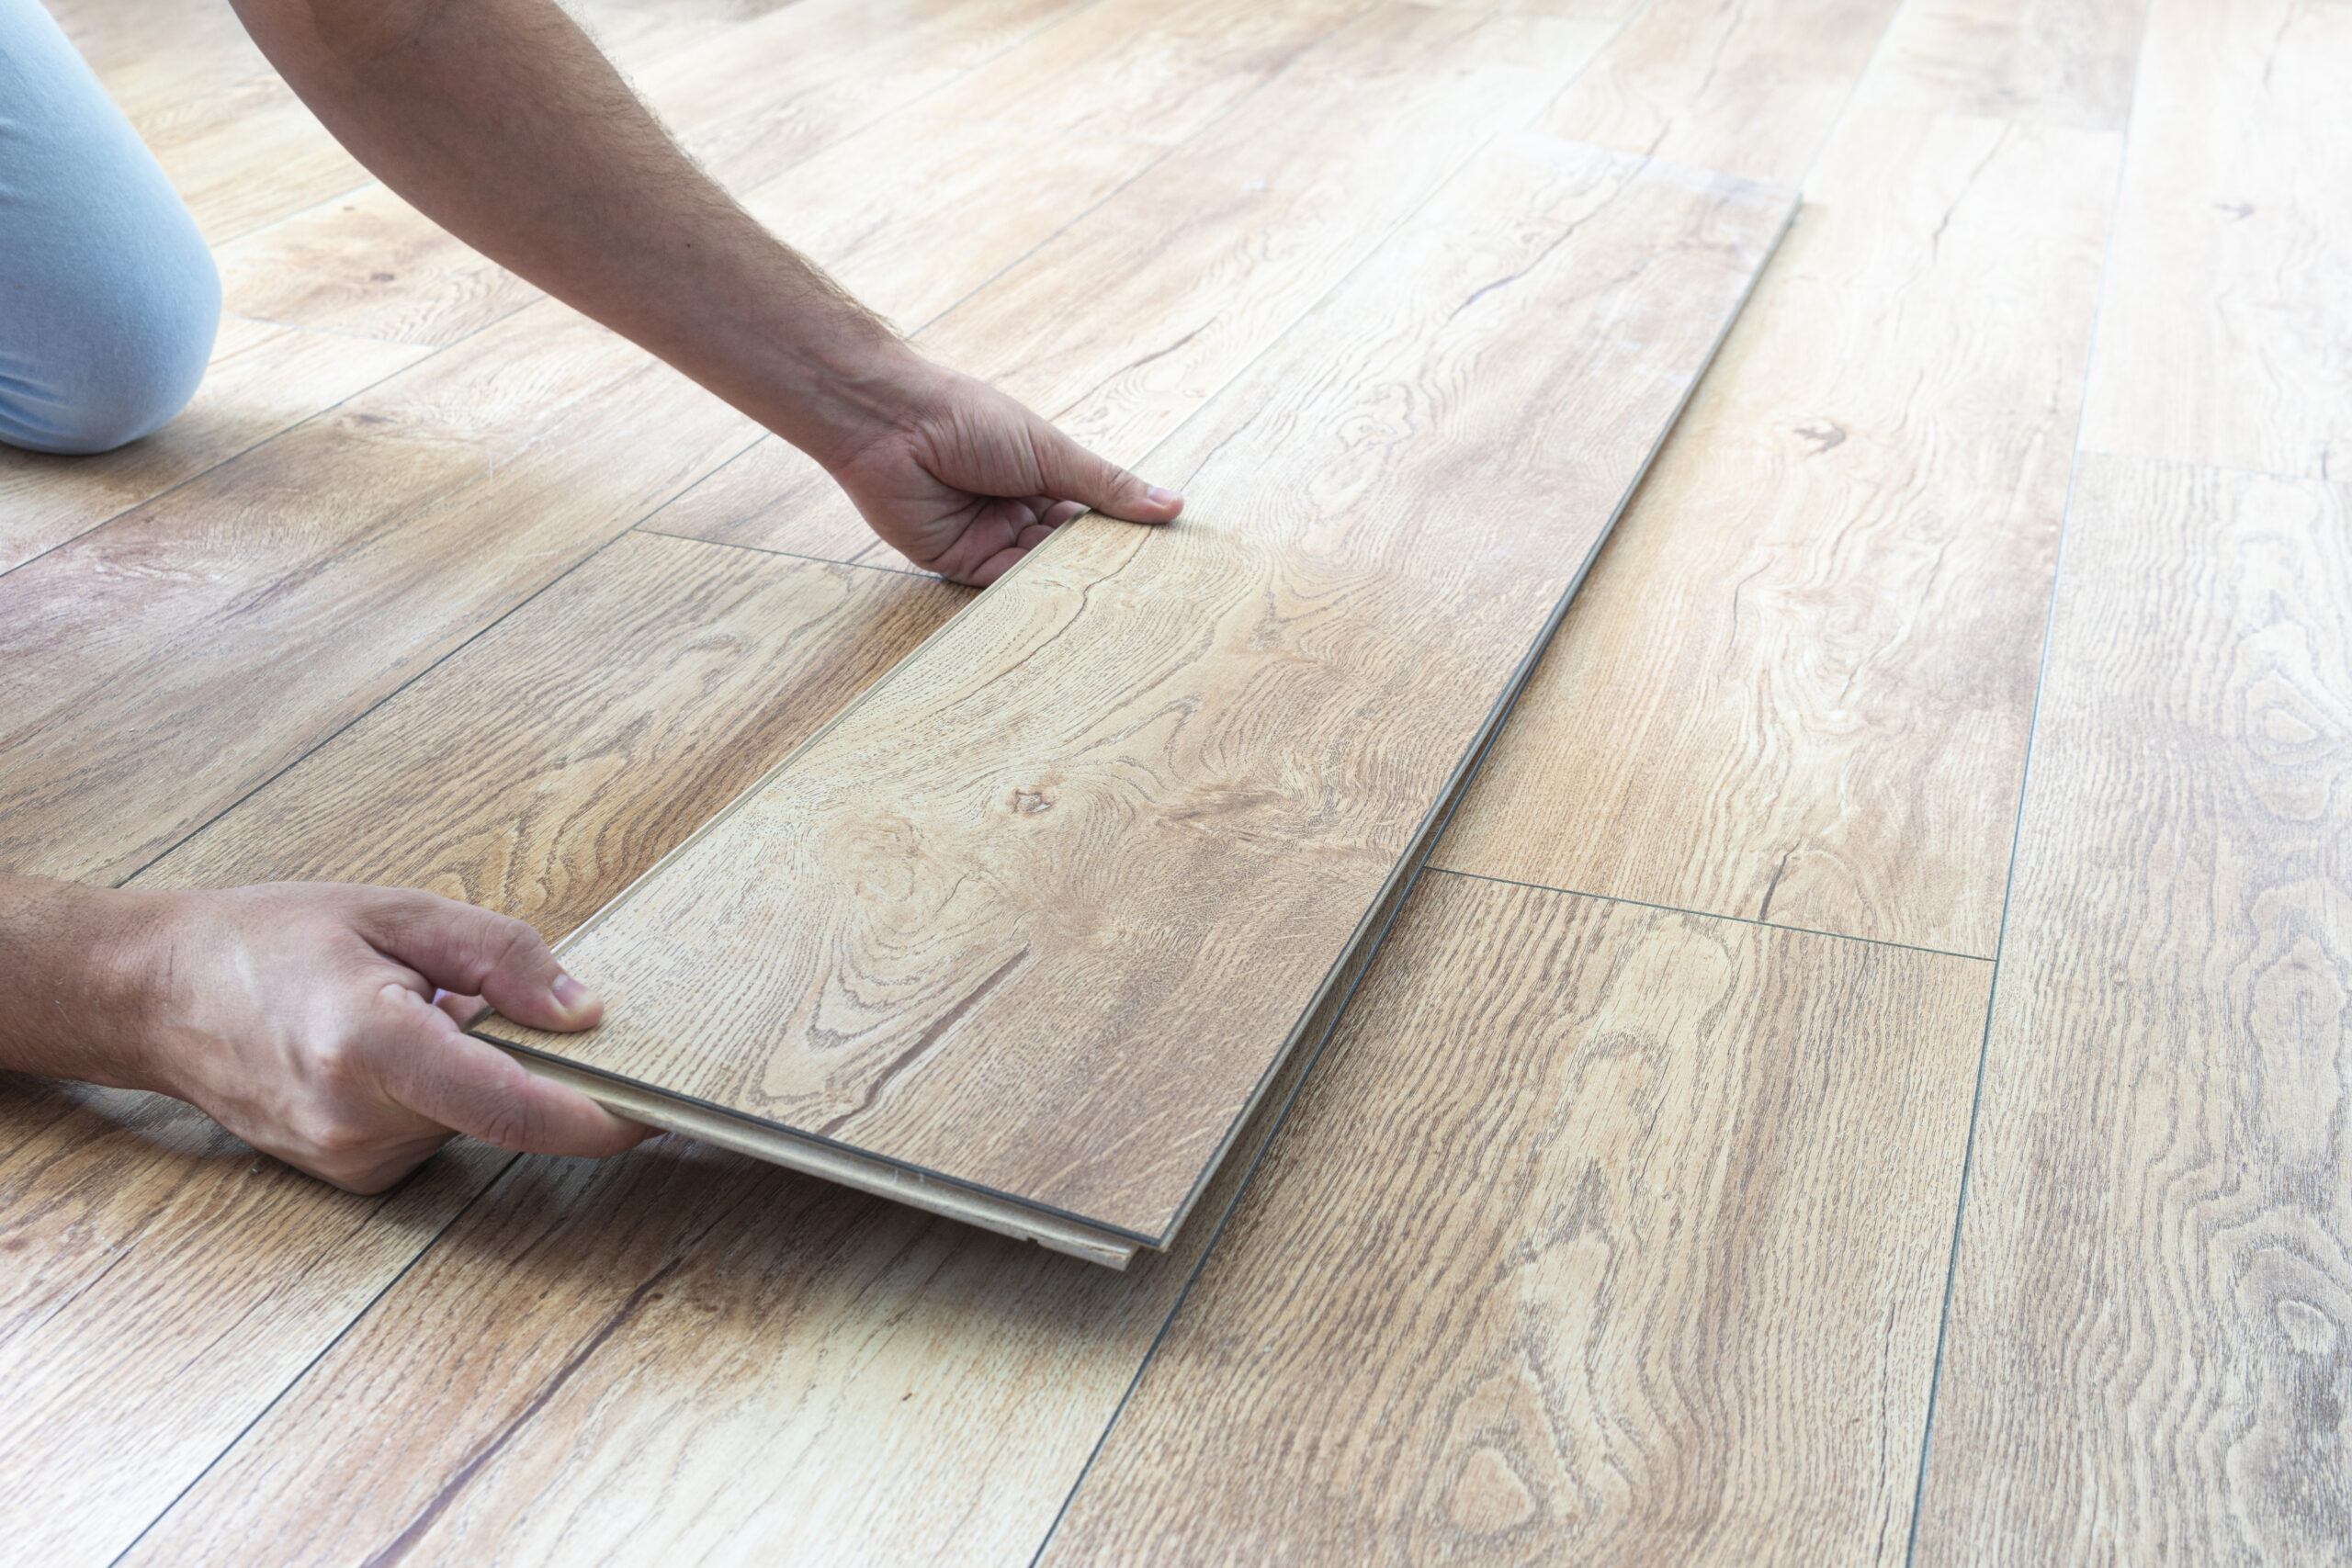
Installing Click Lock Vinyl Plank
Cut off the tongue edge from the first vinyl plank.
Place the first plank, leaving a proper distance from the wall. Insert its tongue into the groove of the second plank and slide down until it locks with a snap sound.
Continue this pattern until you have completed the entire row, trimming the last plank as needed.
To install the second row, use the same angle-and-snap method to attach it both to your planks in the first row and also each other. Complete this for all rows of your room.
Trim the border planks as needed, leaving manufacturer-recommended expansion space.
Replace the baseboard.
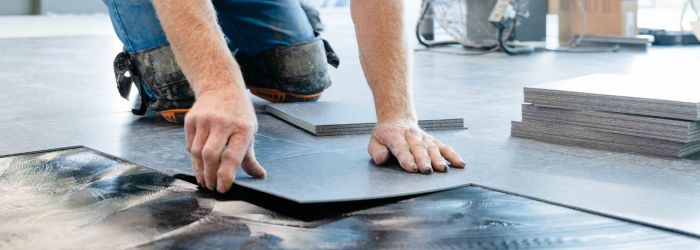
Installing GripStrip Vinyl Plank
Begin by laying out your unopened boxes of planks in the room where they will be installed at least two days before you start, so they can acclimate to the temperature and humidity.
Prep your floor, GripStrip flooring can be installed over most existing floors, but first make sure the subfloor is smooth, flat, dry, clean and solid.
Remove any carpet staples or adhesive residue, check for moisture, fill any large holes and ensure screws are countersunk.
Sand flat any uneven spots over 5 millimeters. If you are replacing any previously installed vinyl flooring, never begin sanding it before consulting a professional beforehand.
Plan your flooring layout to determine how the entire floor will lay out in order to ensure the planks on either side of the room are similar in size.
Measure the length of the room and divide by the length (long side) of the plank you are installing. If the number is less than 12″ you need to cut your first plank accordingly to avoid planks less than 12 inches on the opposite side of the room.
Also measure the width of the room. Divide the width of the room by the width of the Allure plank (short side). If the number is less than half the width of the plank, then your first row needs to be cut length-wise on both the first and last rows (they should be the same width on the first and last rows).
With the measured mark on the plank, score and snap the plank by using a straightedge and utility knife.
Begin installing rows starting from a corner, install the first row with the under-edge facing away from the wall, allowing a gap of at least 1/4″ for expansion, which should be covered by moulding. Trim off the long side top over-edge facing the wall. Be sure to get the entire length of the first row as well as the overedge on the short side of the first plank.
Connect the second plankinto the corresponding edge at a 45 degree angle.. The over-edge always goes on top of the under-edge. Starting at one end of the plank, use one hand to hold the plank and the other to roll the edge into place. Make sure to lay them such that the cut edges are facing the wall. You will cover these with baseboards once you have finished the installation.
Use a hand roller directly on the joined seam and exert as much pressure as possible to bond the seams with no visible gap between planks. If your seam isn’t tight, prior to hand rolling, slowly lift the top plank away and re-attach correctly.
Start the second row with a plank cut at about 2/3 length. To cut a plank, simply measure, mark, score and snap. The over-edge butts up to the first row. Again, get one corner of the plank started tightly against the other and roll the plank tightly into place on a 45 degree angle.
Stagger the seams or end joints at least 6 inches apart for a more natural looking appearance.
Remove the under-edge of a plank. Place a handsaw on the plank and cut the door casing to the height of the plank, this is to ensure your flooring will fit underneath the door casing and not expose a 1/4″ expansion space,
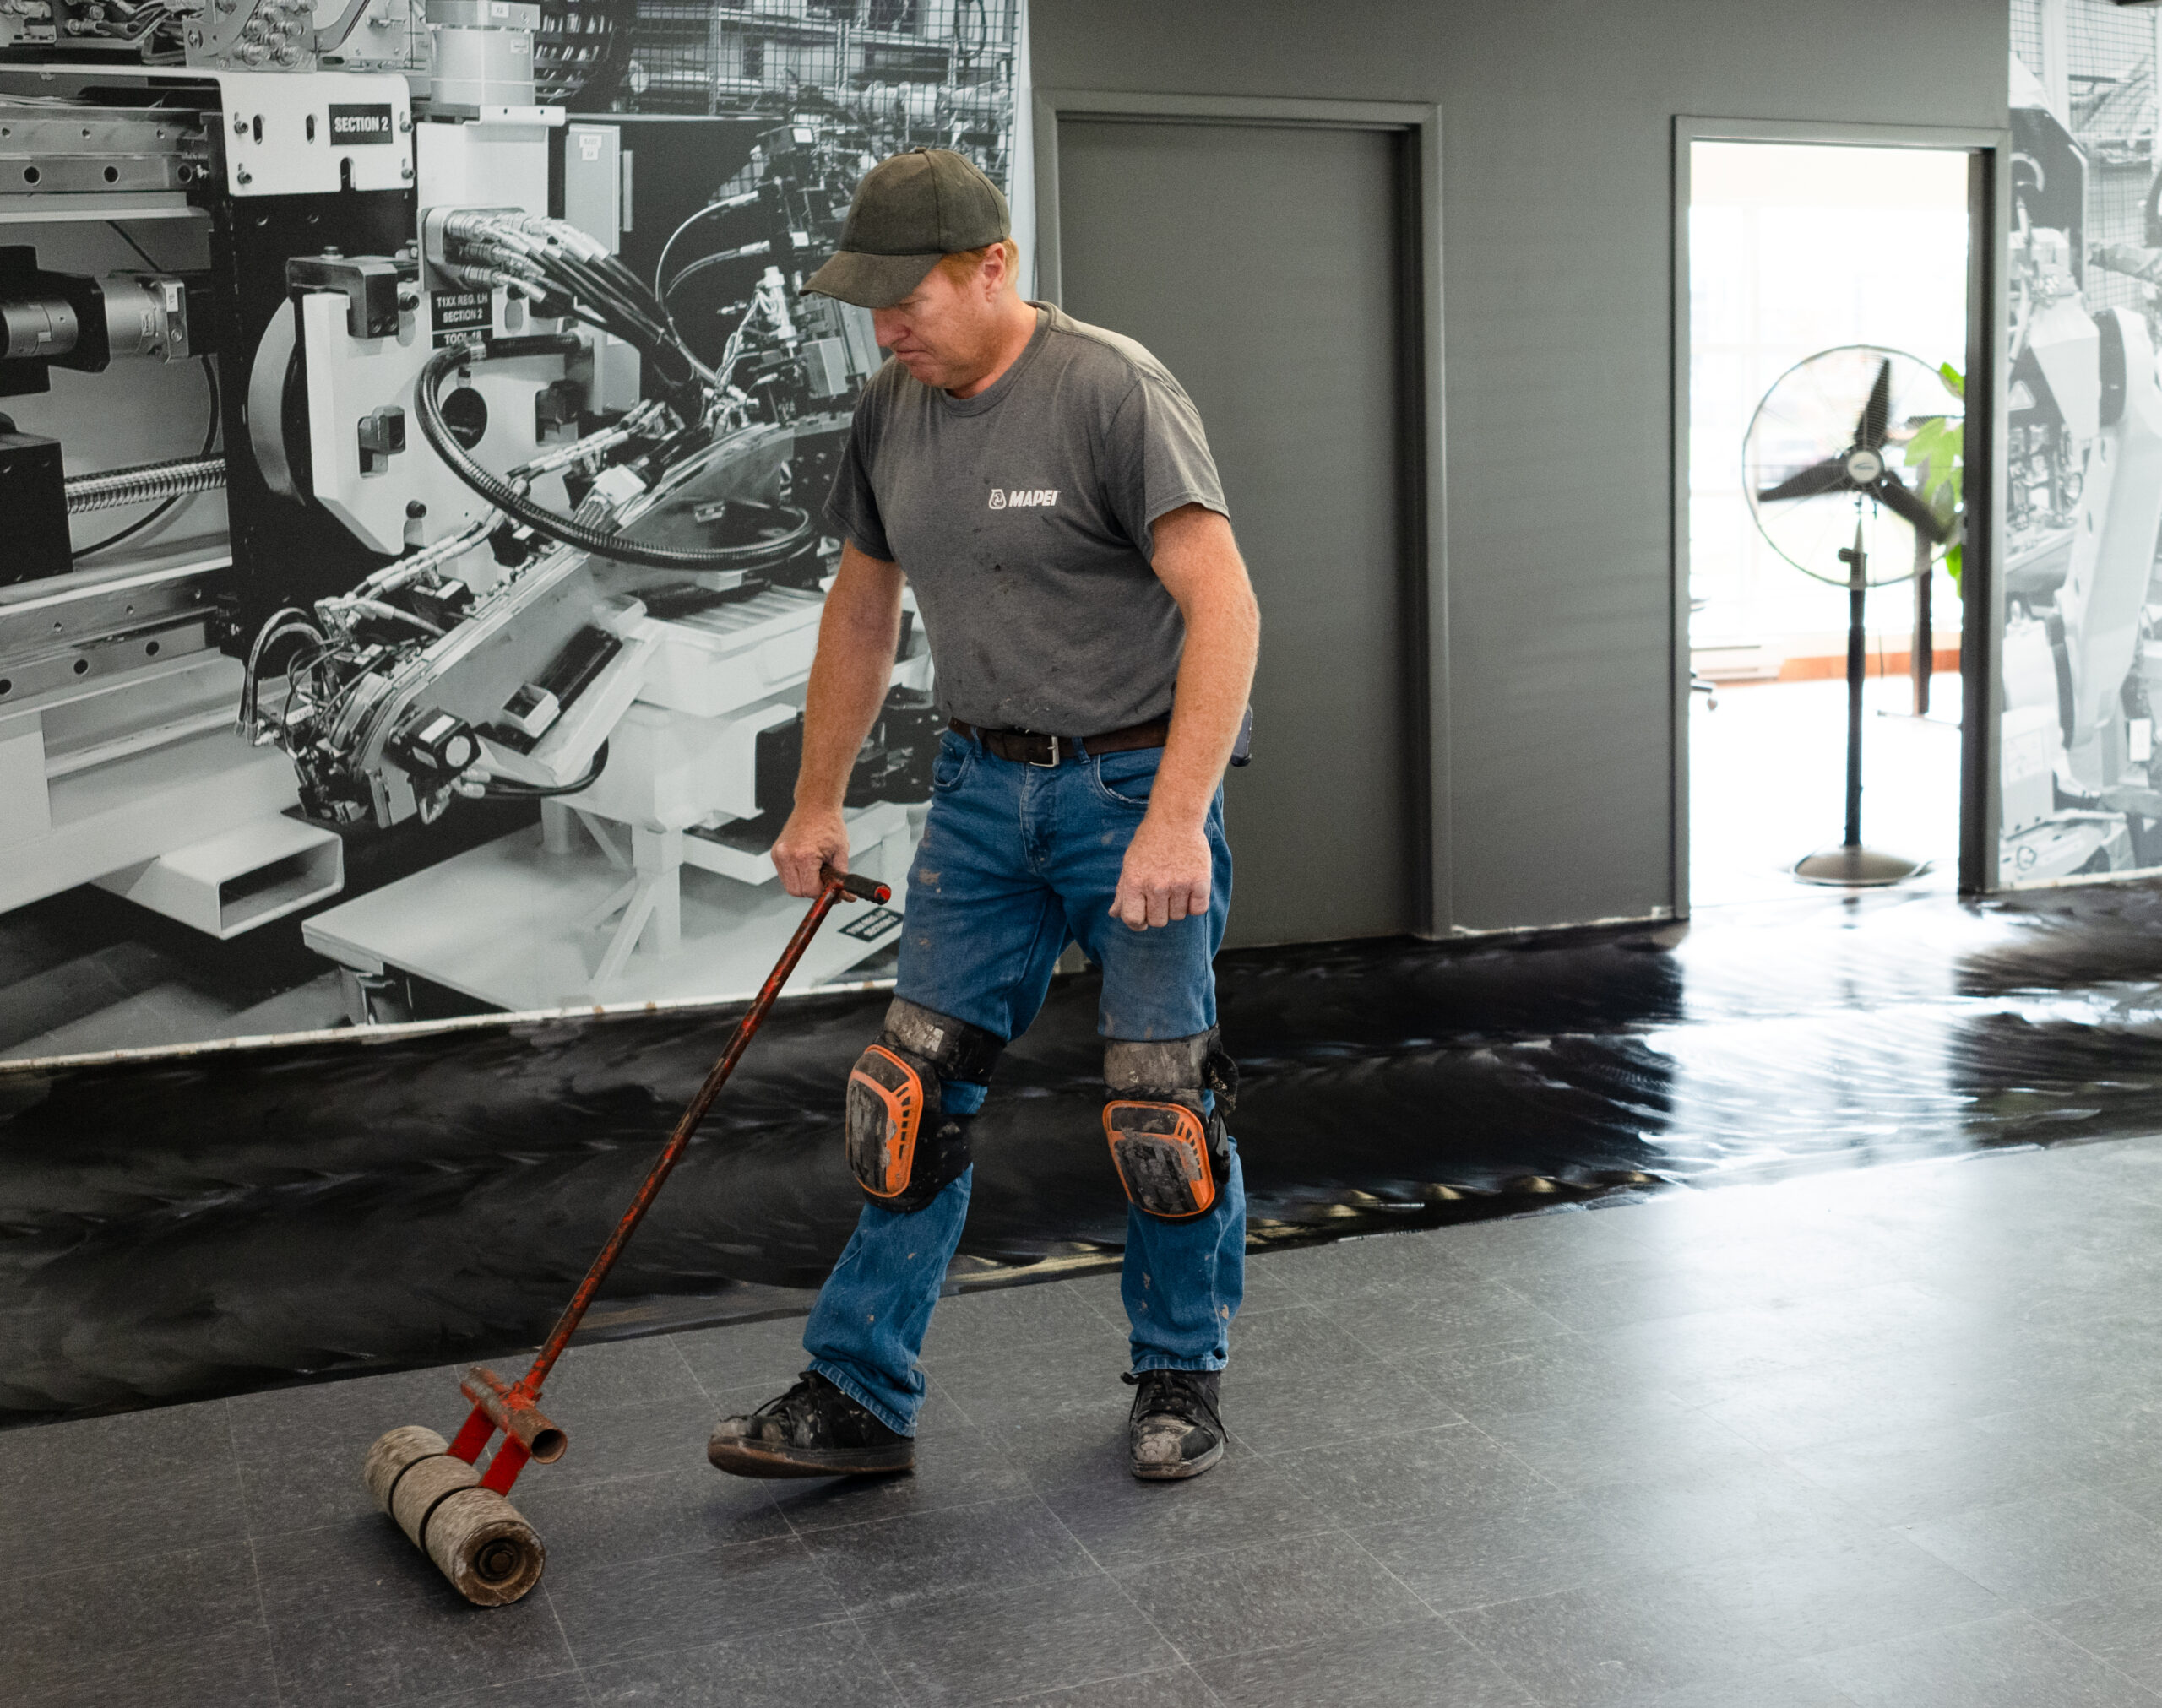
Finish with a floor roller. We recommend rolling the seams with a floor roller in both directions to ensure bonding of both adhesive edges.
Installing Glue Down Vinyl Plank
When installing vinyl plank flooring with a glue down method, it is best to start in the center of the room rather than in its corners. First, find your room’s center point, then use a straightedge and chalk line to mark that location.
To divide your room into even quadrants, make a second line at right angles to the first one.
Measure the distance from a center point on one wall to another parallel wall, then divide this distance by the length of your planks. The last plank should be trimmed no more than half its original width, even if that means the center point must be moved to accommodate it.
Start applying the manufacturer’s recommended adhesive at a central point and working outward into the covered area.
Let the adhesive rest until it becomes slightly tacky but still cloudy/hazy. Avoid letting it sit so long that it becomes completely clear.
If adhesive gets on top of a vinyl plank, remove it immediately with a dry cloth before the adhesive can dry.
Place the first board so that its short edge is aligned with a line where two chalk lines join.
One row of planks at a time, lay them tightly next to each other along the chalk line drawn on the ground.
Cut the border planks as needed to leave a manufacturer’s recommended expansion space.
Flooring rolls are often needed to ensure that glue down vinyl planks lay flat, but extra adhesive should be removed from between the planks.
Replace the baseboard.
In Summary
Now that you’ve learned how to lay vinyl flooring, you can easily refresh your home’s floors and give them a new look and feel. And if you’re looking for tools to help with your project, consider rental. Alternatively, you can hire a contractor to do the work for you.

")