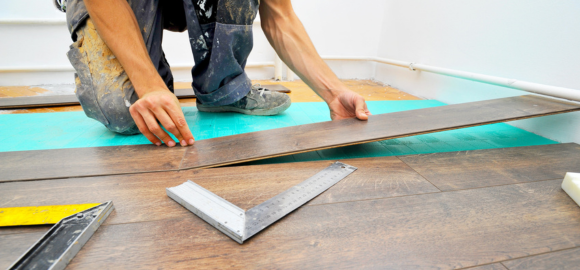
Installing laminate flooring can be a great DIY project that can save you money on labour costs and give you the satisfaction of completing a home improvement task on your own. Laminate flooring is a popular choice for many homeowners because it’s durable, easy to maintain, and looks similar to expensive flooring options such as hardwood. In this article, we’ll walk you through the steps of installing laminate flooring, including pro-tips and a list of necessary supplies.
Here’s some helpful information on how to install laminate flooring in your home.
Step 1: Prepare the Area
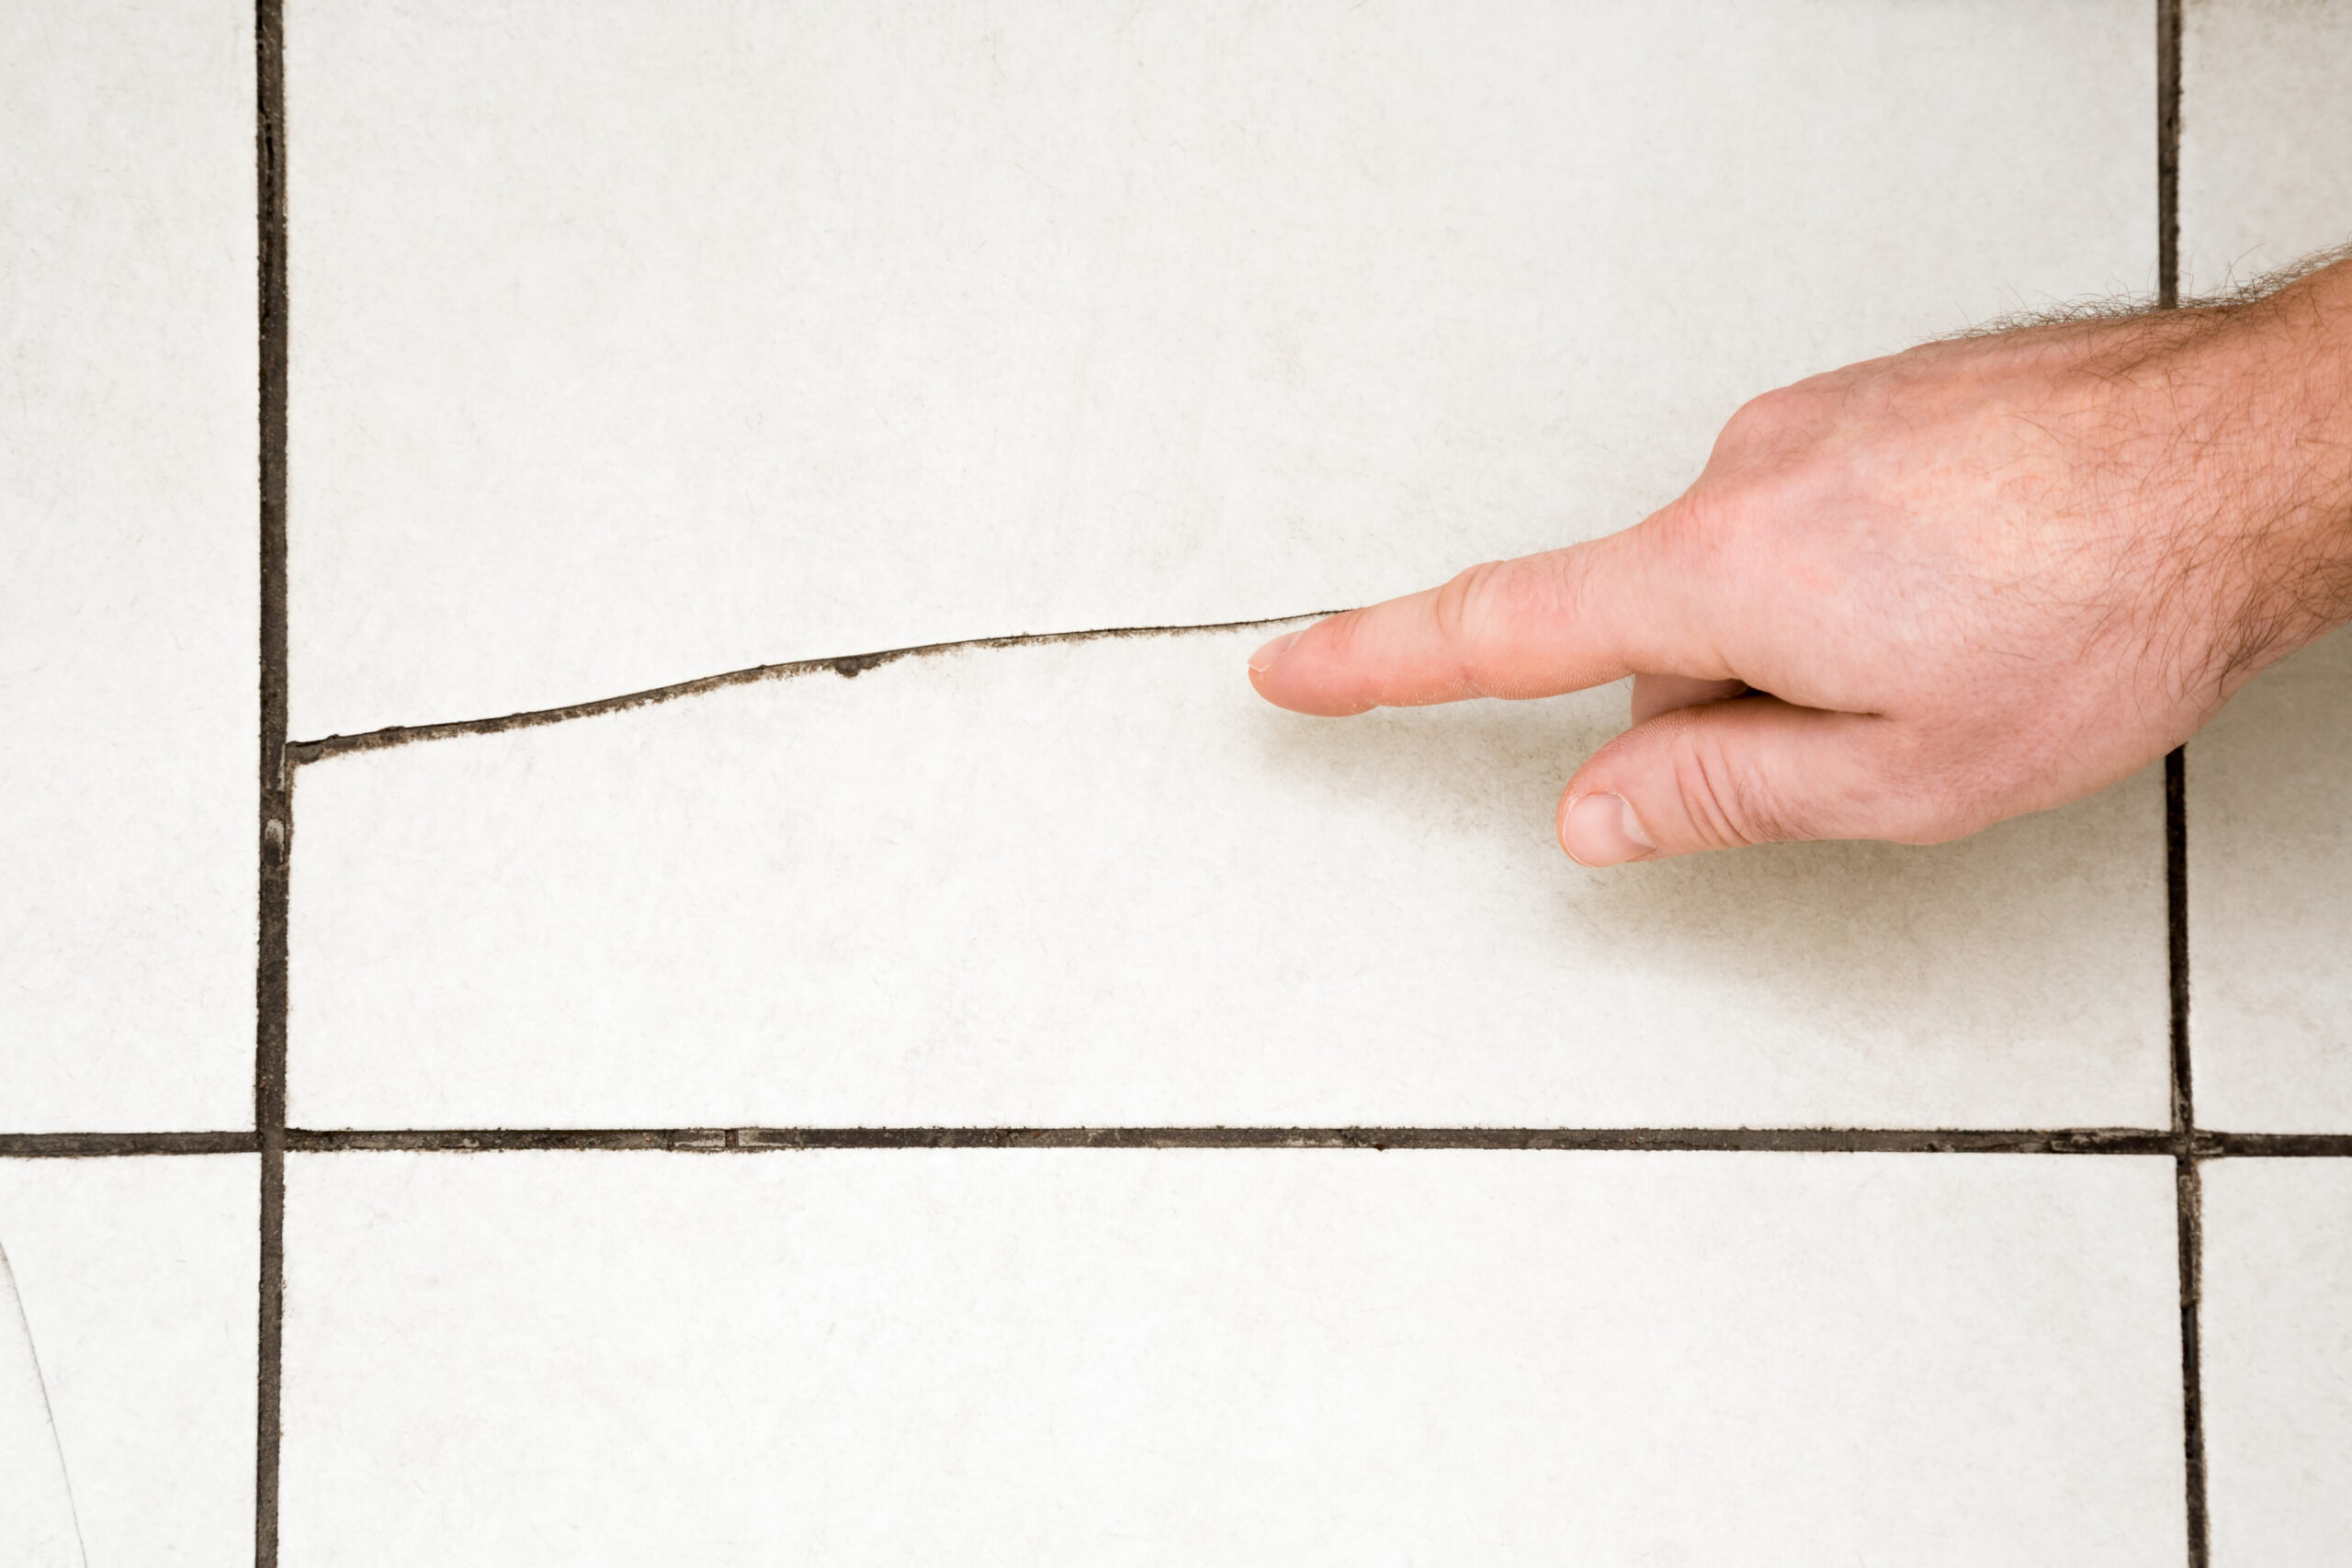
To ensure a smooth installation, it’s important to prepare your subfloor before beginning.
Remove the existing flooring, baseboards and moldings.
Make sure the subfloor is levelled and cleaned before laying the flooring. For wood subfloors, you might want to remove protruding nails and replace any damaged boards.
If you’re installing your flooring below grade or in a room with high humidity or moisture, such as a basement, you should lay down a vapour barrier first.
Lay out the unopened boxes of laminate planks in the room for at least 48 hours. This will allow them to acclimate to the room’s temperature and humidity.
If you have slightly uneven floors, use a foam underlayment as a base for your laminate planks. If you need to level the floor, sand it and apply a patching compound.
Remember to wear the appropriate safety gear as you work, to avoid injury. When cutting laminate planks, wear eye and ear protection. Knee padsmight also be a good idea when laying the planks.
Step 2: Prepare the Door Jambs
It’s easier to cut the trim around a doorway than it is to cut the flooring to match the shape of the molding. Once the door jamb is cut, the flooring will slip under it, leaving a more finished look.
If necessary, take a plank of the flooring with a section of the underlayment and lay them next to the door’s molding, by having the finished side facing down. This will show you how high up you need to cut the molding.
Trace a guideline along the surface of the molding with a pencil.
Use a jamb saw to make a cut along the guideline you have drawn.
Step 3: Plan the First and Last Rows
When installing flooring, it is best to place it parallel to the longest wall or focal point in the room.
To measure the width of the room, start at the longest wall and divide the total distance by the width of the planks you intend to use. This will tell you the width of your last row of planks.
Leave a gap of about 3/8 inch along both walls to allow for the flooring to expand.
If the last row is going to be less than 3 1/2 inches wide, consider distributing the width needed between the first and last rows.
To determine the width needed for the first and last row, add the length of a full plank to the length needed for the last row. Divide that number by two and cut each plank in the first and last row to that width. Remember to leave a 3/8-inch gap along both walls.
Step 4: Cut the First and Last Rows
Before you cut your planks, check the cutting instructions of your specific flooring product.
If you are learning how to cut laminate floors, it’s important that you understand that a special saw is not required. There are several types of saws that can be used to cut the planks, including a table saw, miter saw, circular saw or laminate cutter. However, it’s recommended to use a diamond blade when cutting laminate flooring as it is hard to cut through and can damage other types of blades.
You will usually cut the material so that the finished side faces up.Use duct tape to make the board easier to mark and less likely to splinter.
Use clamps to hold the planks in place while you cut them.
Pro Tip : It’s possible to create a clean cut using a finishing blade but be aware that the molding will cover all of the side edges of your first and last row planks when it is complete.
Step 5: Install the Underlayment
It’s important to use a separate underlayment to preserve and insulate the floors, dampen the noise from footsteps or dropped objects and protect your flooring against moisture.
As mentioned earlier, it’s best to install a vapour barrier and underlayment if you are going to be installing your new flooring in a basement or in a room with high humidity.
Keep in mind that underlayment may also include a vapour barrier that is attached to the bottom of the flooring.
To cover two rows of flooring, roll out and trim the underlayment as needed.
The underlayments should meet but not overlap, as overlaps in the underlayment result in bumps under the flooring. Taping the seam with duct tape will hold the underlayment in place and help maintain a vapour barrier.
Step 6: Install the First Row
When learning how to lay laminate flooring, the first thing you should know is that all laminate flooring expands and contracts, due to the temperature and humidity fluctuations. Make sure you place the 3/8-inch spacers along the wall to leave a consistent gap around the edges of the floor.
If the door of the room is located on the side of one of the shorter walls, start laying the planks on the door side of the room. This will leave a clean, uncut edge at the threshold.
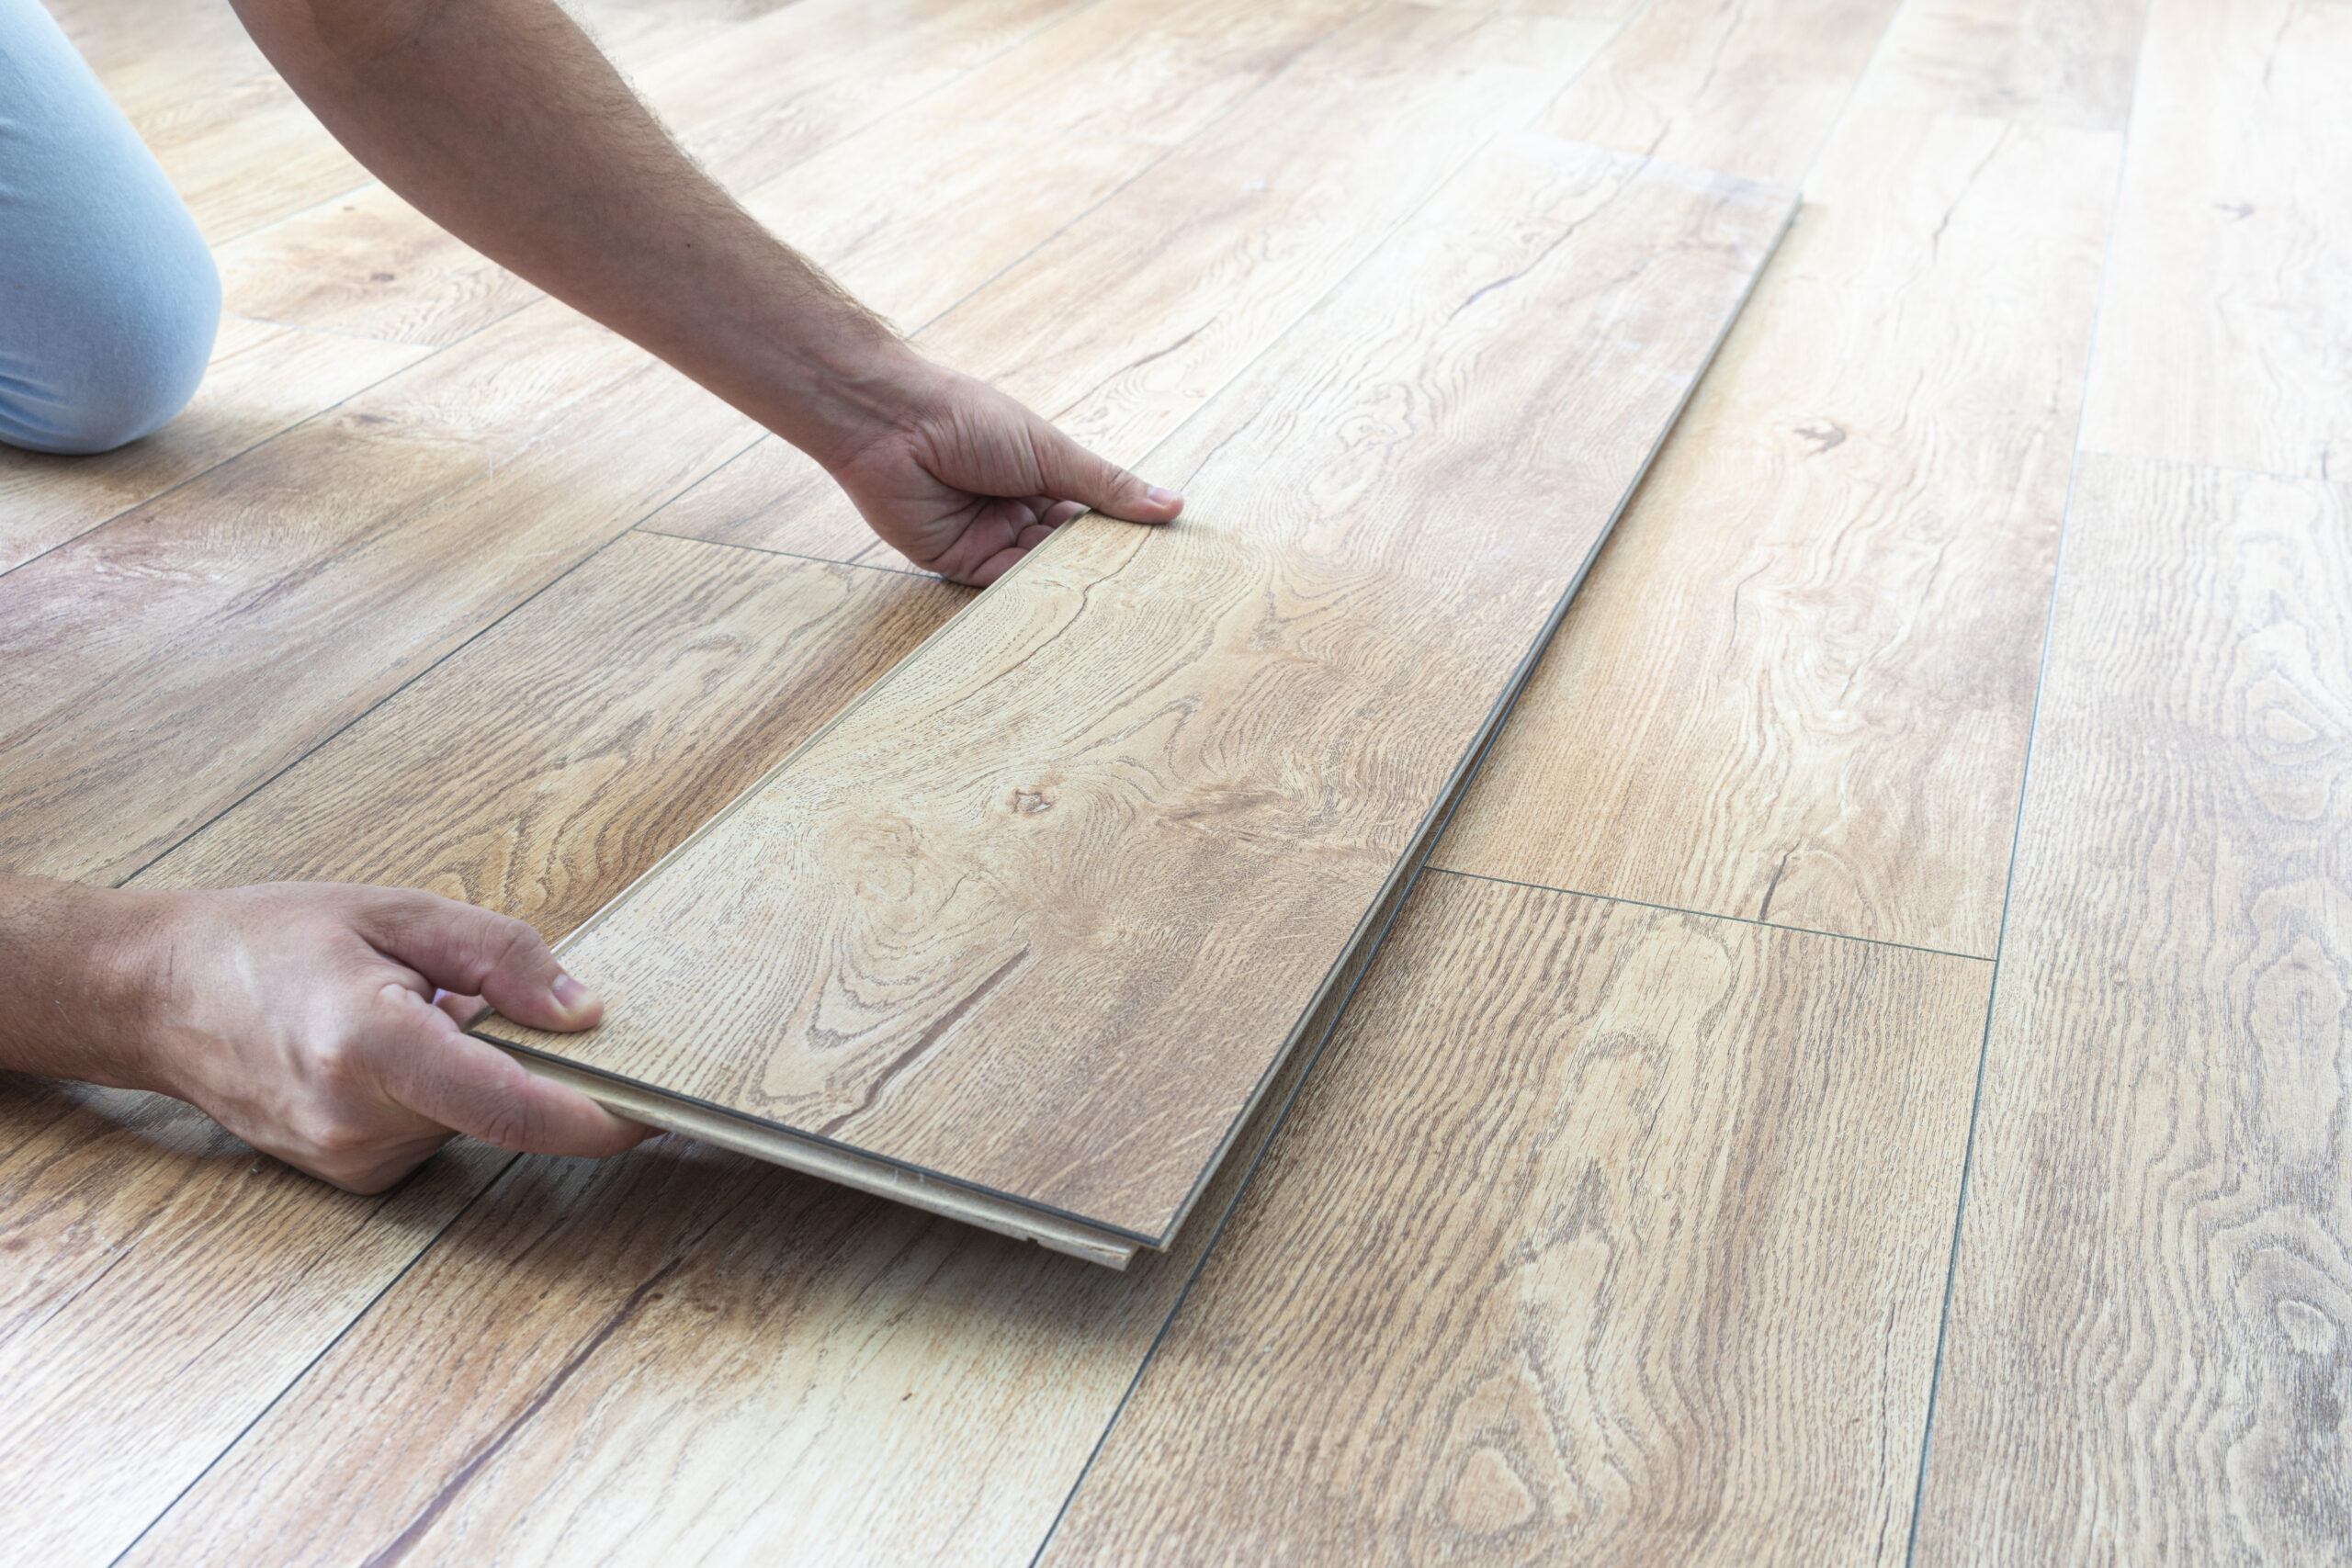
Begin the first row of flooring by placing the planks with the tongue side facing the wall. Next, install the second plank next to the first by aligning its tongue into a groove and pressing it until you hear and feel it snap in place.
When you reach the end of a row, cut the length needed to complete that row. When measuring, remember to leave a 3/8-inch gap at each end.
Step 7: Install the Remaining Rows
To begin the next row, use the remainder of the laminate flooring planks that you cut at the end of your first row to start the next row, as long as it’s longer than 1 foot. If the row is too short, begin with a plank that is more than 1 foot long.
Start the second row where you started off the first. This will stagger the seams, which results in a more natural look. It also gives the flooring added stability. Make sure that the seams are at least 12 inches apart, so they do not align with each other.
Place the plank at an angle, then slide its tongue into the groove of a previously installed plank. Press down and snap the plank into place.
Laminate flooring is susceptible to water damage, so make sure there are no gaps between the seams. Some products have gaps that need to be closed with a tapping block. Continue snapping planks into place until the row is complete, trimming the last plank to size.
Lay each row beginning with the remaining pieces from the previous row that are longer than 1-foot until the room is complete.
When using an underlayment, add additional rows, one row at a time, as needed.
Once the laminate has been installed, remove the spacers and install a matching threshold, baseboard or quarter-round molding on the walls using finishing nails.
In Summary
The good news is that installing laminate flooring is not really a complicated process. It doesn’t take much (if any) experience, and the payoff can be huge in terms of how it improves your home’s appearance and value. And once you put in a few layers, you’ll wonder why you waited so long to install laminate flooring in the first place!