Hardwood floors can last for decades, but with wear and tear, they will eventually need refinishing. Learn how to restore their beauty by refinishing your hardwood flooring!
Learn how to sand hardwood floors with these instructions and safety tips.
Prep the Floor
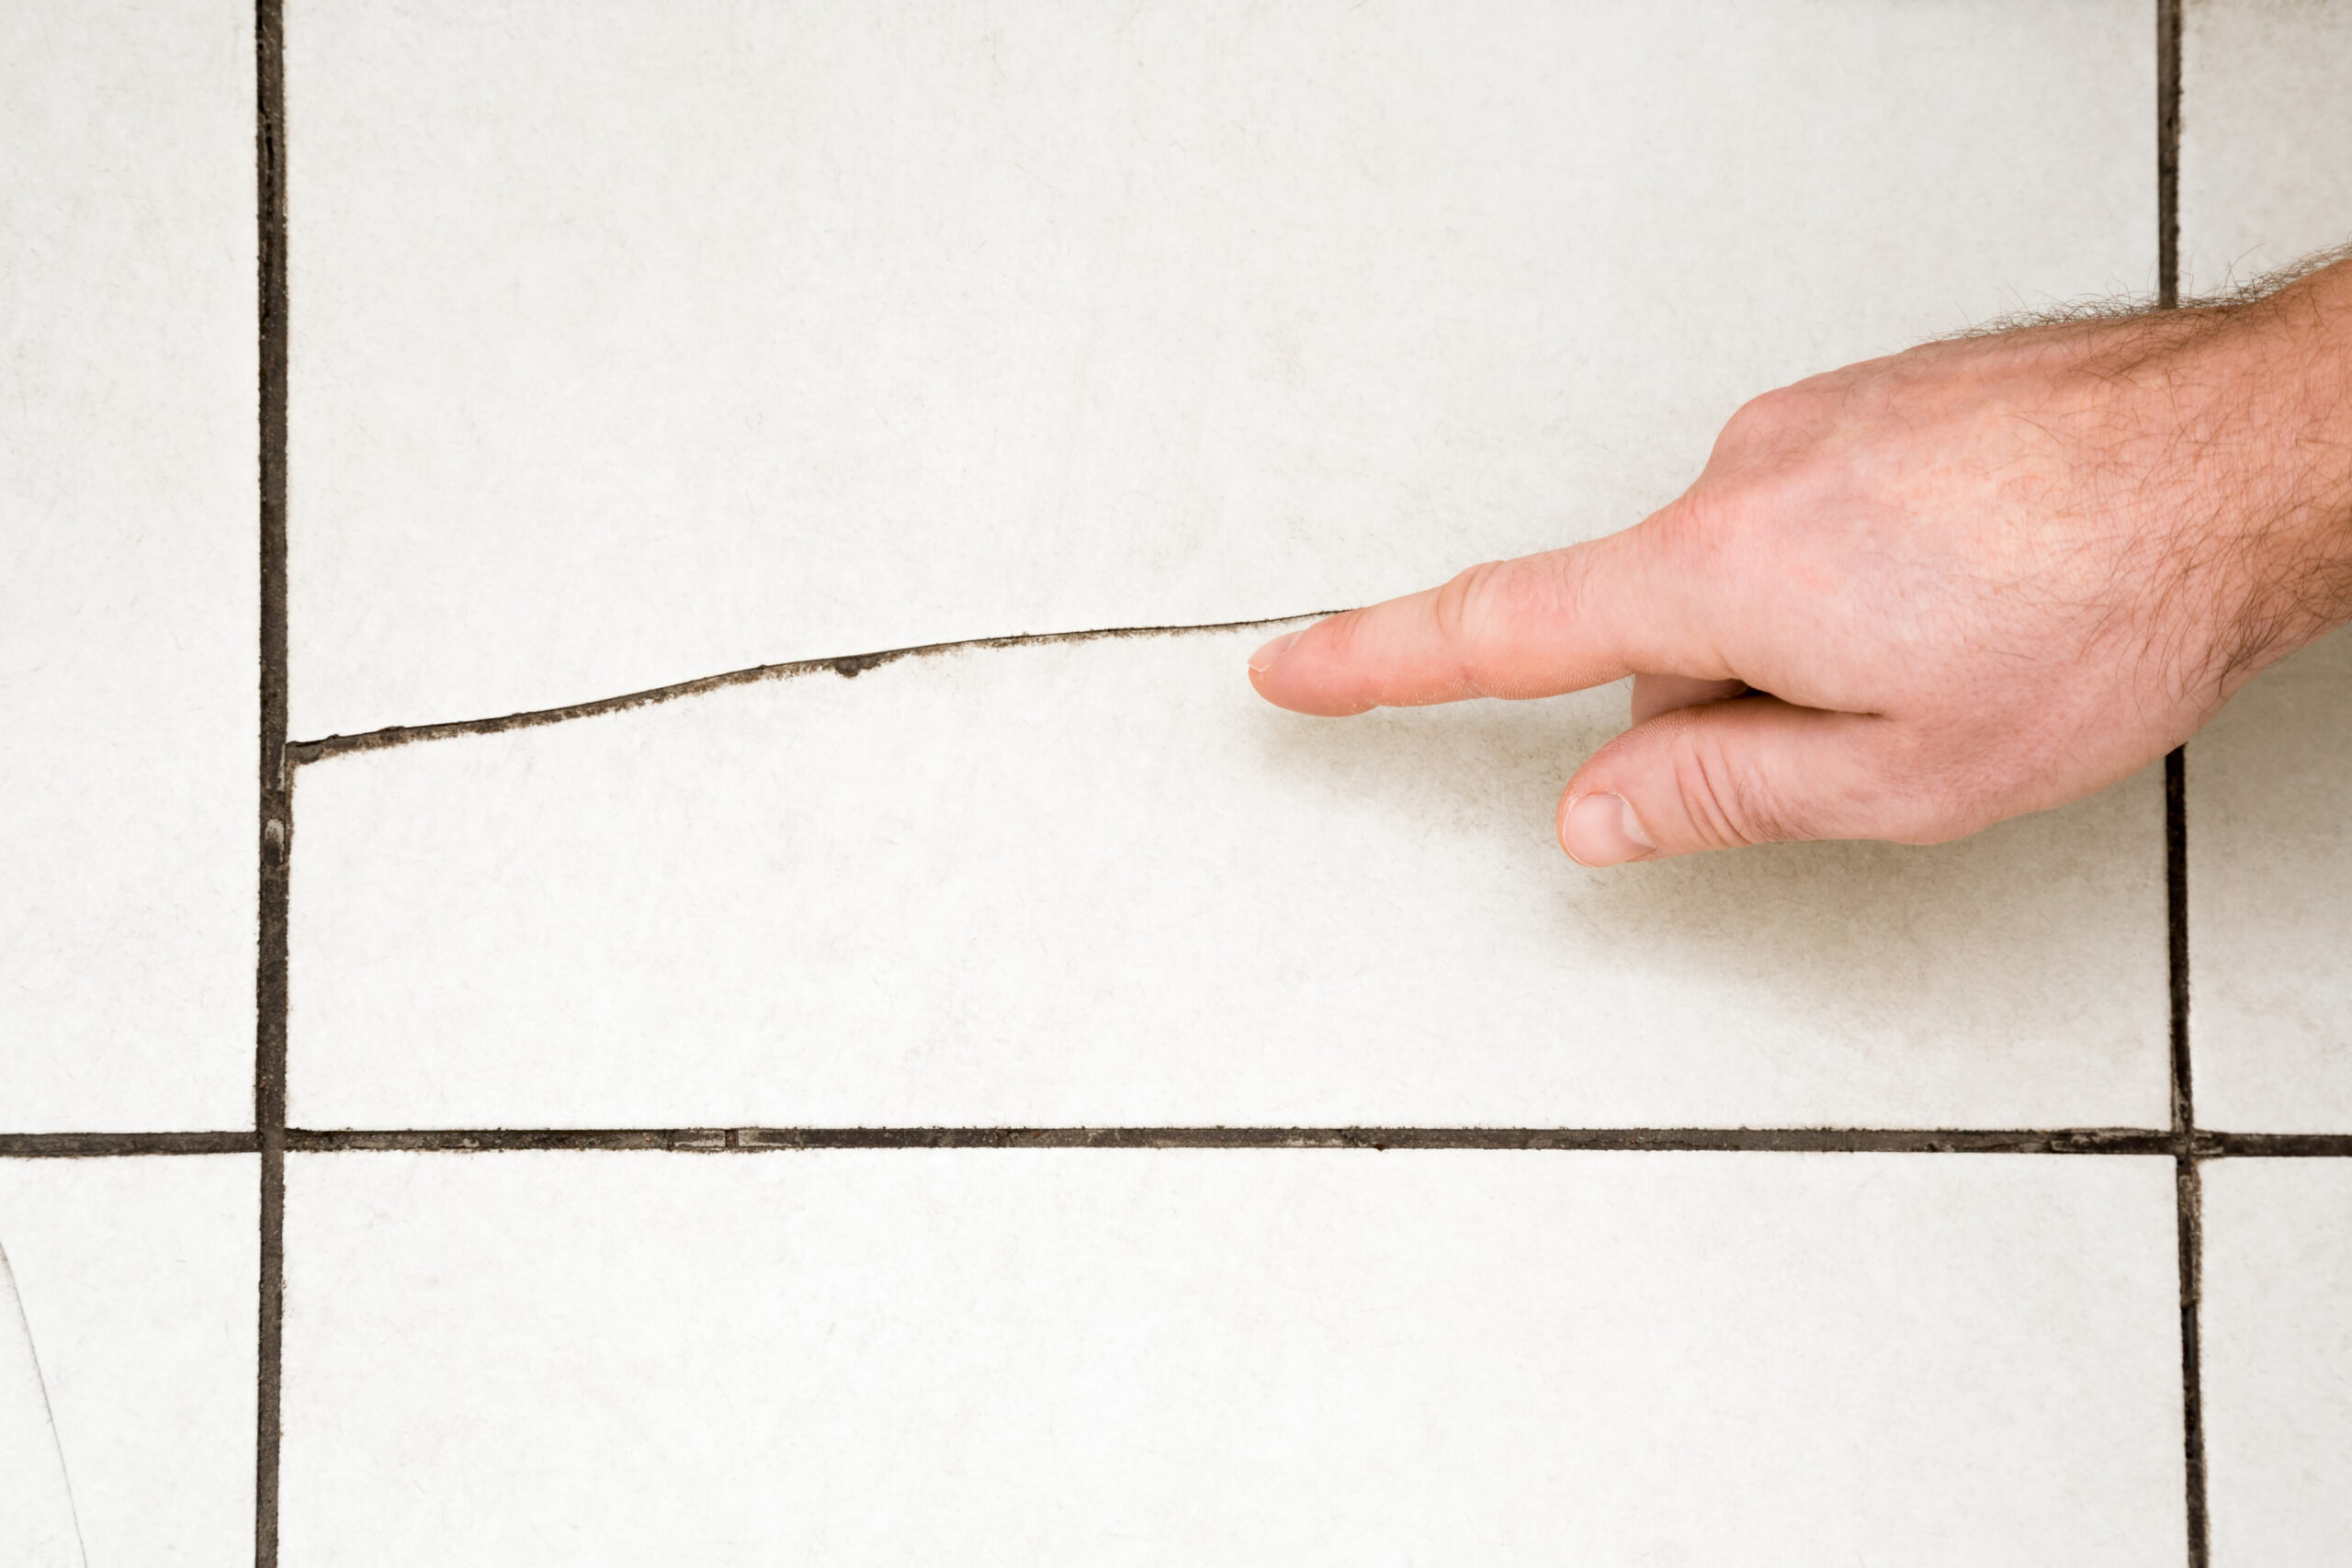
The first step in learning how to refinish wood floors is preparing your floor and room properly. To test whether your floor needs refinishing, splash water droplets on it; if the droplets soak right in, it’s time for a new finish. If they bead up, your floor just needs cleaning and polishing.
To start, move the furniture out of the way and pull up any carpeting or rugs in the room.
Hammer down protruding nails with a nail set or a hammer.
Vacuum or sweep up any debris and seal air vent covers with plastic sheeting to prevent dust caused by sanding from getting into your ductwork then cover doors leading outside so that dust doesn’t escape into other parts of your house.
Remove Base Moulding
Before sanding the floor, pull up the shoe base moulding along where the wall meets the floor.
Pry the moulding with a pry bar. Use a scrap piece of wood to protect the baseboard.
Label the pieces of wood as you remove them from the floor so that it will be easier to put them back in place when you refinish the floor.
Pro tip: To avoid damaging the wall, remove the base moulding or be careful not to damage the wall when operating the sander.
Rough-Sand the Floor
As you learn how to refinish a hardwood floor, you will use different sanding steps.
Start by rough-sanding the floor to eliminate scratches and stains. This step will not remove deep gouges or discoloration.
Start with coarsesandpaper so that you can remove scratches effectively and progress to finer grades of paper. When sanding wood, do not skip directly to fine grades.
To achieve the best results when sanding, replace the sandpaper after you’ve sanded about 250 square feet.
Sweep up dust and debris with a dustpan or a vacuum cleaner when sanding in between different grades.
Pro tip: If you are new to using a drum sander or would like to use one to sand your floor, practice on an old sheet of plywood until you feel comfortable operating it on your floors.
Sand Edges and Corners
Use a floor edger or smallorbital sander to sand the edges and corners of closet floors, bathrooms, or even stairs.
When using a drum sander, start with a course-grit paper and then move to finer grades.
If the flooring has small areas that even the edger cannot reach, use a scraper and some 80- and 100-grit sandpaper to remove the old finish by hand.
Pro tip: Edgers can be tricky to control, so it’s best to practice on a block of scrap wood before using an edger on an actual project.
Screen Sand the Floor
This type of sanding will level the minor unevenness left by your drum sander and edger, as well as remove any scratches from your previous sanding job. This fine-detail work can make your DIY project look more like a professional job.
To start, use a floor buffer fitted with a fine-grit screening pad to sand your flooring.
Be ready for the buffer to move in either direction as you position its handle.
Use broad strokes as you sweep to get a smooth surface.
Remove All Dust
Sweep and vacuum the flooring thoroughly. Follow up with a tack cloth to remove all dust. Dust and hairs can get into the floor’s finish, leaving imperfections.
Apply Wood Stain or Sanding Sealer
If you want to change or improve the color of your floor, apply a stain:
Select a stainbased on how you want the hardwood floor to look and what type of wood it is.
Work in small manageable areas, such as four square feet.
Using clean cotton cloths or paper towels, remove excess stains by applying a dry applicator pad wrapped around your cleaning tool. Many manufacturers recommend removing excess stains as soon as it has been applied.
Allow the stain to dry completely before applying a finish, following the direction of the manufacturer.
Pro tip : If you choose not to stain your wood floors, apply a sanding sealer before applying the polyurethane finish.
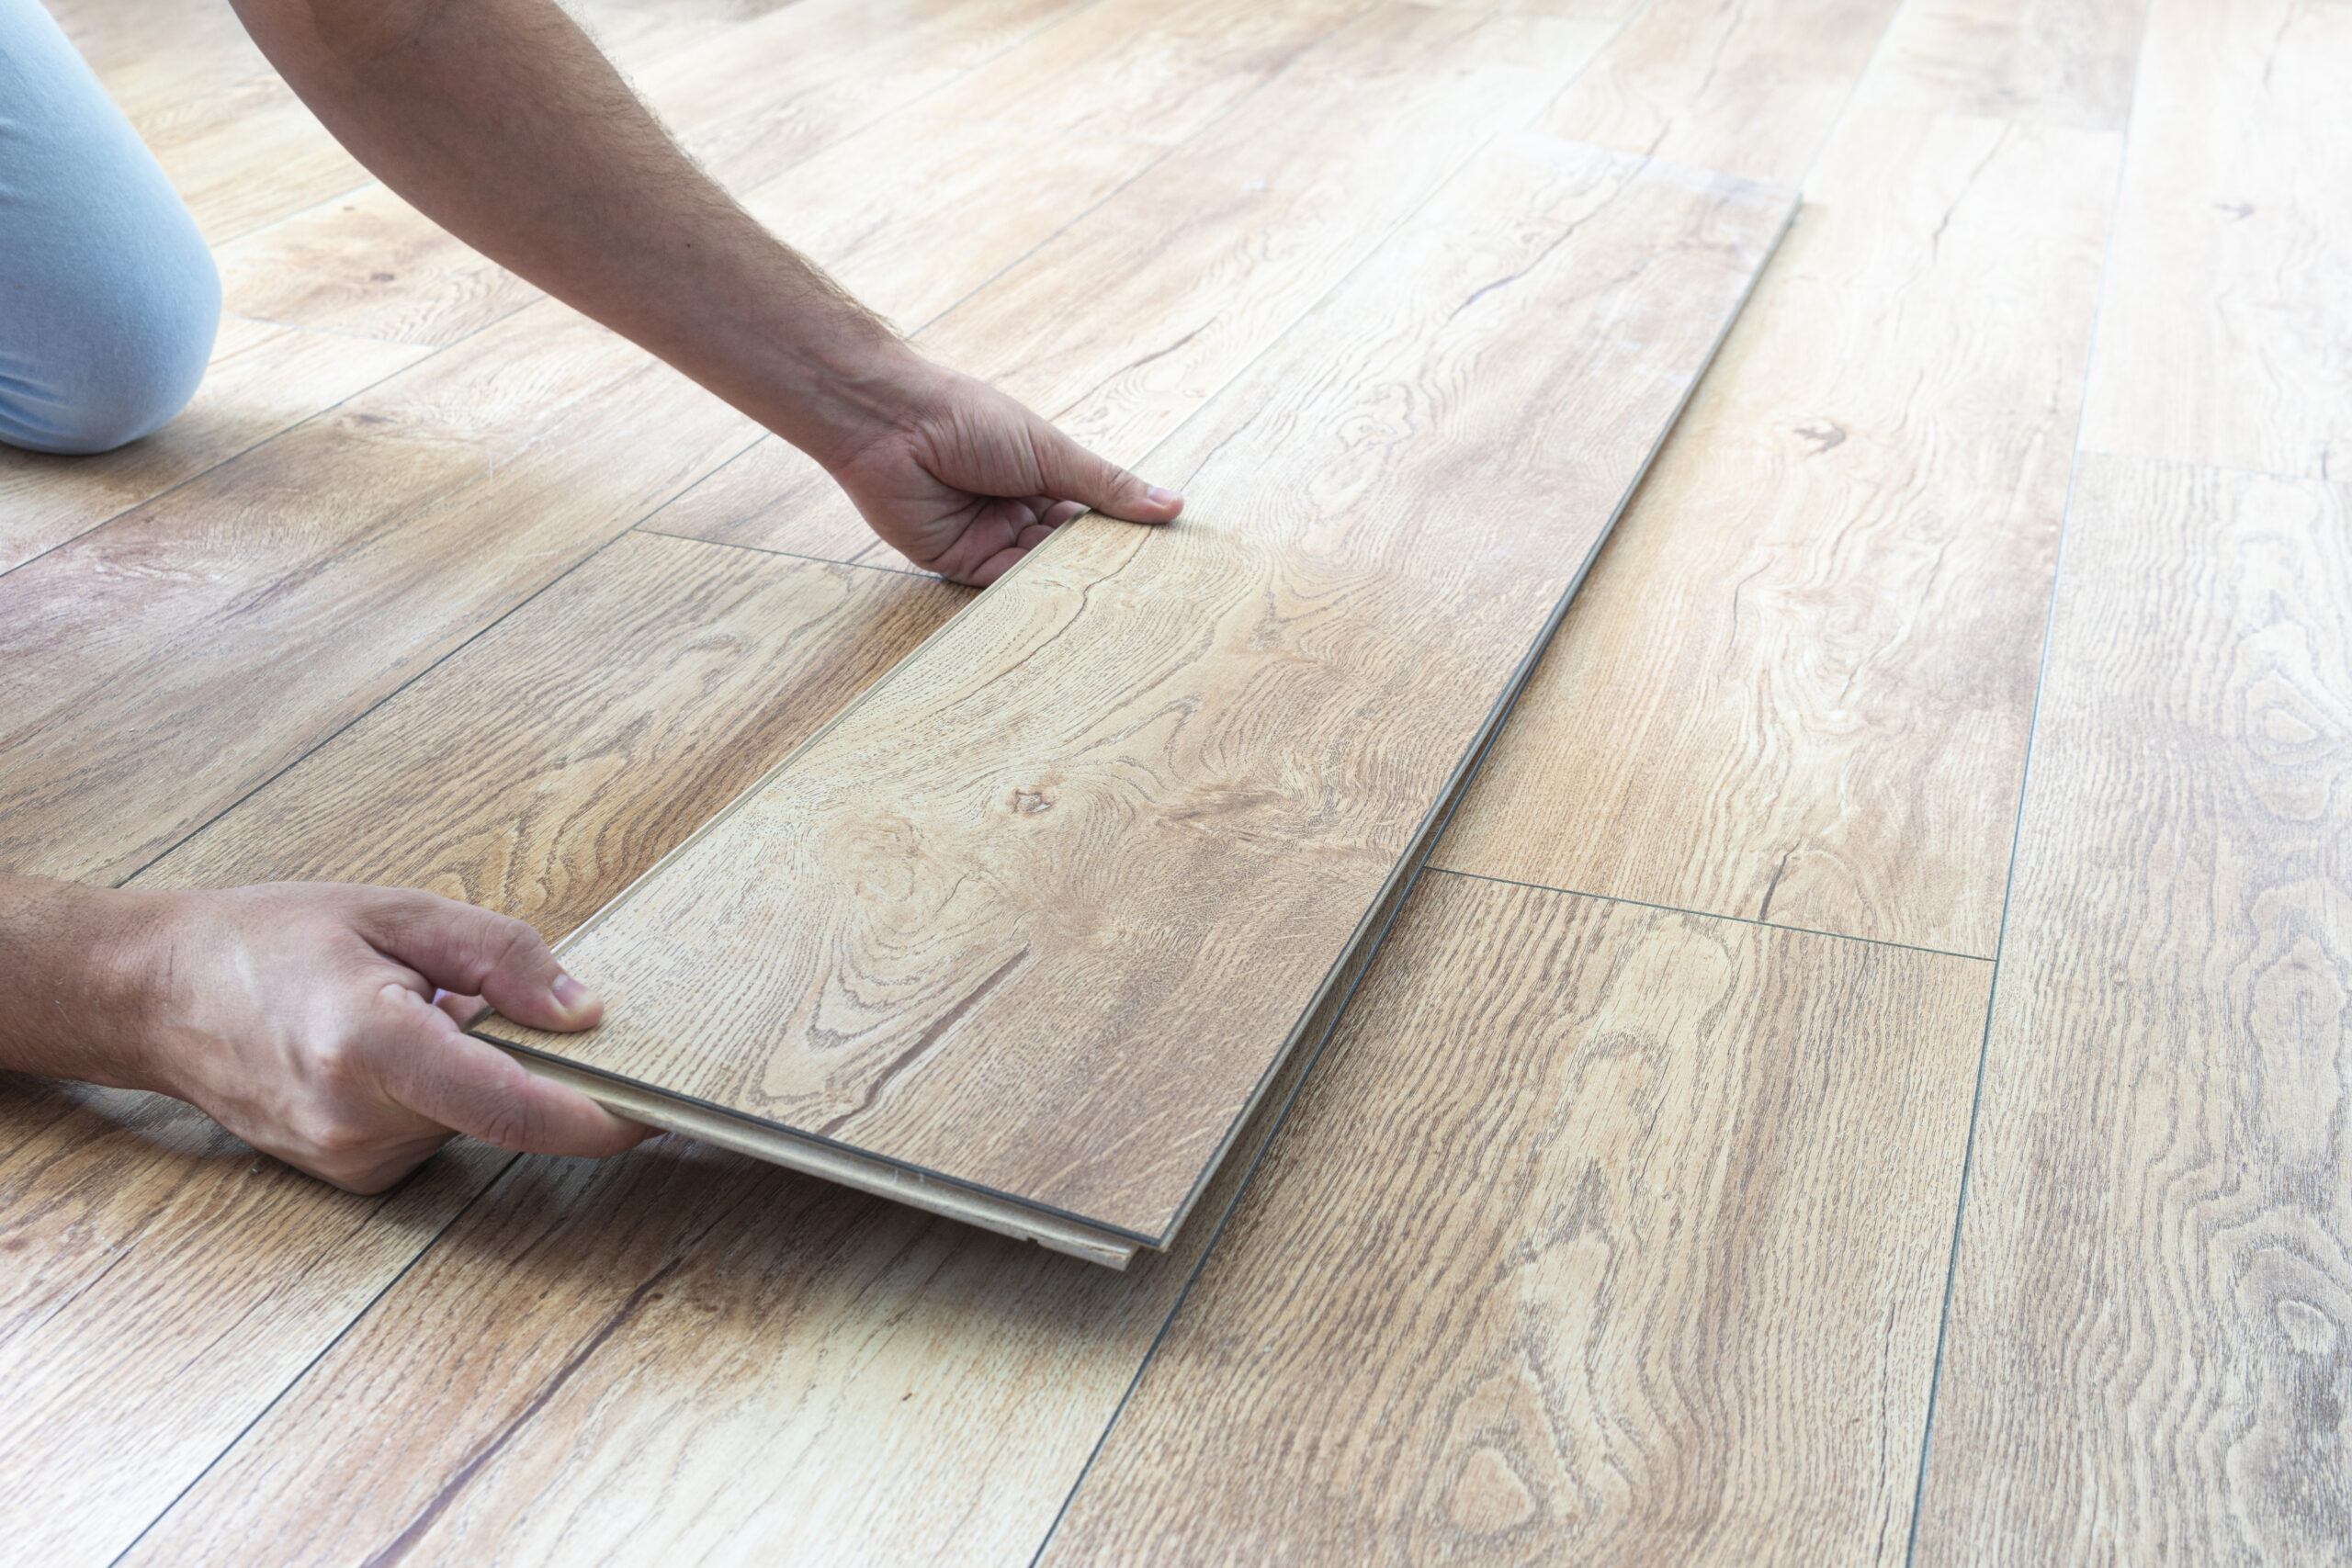
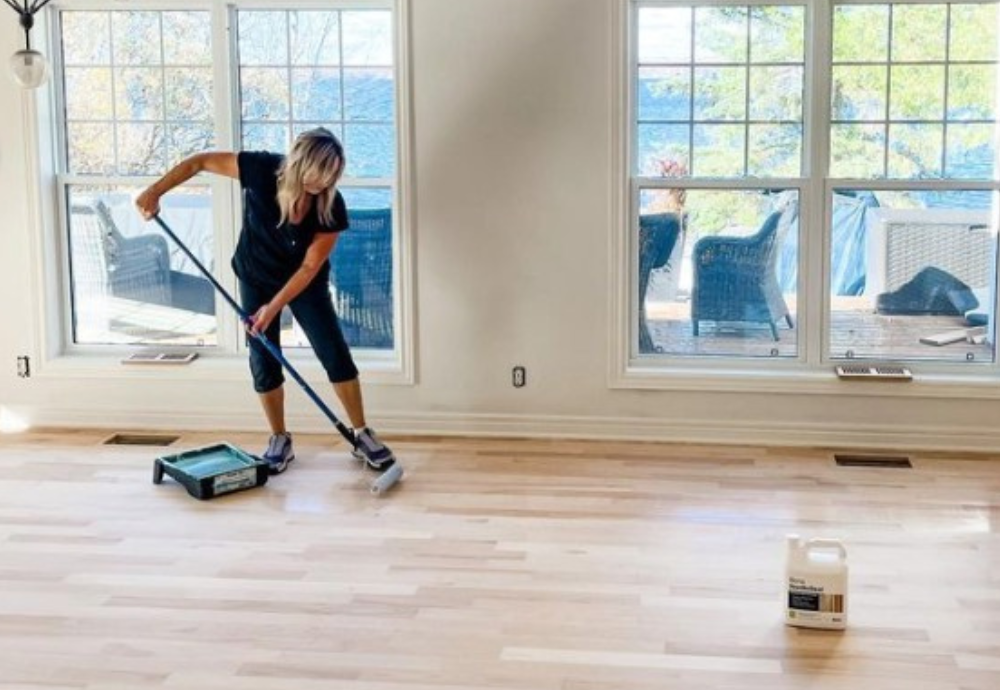
Apply Wood Finish
When you will apply a wood finish or oil to your floor, keep these tips in mind:
Water-based polyurethane finishes dry quickly, which makes applying them tricky.
Oil-based polyurethane wood finish takes longer to dry and leaves a smooth coat. However, the application process may require wearing a respirator due to its fumes.
Popular wood oils include Danish oil, teak oil, tung oil, cedar oil, ipe oil, and mineral oil for wood.
Follow these steps when applying the finish :
Apply the finish with a lamb’s wool applicator in even strokes, without leaving any streaks. Avoid drips
Consider applying three or four coats of finish, depending on the type you use.
When each coat dries, lightly sand it with 220-grit paper or #000 steel wool. Many finishes take 24 hours to dry.
Vacuum up the dust, then apply a second coat.
After the finish is dry, reattach any molding that was removed.
Pro tip : To keep a lamb’s-wool applicator from drying out, place it in a plastic bag and tightly seal the opening.
Wood Floor Refinishing Tips
When refinishing your hardwood floors:
When you’re ready to change grades on the drum sander, make sure you use the edger with a grade of sandpaper that matches your previous pass. After changing from 60-grade paper to 80-grade (for example). Most drum and edger sanders have built-in vacuums, which help to reduce dust emissions by collecting most of the particles they create.
After sanding, fill holes in the floor with wood filler.
Before applying a coat of stain or finish to your floor, test it on a small spot to see what it would look like.
Apply the stain or finish at your exit door to avoid walking through a wet floor.
When returning the furniture to its place in the room, put felt pads on any feet that might scratch floors. Don’t drag furniture across the floor.
Experts say that hardwood floors can be sanded for refinishing up to 10 times, depending on how thorough the sanding is and how much wear and tear the floor has already experienced. You also may not be able to refinish your hardwood floor more than 10 times if it’s been used a lot in previous years.
When using a drum or upright floor sander, follow the manufacturer’s instructions carefully to avoid injury or damaging your floor.
To prevent wood dust from getting into your home’s ventilation system, make sure to cover all vents and grates.
While you are sanding or applying stain or finish, be sure to work in well-ventilated rooms. Open windows and exterior doors if possible.
Store and dispose of oil-soaked rags safely. The heat generated by natural wood oils can be dangerous if the rags are bunched together or in a closed container. Hang them outside, away from any structures; allow them to dry thoroughly before disposing of the rag.
In Summary
Knowing how to refinish hardwood floors can make your old rooms look new again. Prep properly, use the right tools, and don’t rush, it will pay off!


")

")