Removing old, worn laminate flooring is a big project but it’s not as difficult or time-consuming as you might think. With patience and the right tools, taking out the entire laminate flooring can be accomplished in just one afternoon.
The following guide provides a step-by-step approach for removing old laminate flooring, and it also offers advice on what you should consider before laying your new floor.
Before you get started
There are several things to consider before removing laminate flooring:
Remove all the furniture and accessories from the room so that there is nothing on the floor.
If you plan to reuse the flooring in another room, be sure that the other room is smaller than your current one so there is enough material to cover its entire floor.
When you are removing laminate wood flooring, it is a good idea to loosen each plank carefully so that it does not break. When you are replacing the same type of flooring in another room and plan on discarding the old pieces, however, this step may be omitted.
Consider which flooring type you are working with
Laminate flooring can be easily removed from a subfloor by following some basic steps. A floating floor is a panel made of wood or some other material, which sits on top of the subfloor. Each piece snaps together so that it doesn’t shift around within the room.
Some damage may occur when removing tongues from grooves, so be careful if you are reusing laminate flooring and work slowly to reduce the number of spoiled planks.
If your laminate flooring was installed several years ago and individual pieces were attached to the subfloor with adhesives, you cannot reuse that flooring. Use a pry bar and scraper to remove these sections of flooring.
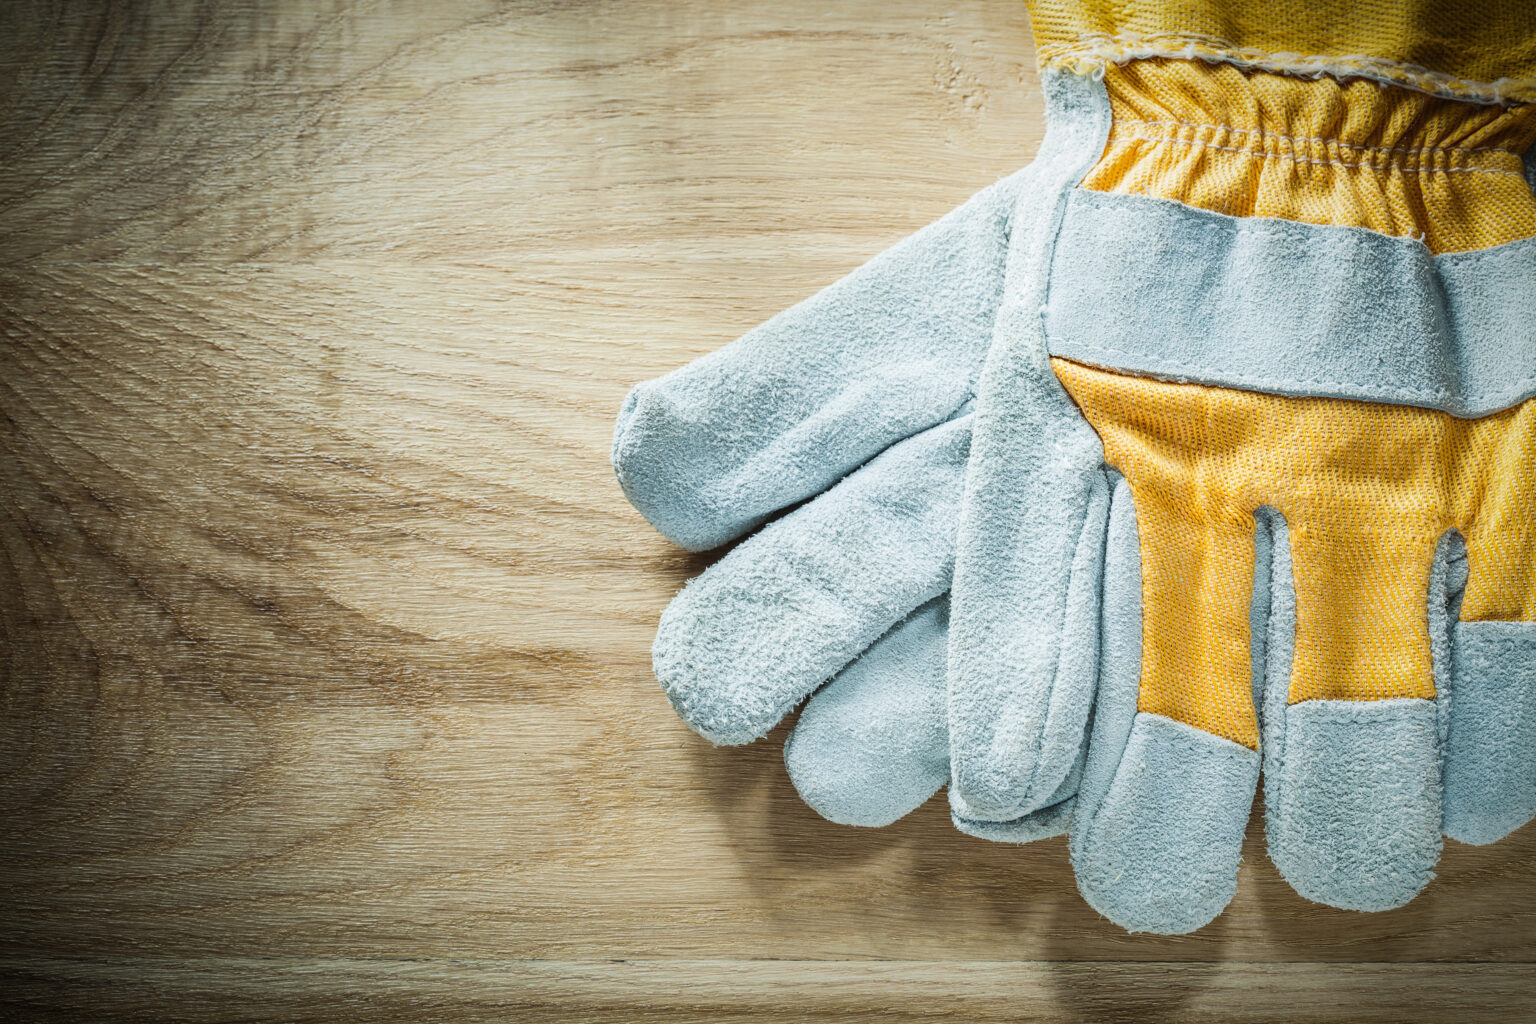
Use work gear
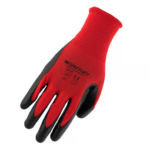
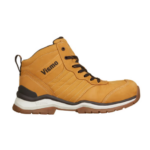
While removing laminate flooring is safe in general, you should take precautions. The edges of the planks can be sharp and prying them up without gloves may cause injury to your fingers or knuckles. Wearsafety glassesto protect your eyes from flying chips. Wear shoes while working and cleaning up to prevent splinters or stray nails from hurting your feet.
Remove Quarter-Round and Baseboards
Remove the quarter-round molding that borders the room :
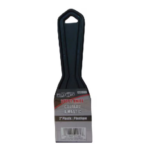
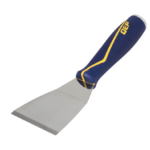
Use aputty knife to pry up one end of the quarter-round at an inside corner, then use your fingers to pull it away from the baseboard.
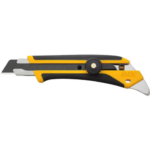
If necessary, use a utility knife to carefully slice through any paint blocking the putty knife from going between the two.
After inserting the quarter-round, pry it away from the baseboard.
Insert acrowbar or hammer between the door and frame to keep it from closing.
Work your way along the length of the wall, prying up and removing pieces of quarter-round molding.
Remove the baseboard:
With the quarter-round removed, use the utility knife along the top edge of the baseboard molding to cut through any paint between it and the wall.
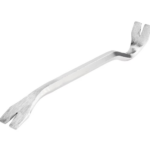
Use a pry bar to pull the baseboards from the wall, working carefully to prevent damage to the wall surface and the baseboard.
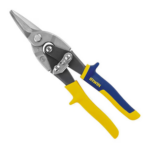
When you are done removing and disposing of the molding, clip any tips with snips or tap any protruding back into the wood with a hammer.
Label the pieces so you can easily put them together after your new flooring is installed.
Remove transition strips
After the quarter-round and baseboard molding is removed, you might need to remove transition strips that separate different types of flooring. If any strip is present, pull it up with a pry bar or unscrew it from the floor whichever method works best for the type of transition molding you have.
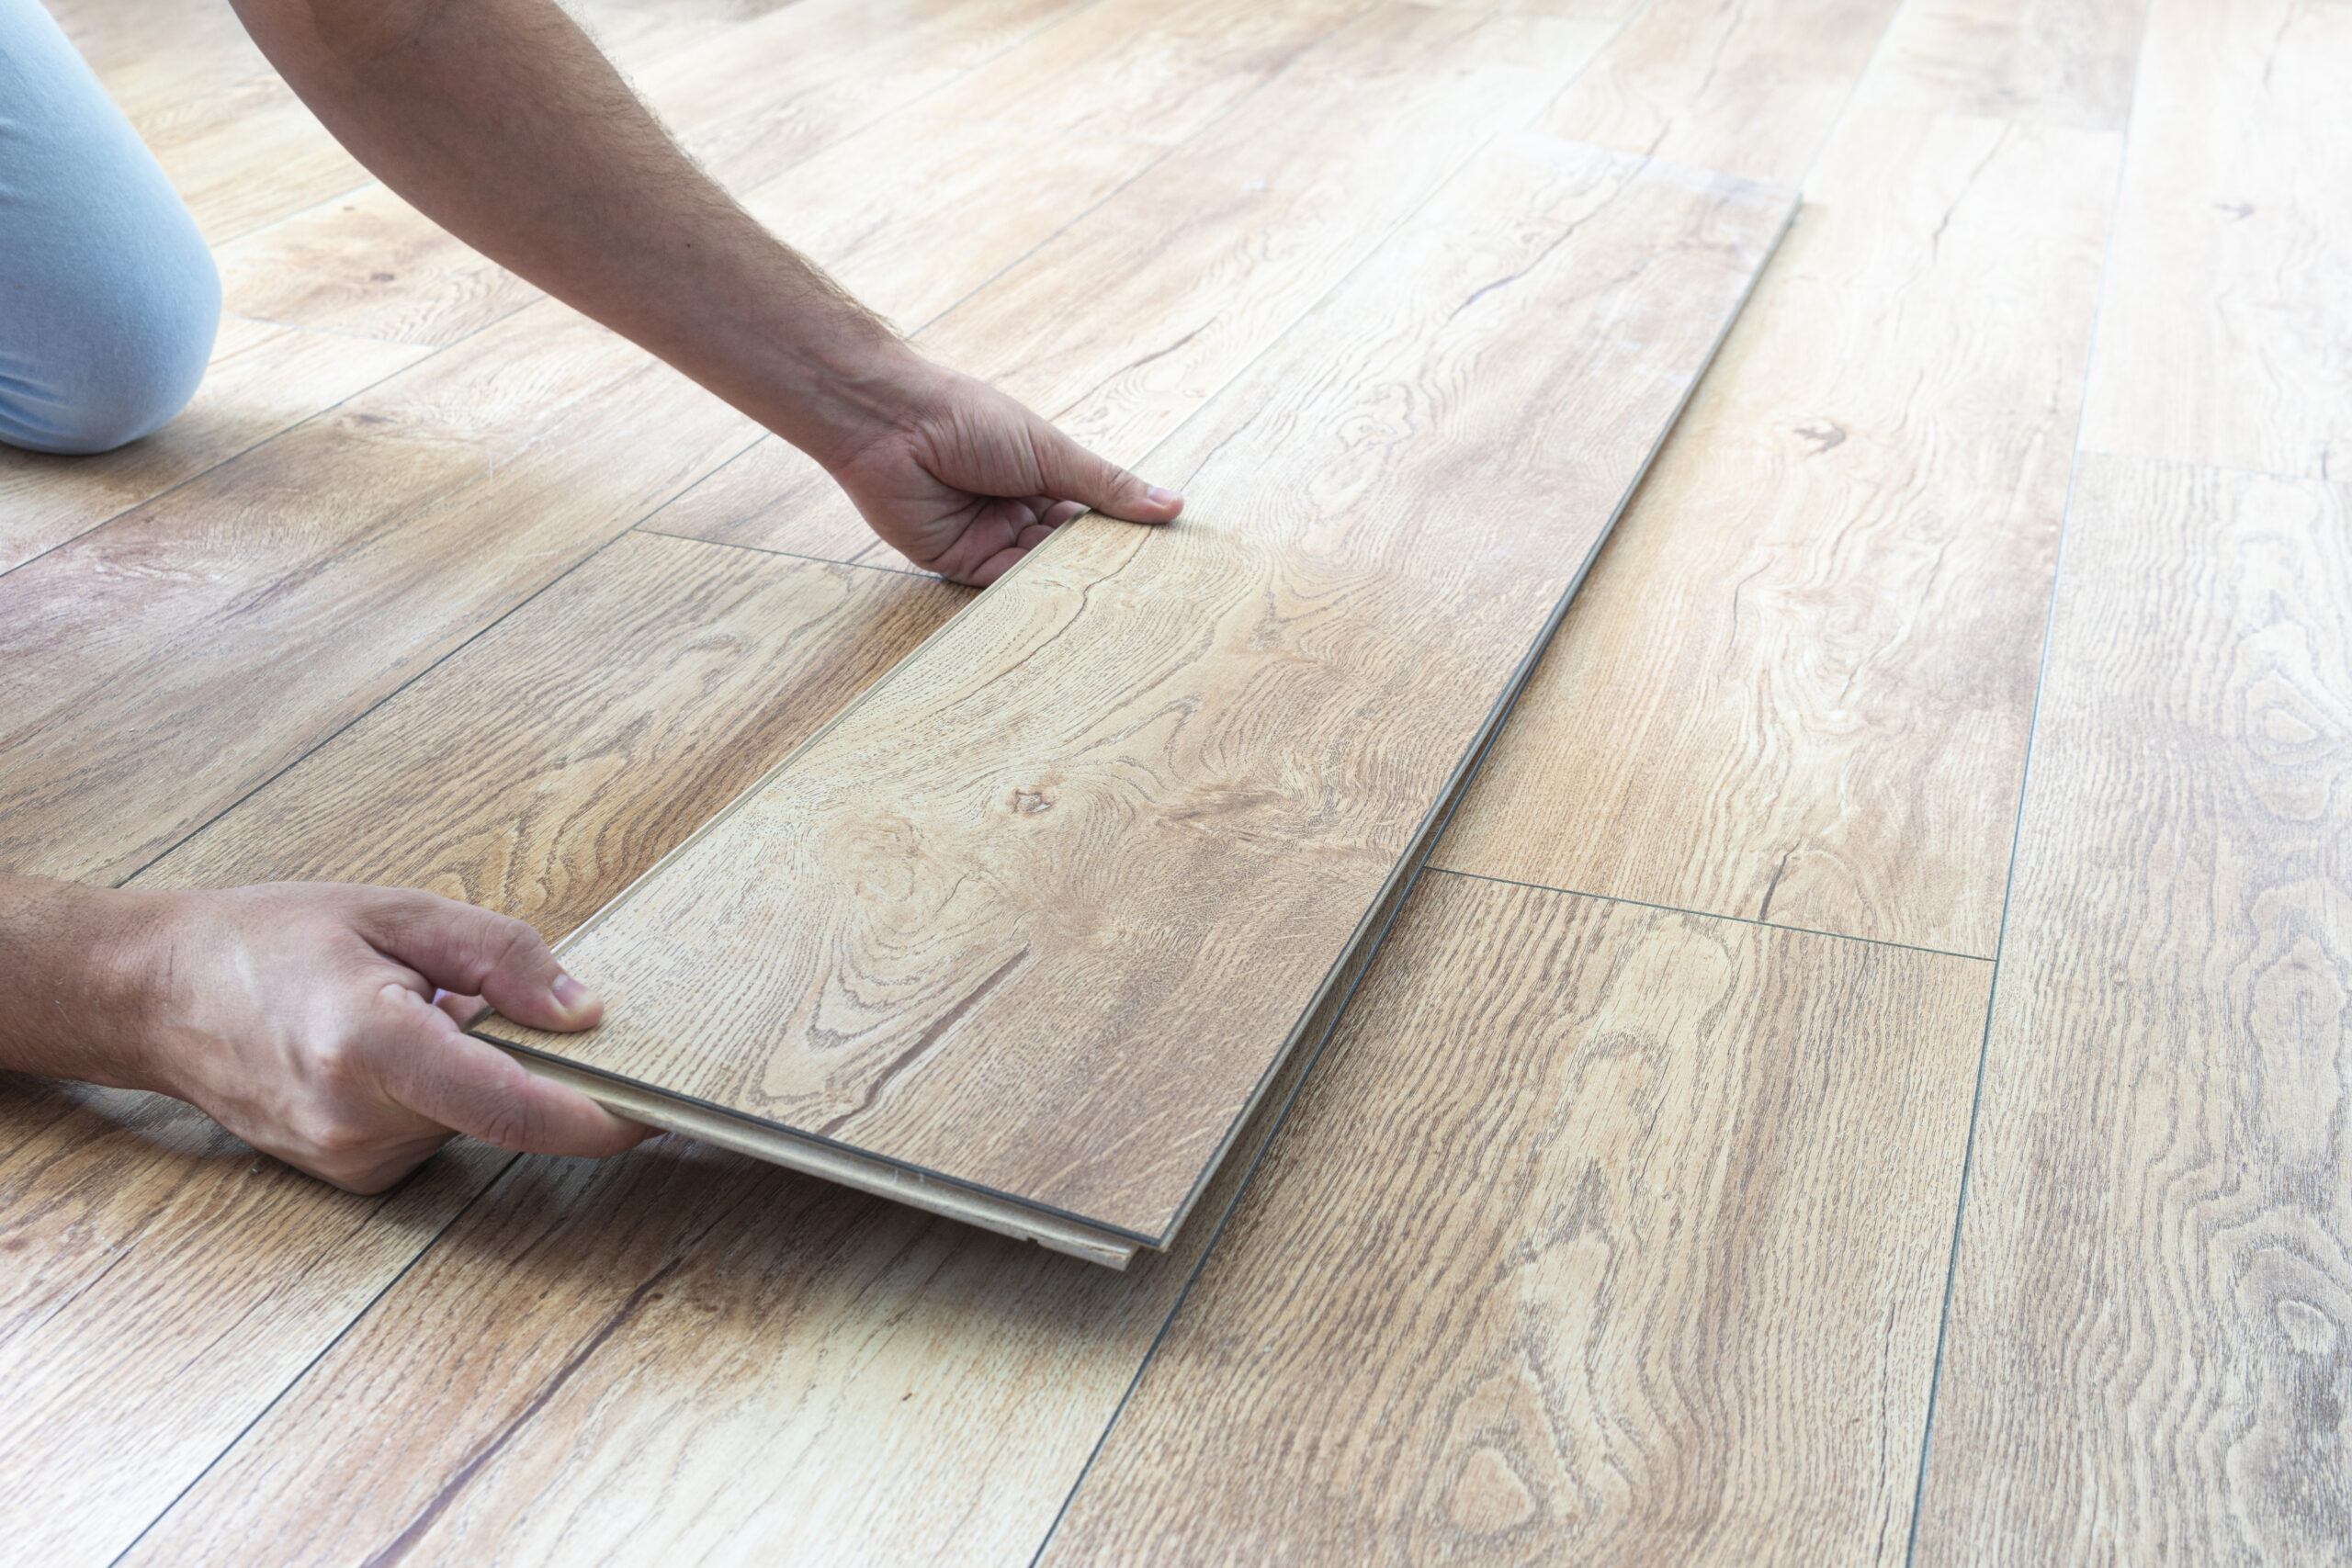
Remove the laminate flooring
Once the floor is clear and there are no moldings left, locate the wall that has a laminate plank with a trowel. It’s easier to remove planks if you begin from this side rather than one with a groove in it.
Place the tip of the curved end of your pry bar into a seam between the first row and the wall.
Use the pry bar to loosen one of the boards enough that you can grab it with your fingers.
Twist and pull the plank at an angle to detach it from the adjacent piece
Remove the first piece and move to the next plank in line.
As you work, the pieces should come apart more easily. Typically, tilting the boards back and forth from 30 to 45 degrees will help them separate.
Once you have pulled up the first row of flooring, move to the next and continue until all material is removed.
Finish what you started
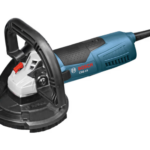
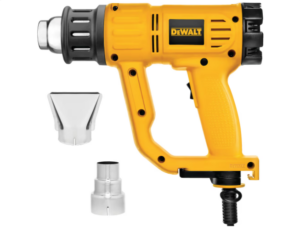
After you have removed the flooring, take up any foam padding that may remain under your subfloor. If the old floor was installed with adhesive, you may need to remove any residue left behind. The amount of residue will determine which tool you use: a heat gunand scraper for larger chunks or an orbital sander for smaller pieces.
Vacuum the entire floor with a wet/dry vacuum to remove dust and debris, then prepare the surface for new flooring. Get started by picking up the tools and supplies you need today. Visit our websiteTheFloorBox.ca to find the flooring and tools you need.