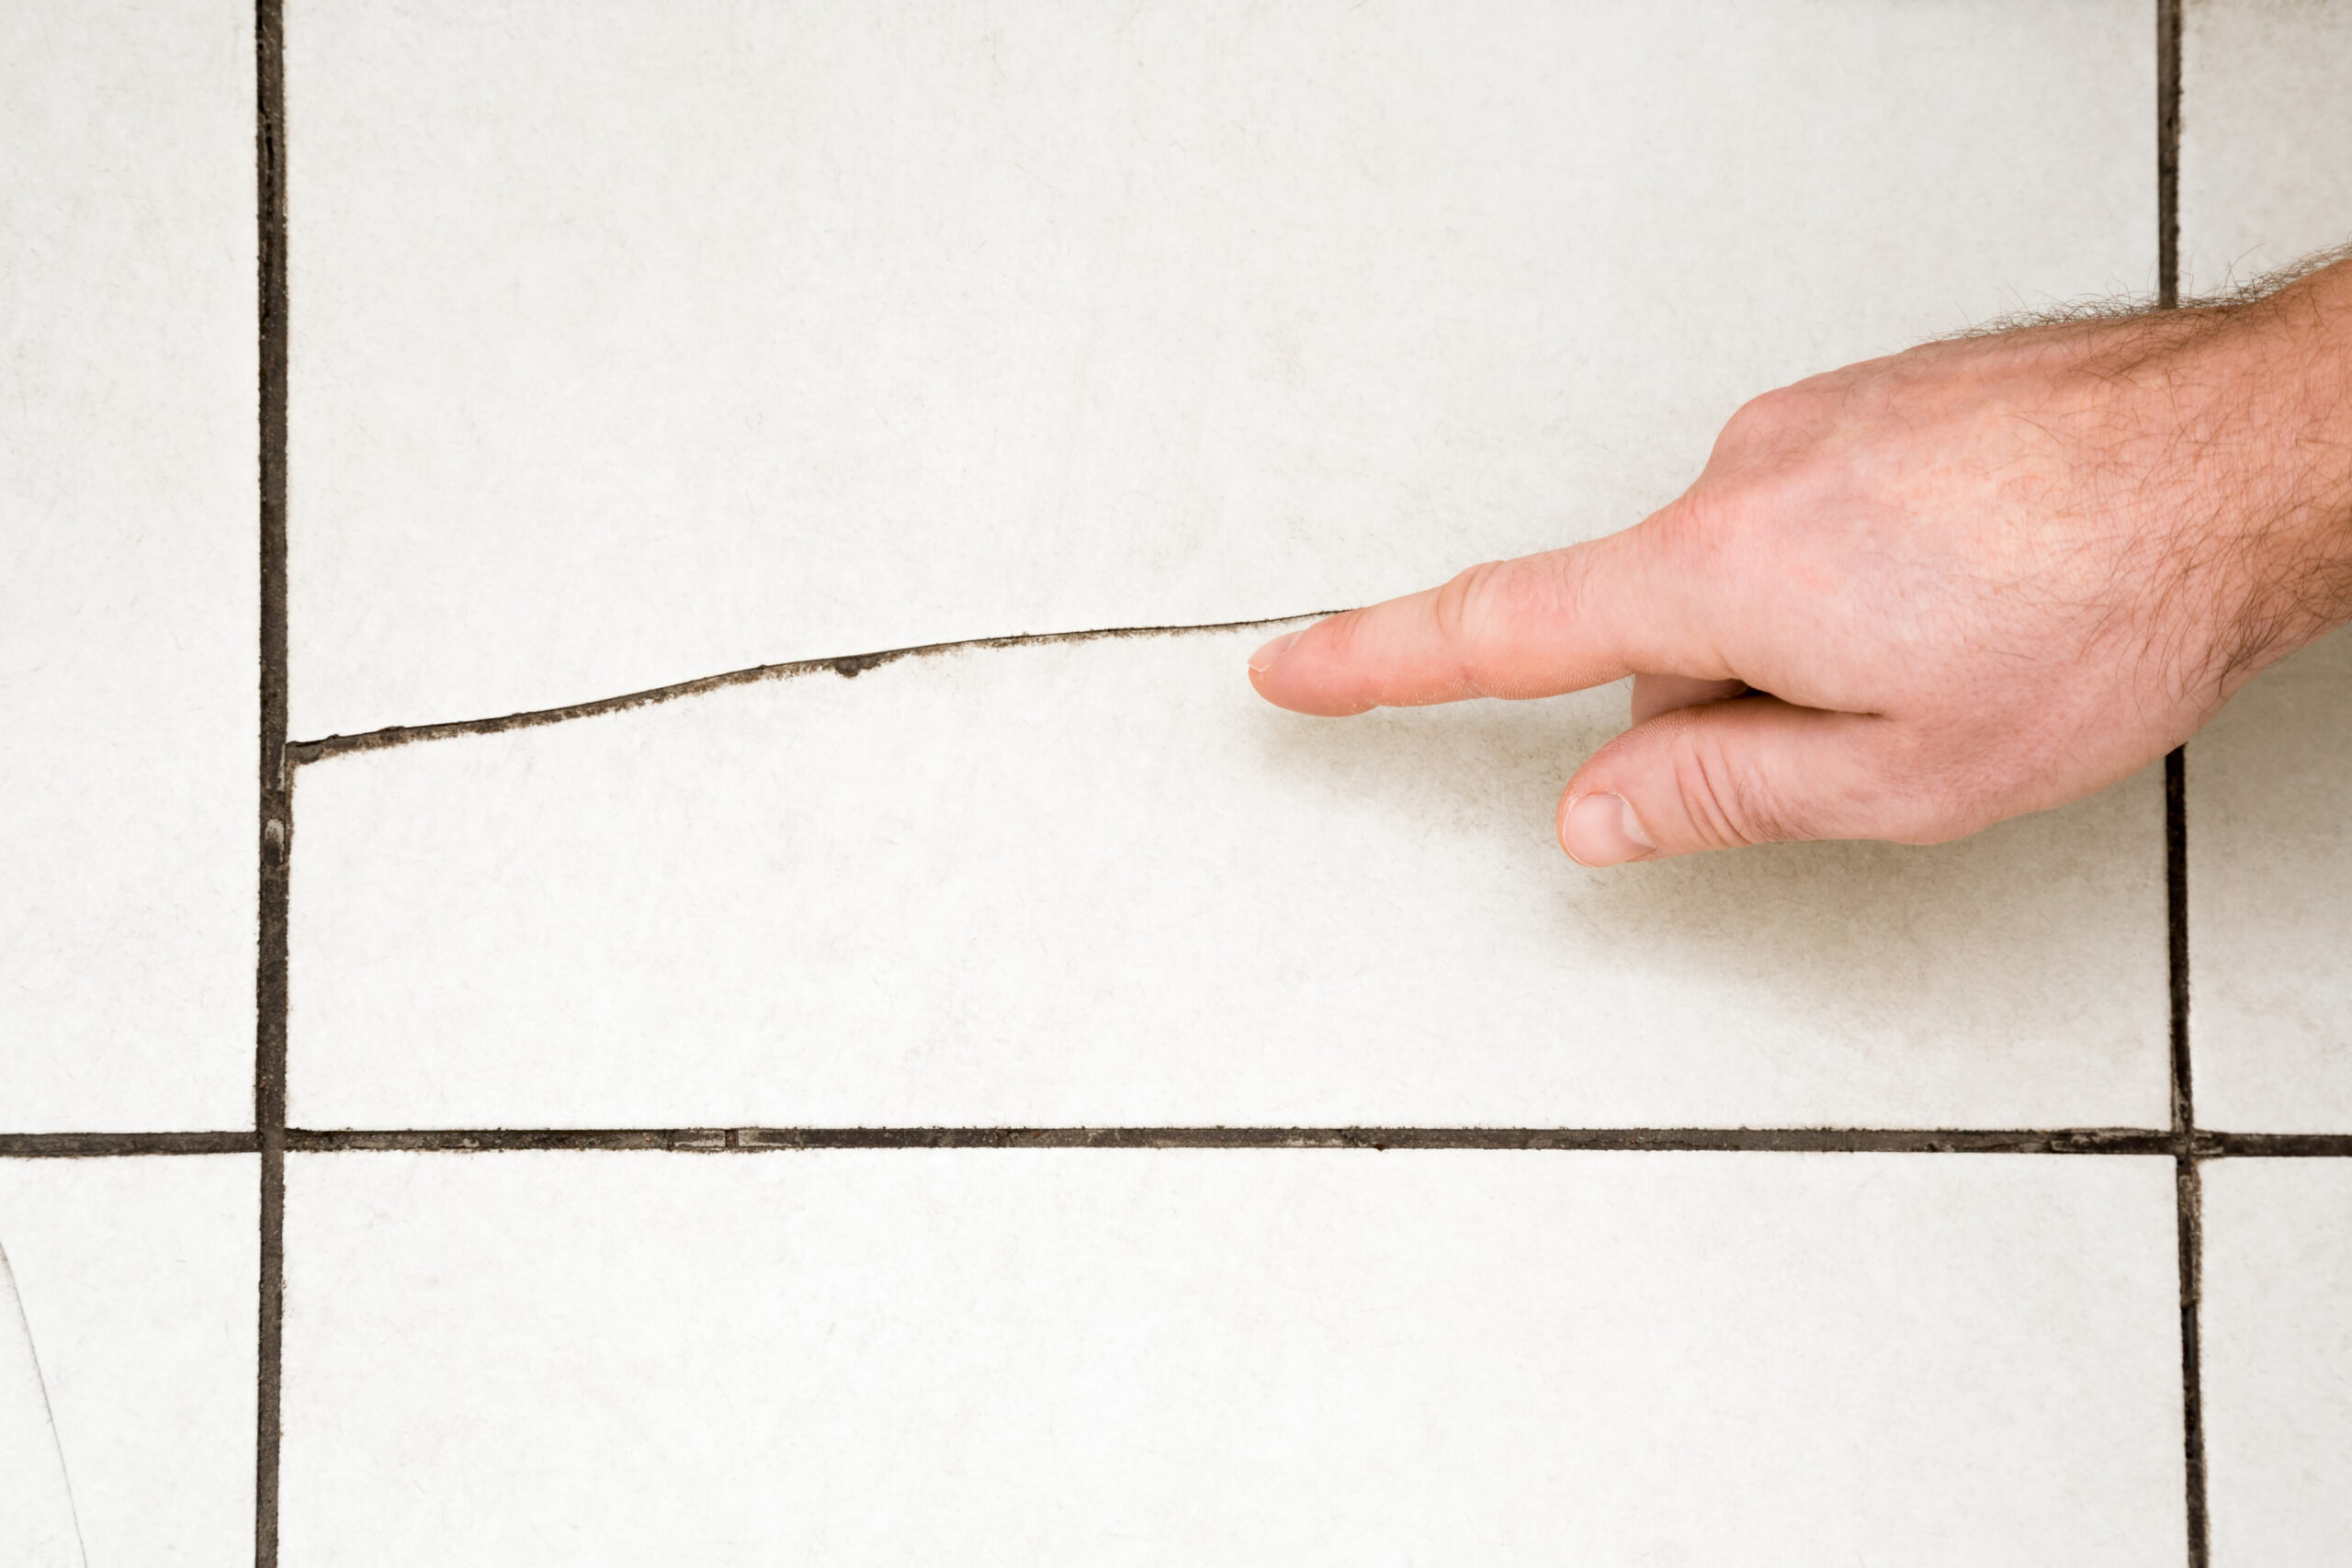
Removing old or damaged tile and mortar is the first step before proceeding with installation of new tiles. The process can be learned by anyone, regardless of experience.
Removing a tile floor or wall requires some tools and time, but you can do most of it yourself. This guide will teach you how to remove tile as well as provide tips on what to watch out for when doing so.
Step 1: Gather Tools & Supplies
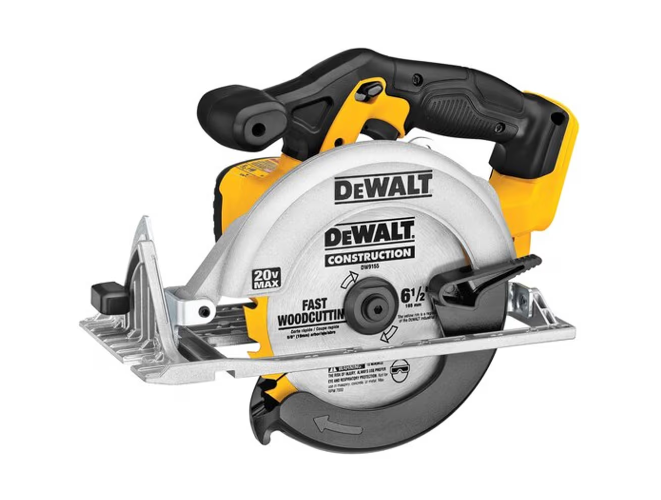
To successfully complete this project, preparation and adequate time allocation are essential. Removing tiles from walls or floors correctly requires manual or power tools.
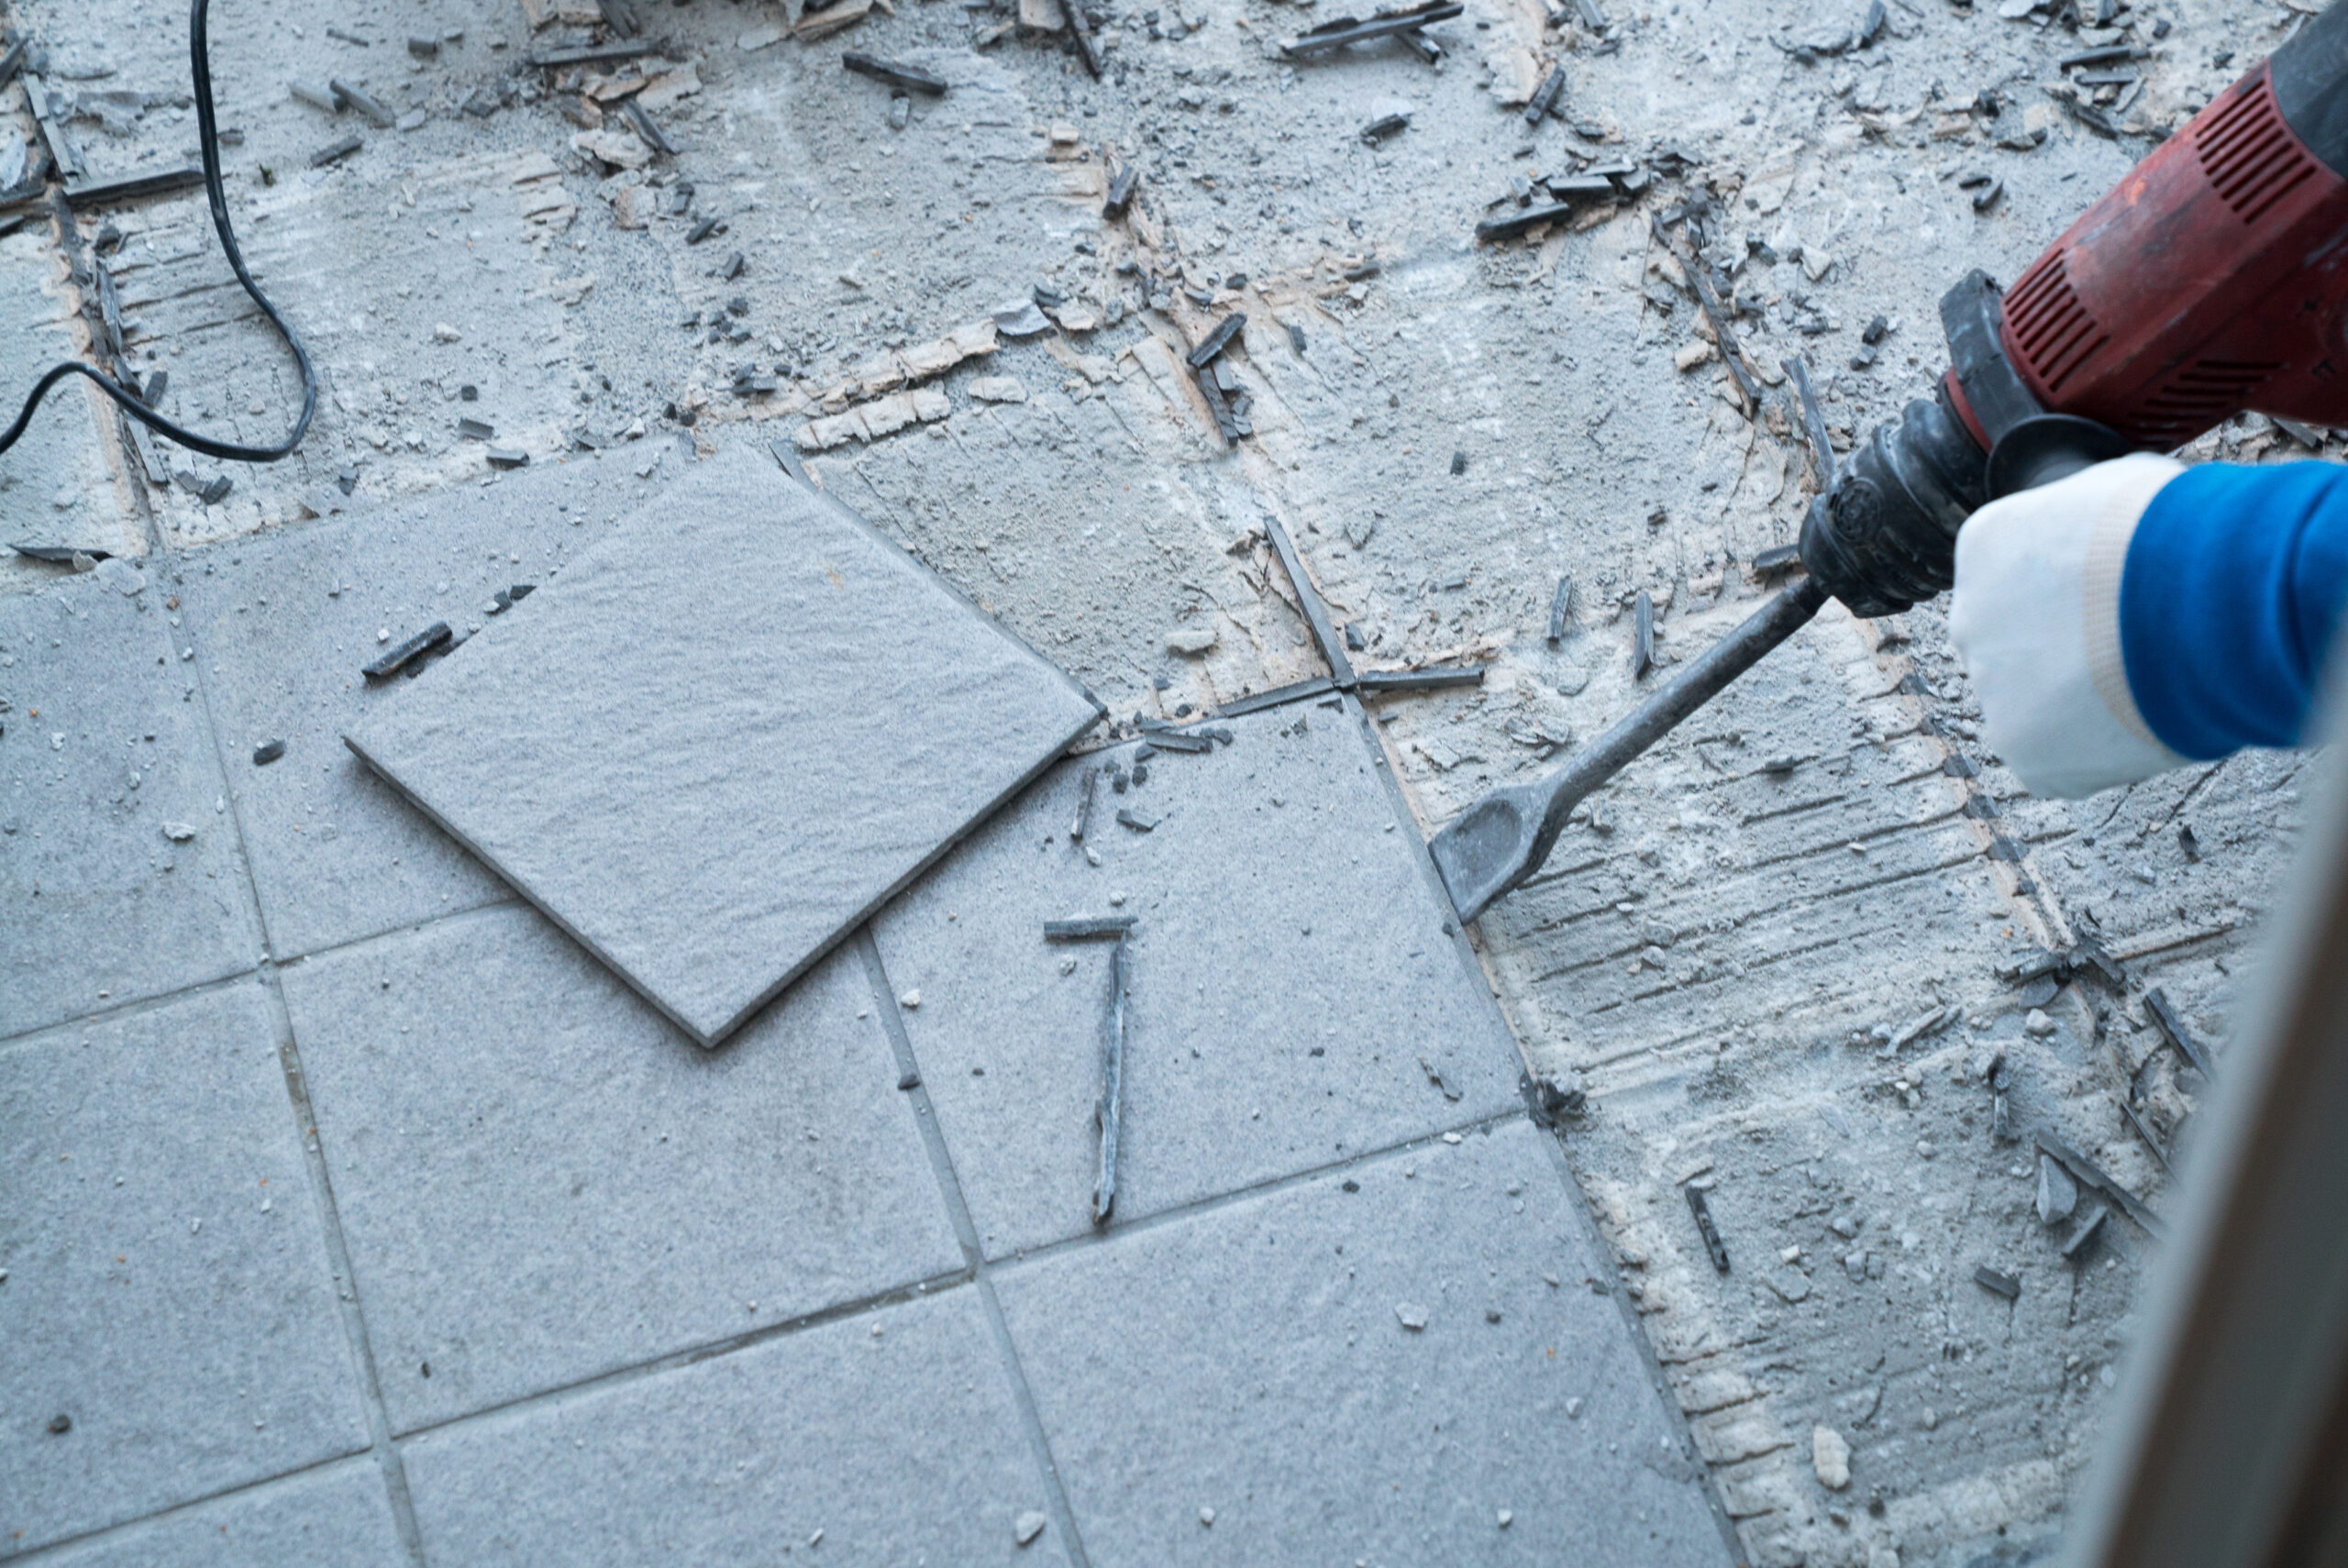
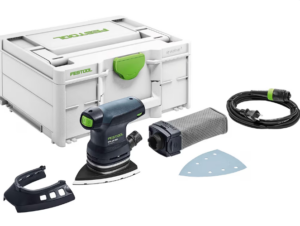
For larger projects, such as removing tile from your walls or floors, power tools can make the job easier. An angle grinderor oscillating tool are popular choices.
The first step in removing any tile is to remove the old grout. There are a few different ways to do this, depending on the tools you have and the size of your project. For smaller jobs like this one, hand tools can be a good option.
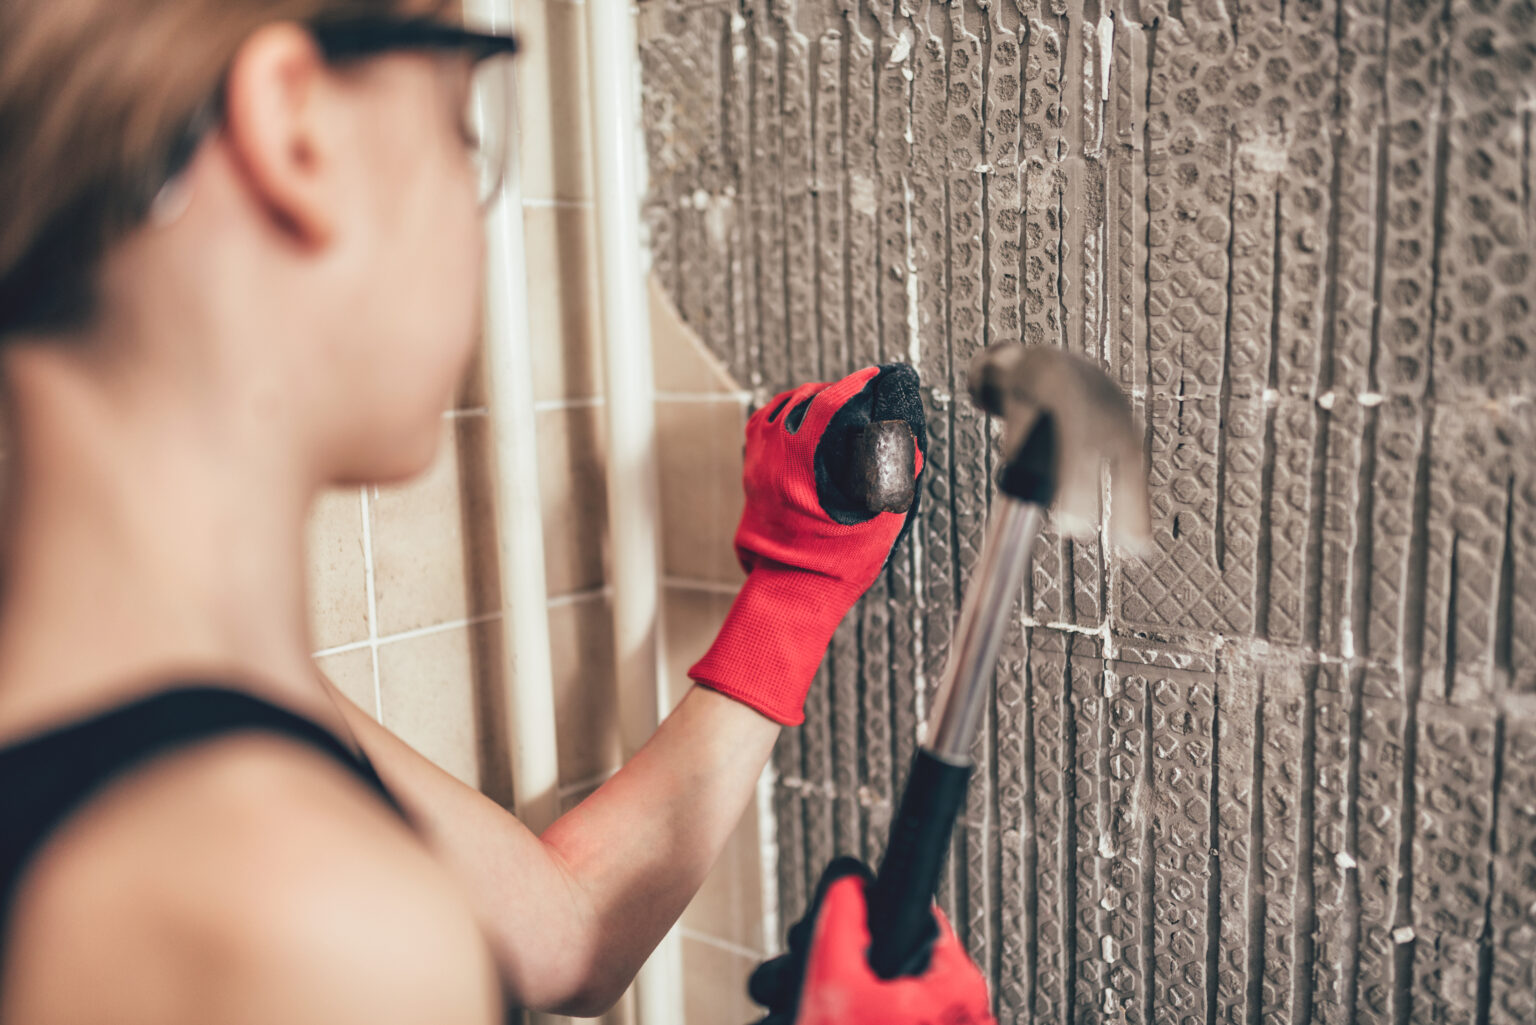
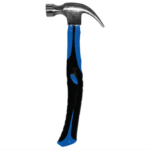
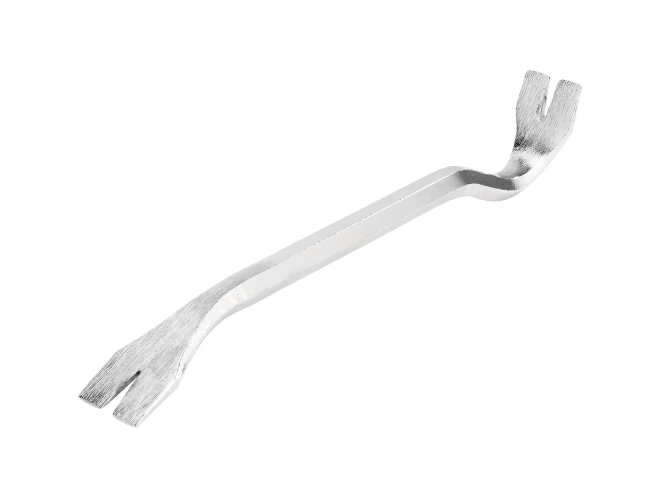
To remove the tile, you can use a hammer and cold chiselto tap it loose.
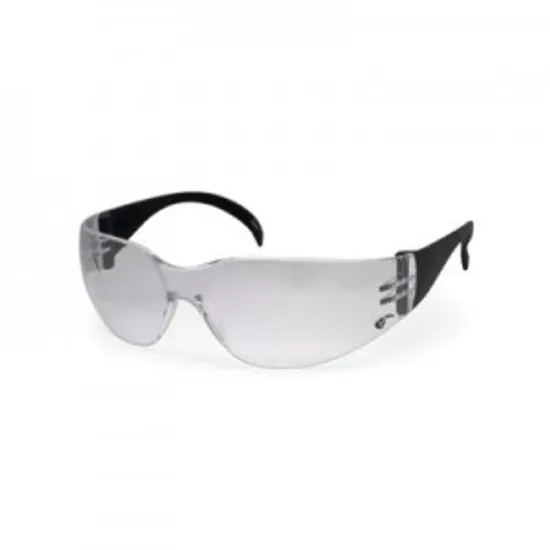
Always wear your safety glasses when removing ceramic tile!
If you’re dealing with large areas of tile, or have lots of grout to remove, the best way to get it done fast is by using power tools. Use a grout saw or rotary tool to cut along the edges of the grout. As you do so, aim to make your cuts as deep as possible without damaging flooring surfaces themselves.
Step 3: Remove the Tile
If you are having trouble removing the tile, try this method:
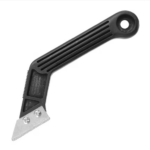
Score the tile by placing a straightedge across one of the diagonals.
Guide a scoring tool along this line and scratch through the thin outer layer until you reach an inner layer that does not crack when made to bend.
Repeat with other diagonal lines, ensuring that each is at least 1/16-inch deep.
After the tiles are all removed, smooth the subfloor with a sander if necessary. If a tile is particularly difficult to break up, you can center punch it and then strike the center of the tile with a cold chisel. Repeat until all the tile pieces have been removed.
Step 4: Remove the Mortar
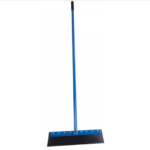
Once your old tile has been removed, clean up the mess and wash down any mortar residue that remains on your walls. To do that, first use a hammer and chisel to break off the loose mortar. Clean up the mortar that you have loosened. Continue tapping firmly attached pieces until there is enough room for a new layer.
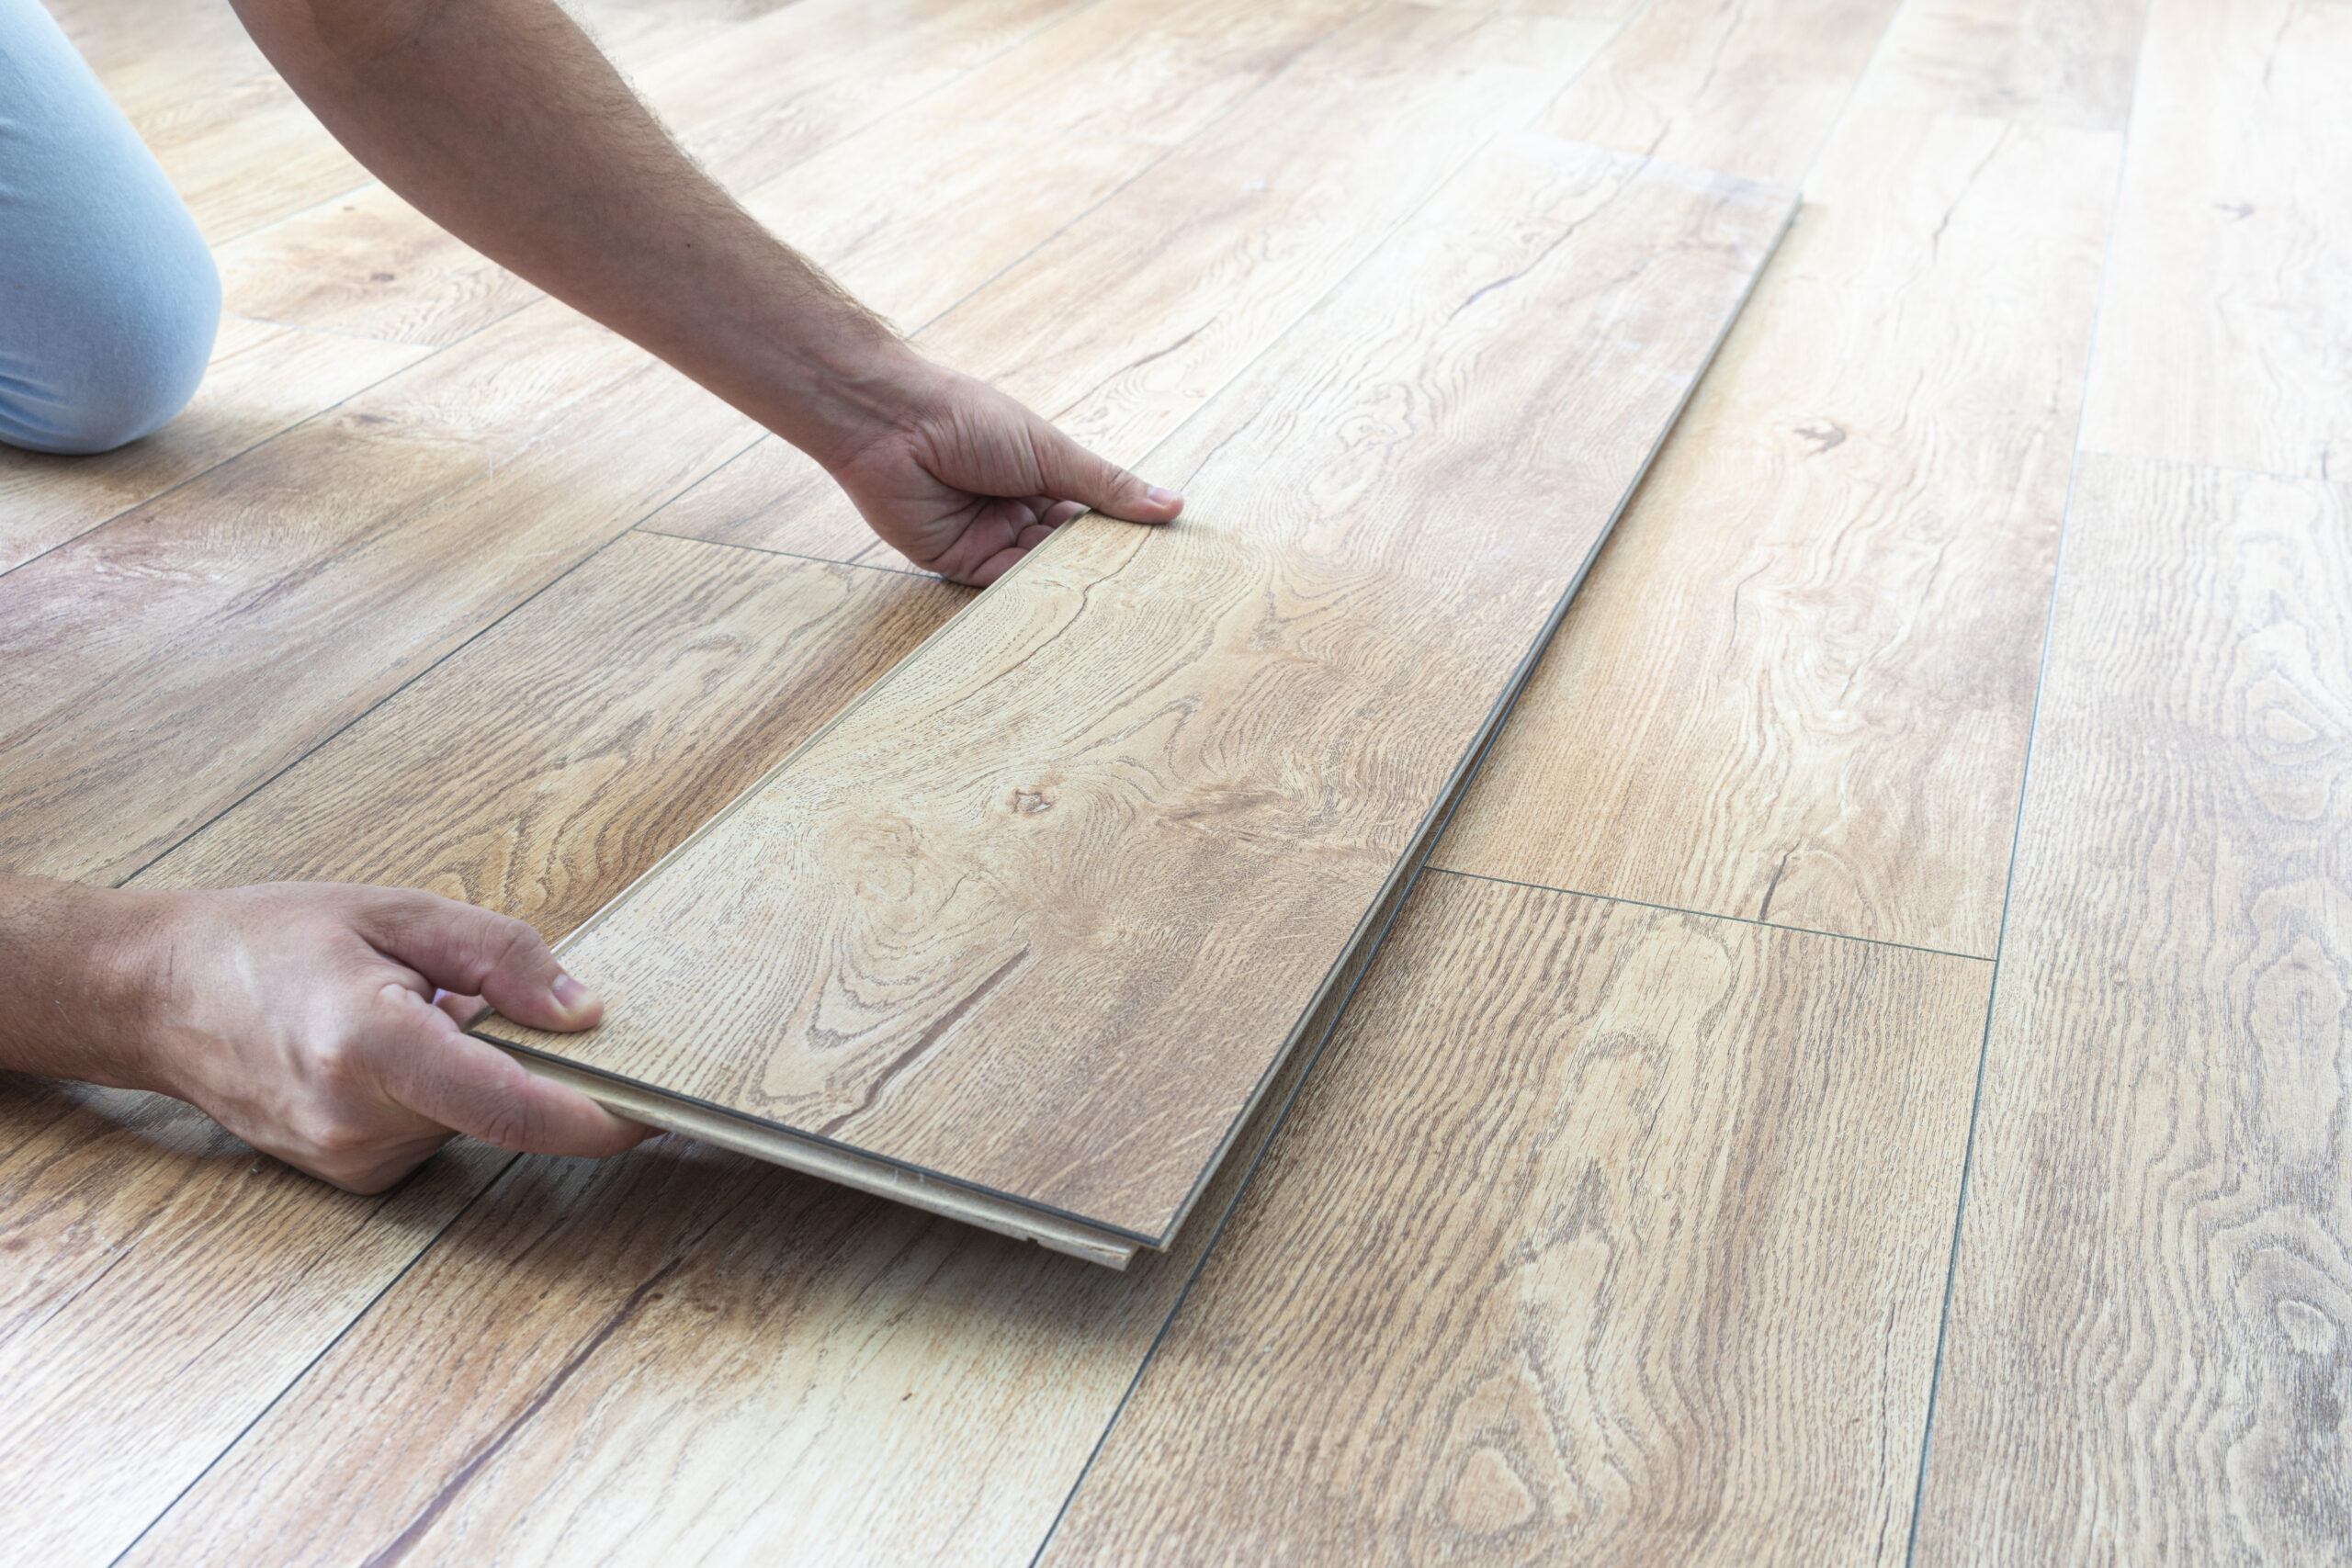
Step 5: Prepare the Subfloor
After you’ve removed the tiles from your floor, evaluate the subfloor for damage. To ensure that your new tile is laid correctly, check the subfloor for uneven or sunken parts and obvious water damage.
If you have bad spots in your floor, here’s how to cut out the subfloor and replace it:
Use a circular saw equipped with a carbide blade to cut the old subfloor into small sections.
Use a pry bar to lift the sections of tile. If the old tiles were laid on underlayment, cut through that material but not the subfloor itself.
Tile Removal Tips
Tile is an excellent choice for flooring or wall covering because it’s easy to clean, durable, hypoallergenic and versatile.
To get an idea of the difficulty level, remove a few tiles before starting on the entire surface. If a few tiles are cracked or broken, consider removing just those rather than the entire floor. If the tile is old and firmly attached to the subfloor, you may want to rent a jackhammer and a chisel in order to remove it. Wear safety glasses while working so that you don’t get hit by flying tiles or mortar chips.
When you know how to remove old tile, updating your look will be easier than you think. Be realistic about the time it will take you to complete a job, so that you are not disappointed by your final results.