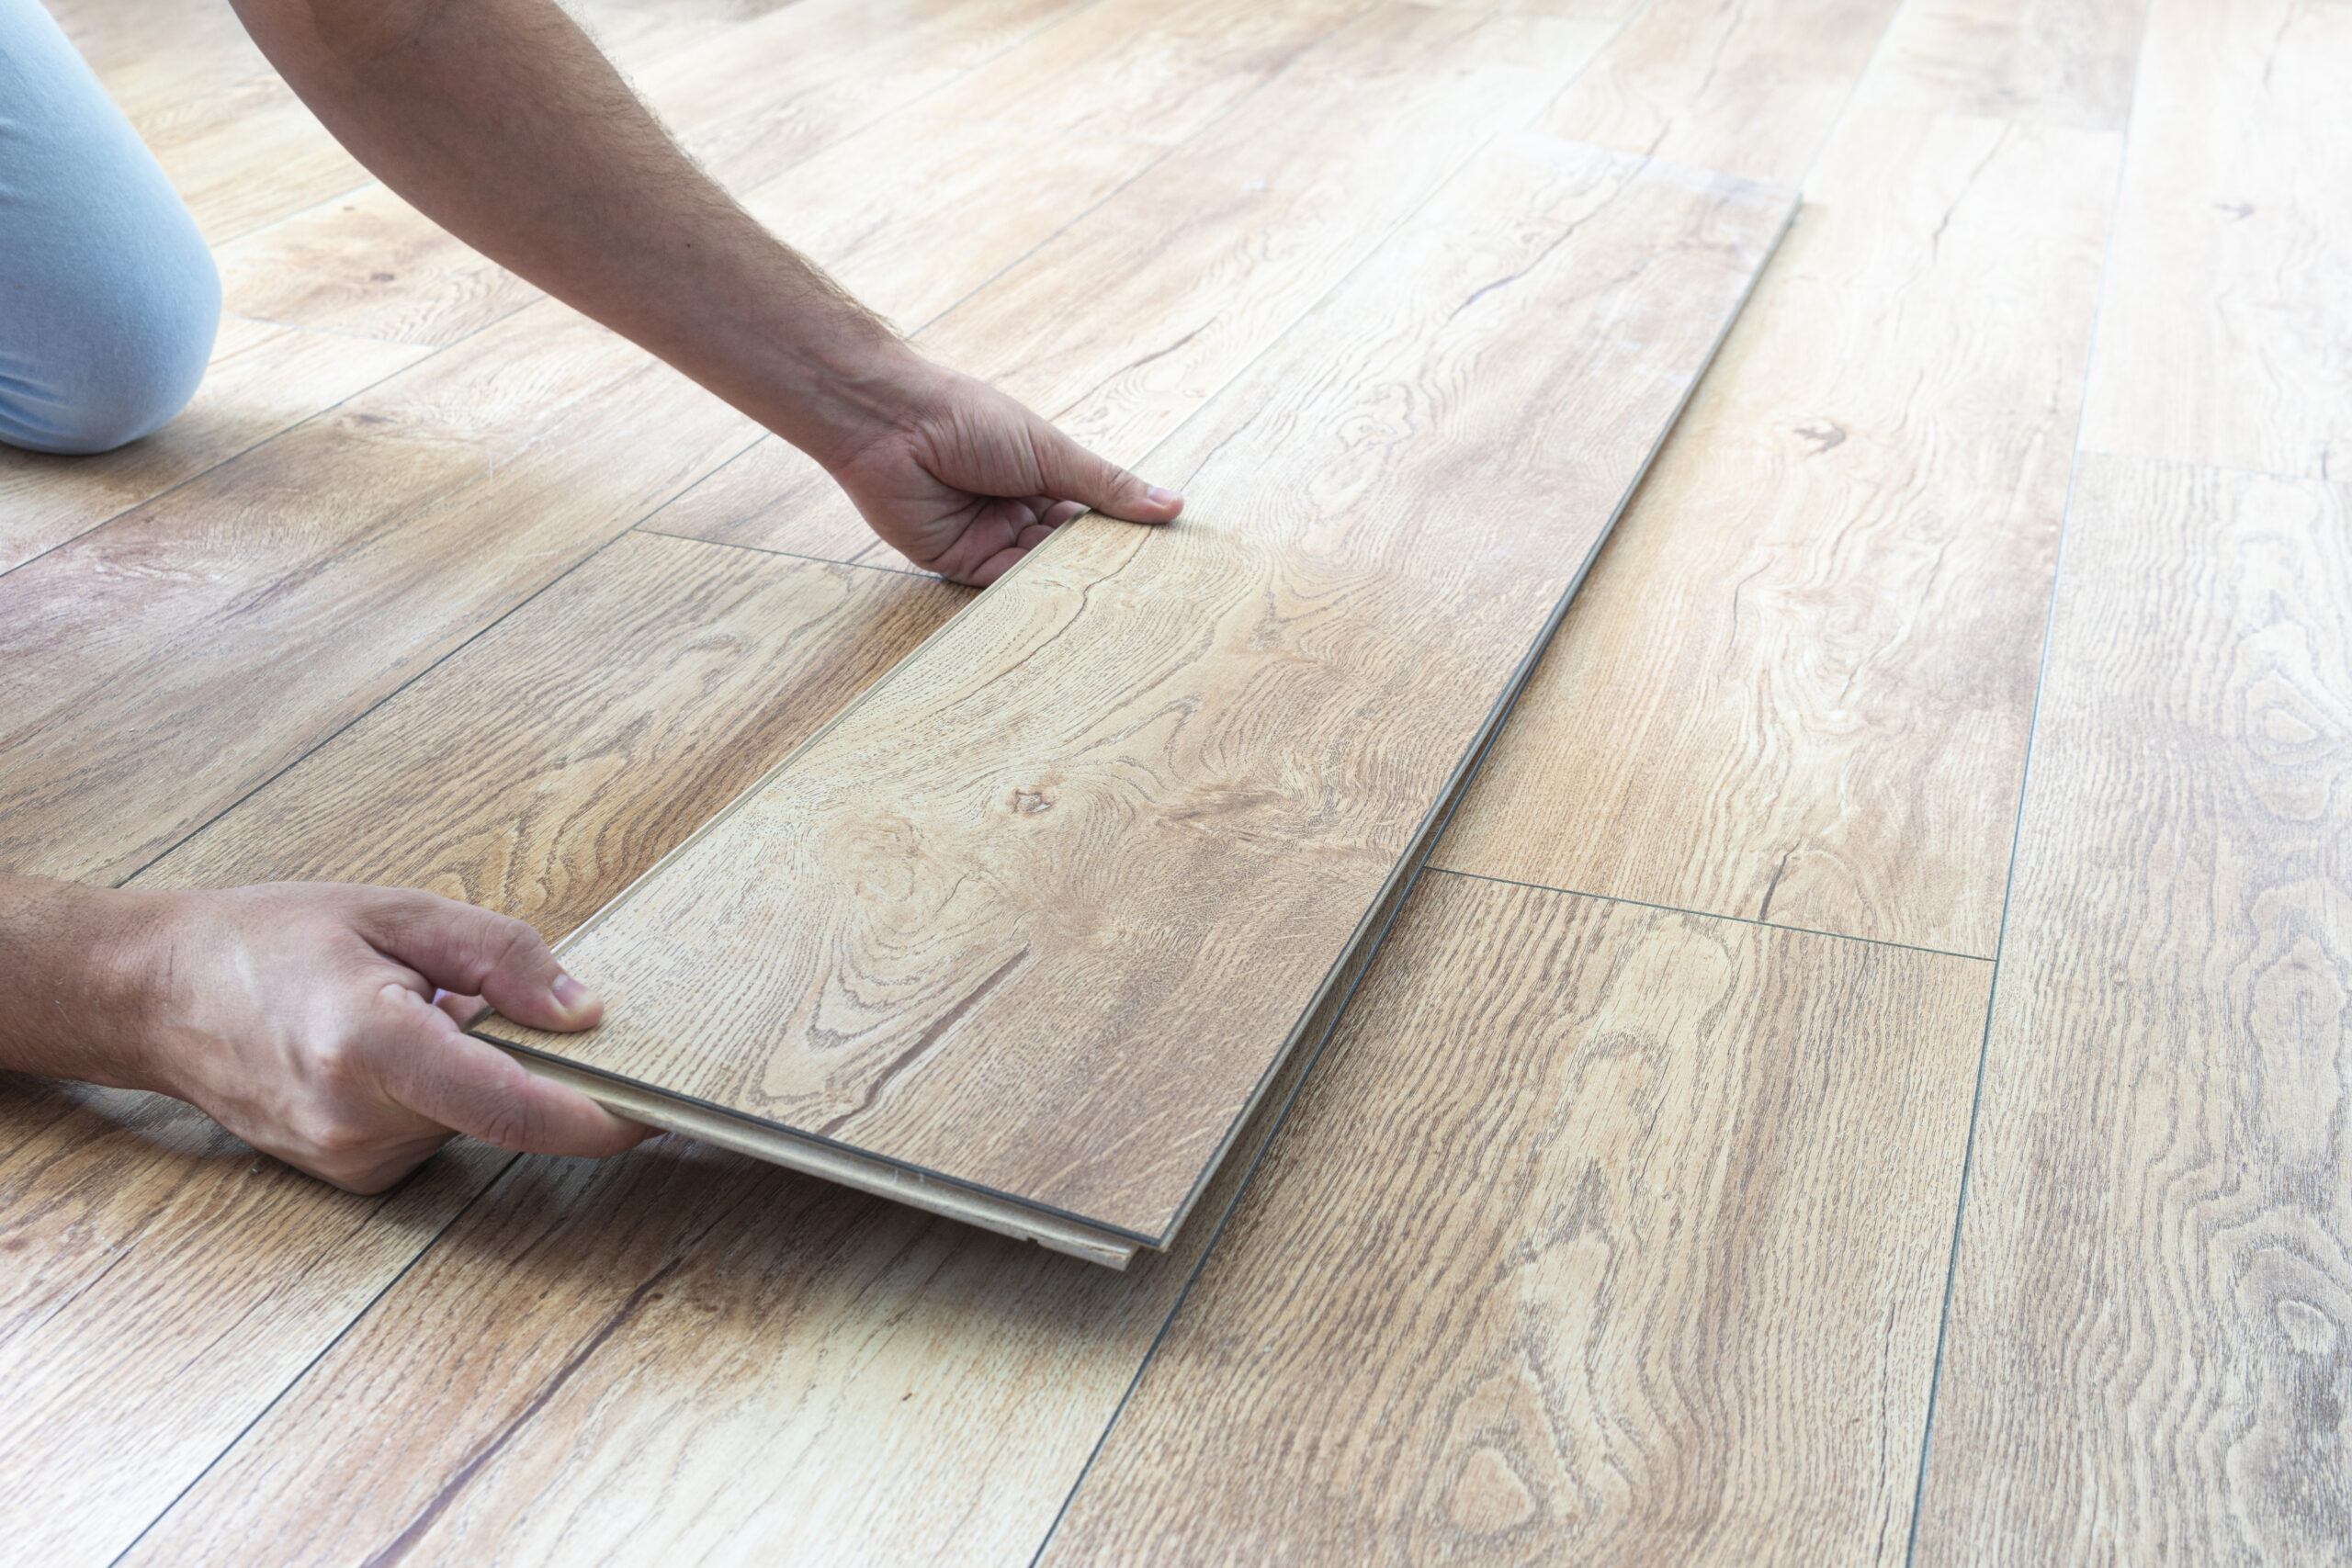
Learning how to lay floor tiles is simple, but there are some preparations you should make beforehand. Tile comes in a variety of styles, colors, and patterns; these tips will guide you through the process:
Do some research so you can make an informed decision about the tiles you will use.
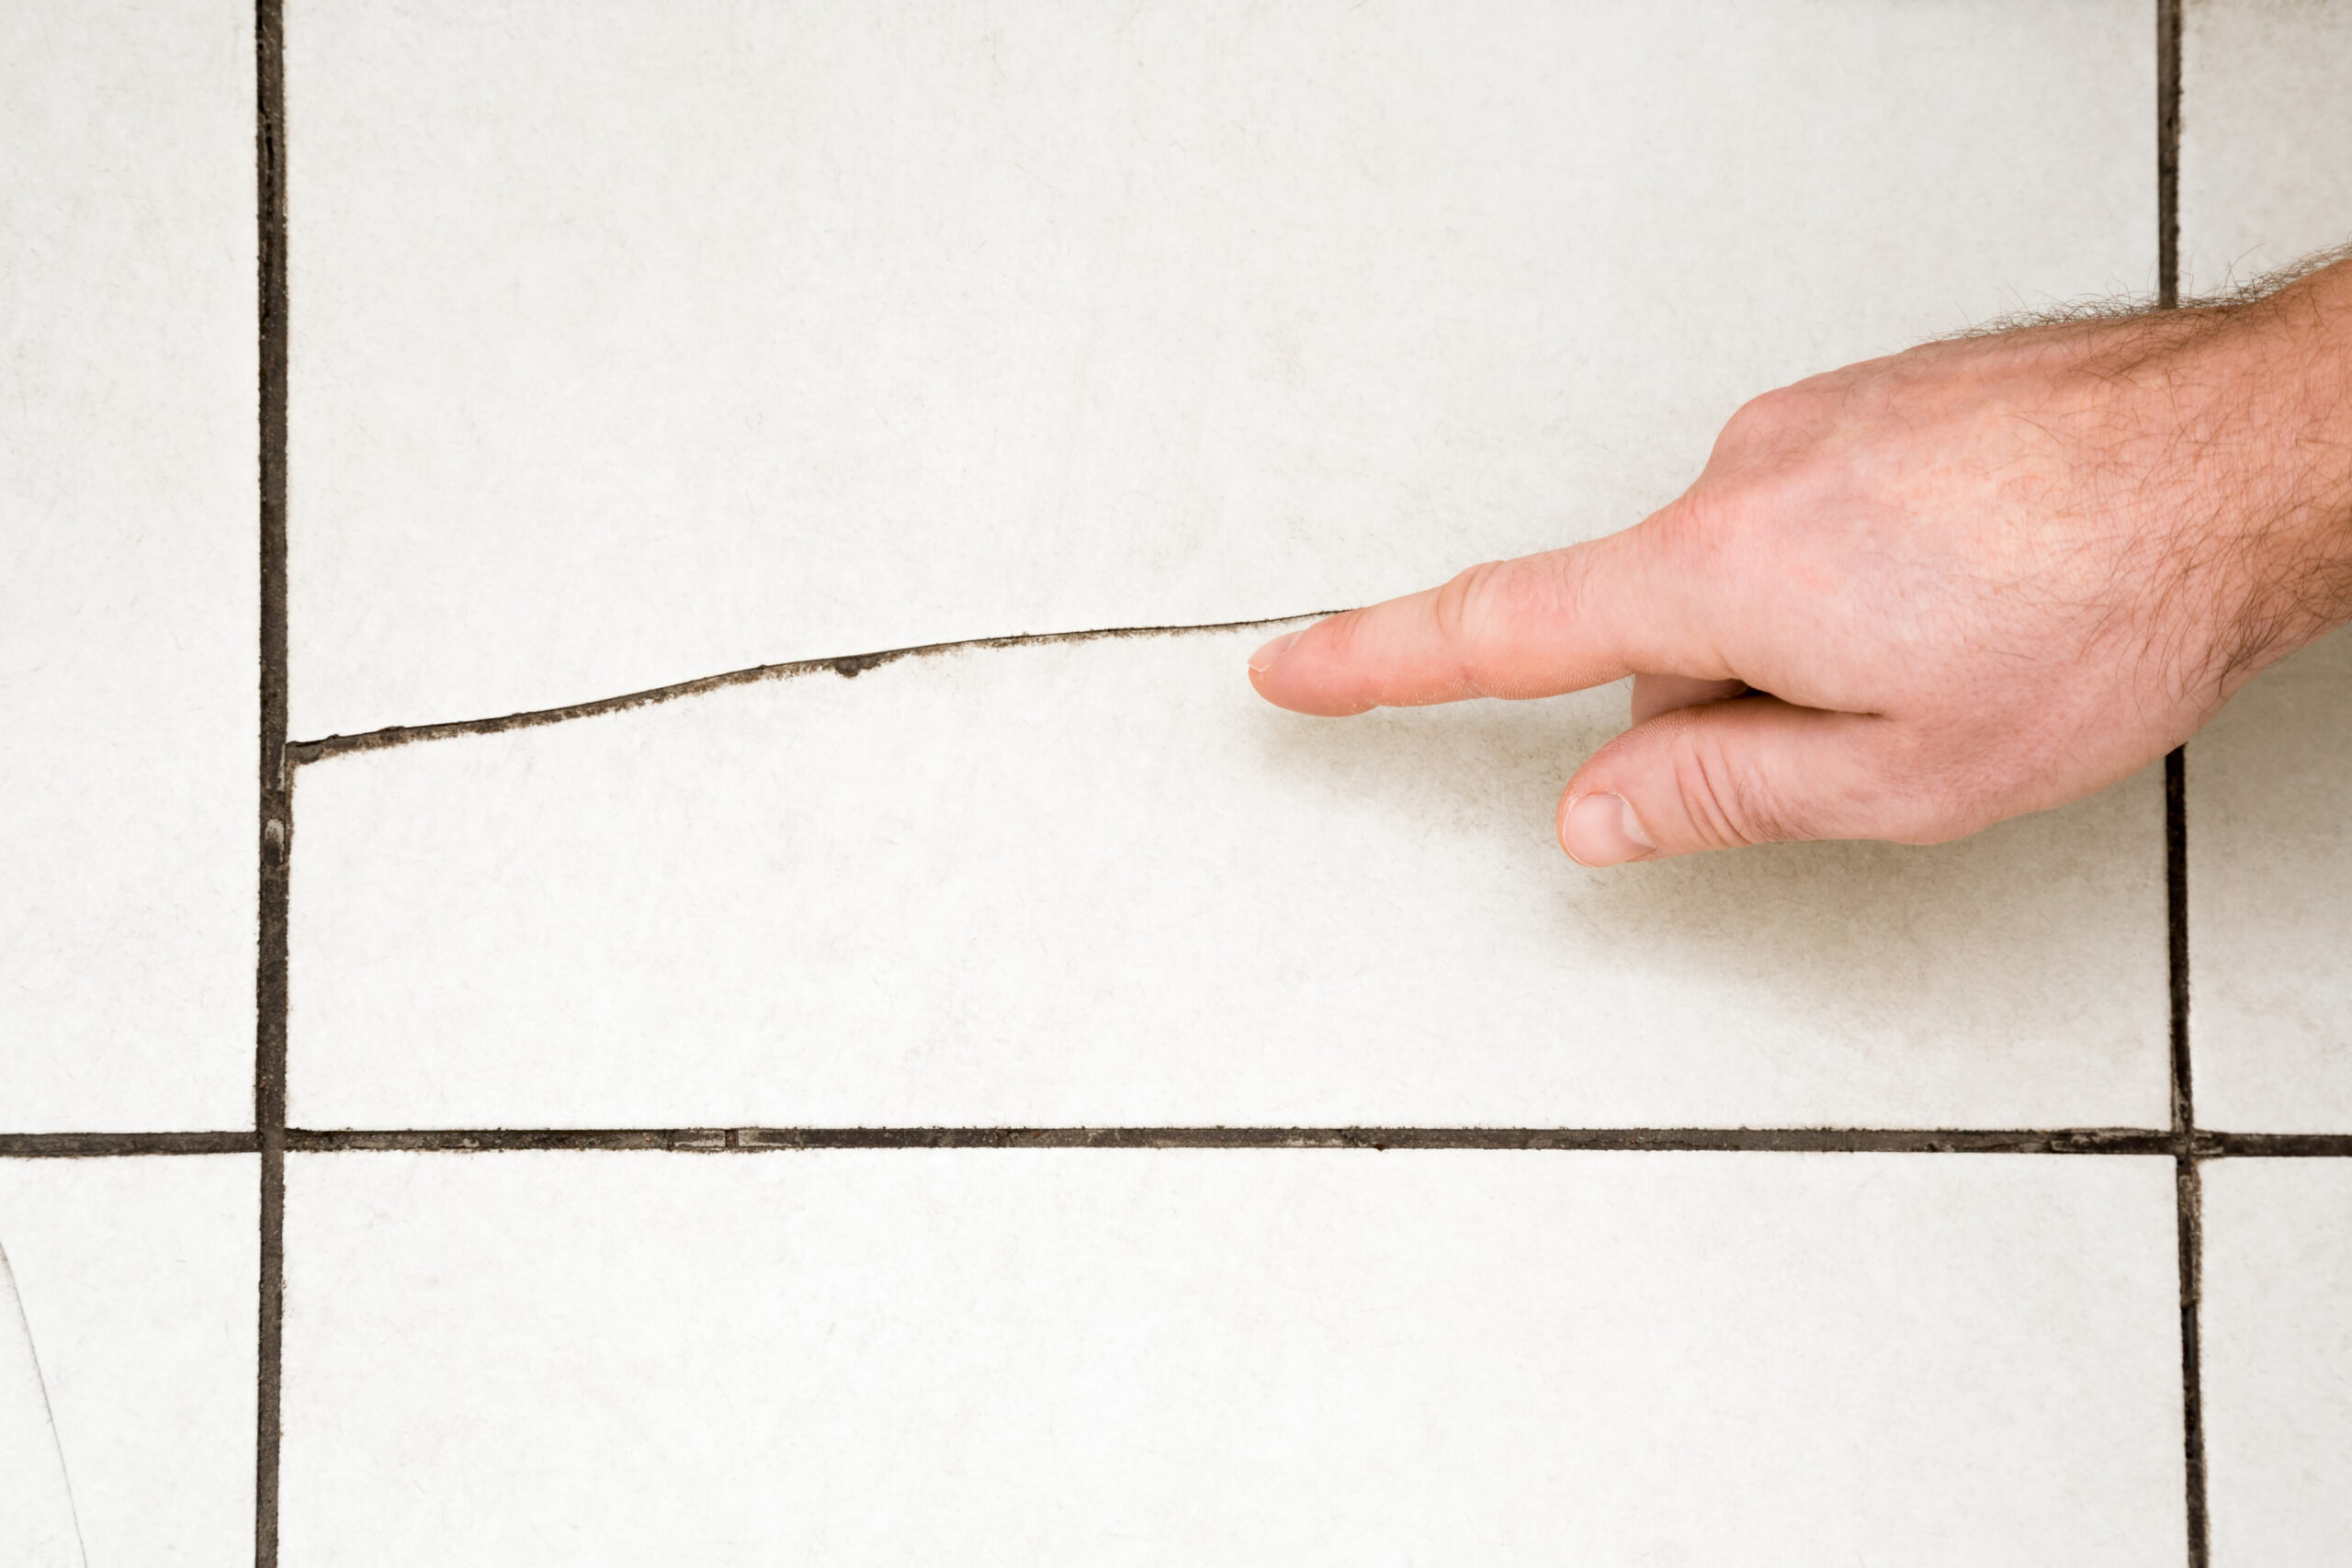
Before installing tile, mortar, and grout on your subfloor, make sure that it can support the weight of these materials once the project is complete. The subfloor should also be clean, dry, and flat.
Make sure your subfloor is level, smooth, and free of bumps or holes that would prevent the tile from lying flat.
Make sure you have enough tiles to cover the area.
Mix tiles from all the boxes so that minor color differences will not be noticeable.
Pro Tip: Before you start tiling your floor, learn the proper way to prepare a subfloor.
Gather Tools & Materials
When installing a tile floor, you will need to have the following items on hand: a tile cutter, rubber mallet, tile spacers; level and thin-set mortar, or another type ofmortar. Due to its cement base, a thin set is an excellent choice for mortar that will support heavy loads. However, some mortars lack the necessary bonding agents and require the use of a latex polymer which improves bond strength with less water by creating a stronger bond. Before you begin the installation, make sure to get the right size trowel and type of mortar recommended by your tile manufacturer.
For cutting tiles, there are several tool options: a manual tile cutter, an electric wet tile saw, and a tile nipper. The manual tile cutter is generally used for smaller jobs while the other two can be used on large projects. For jobs that require cutting many tiles, a wet saw is best. A tile nipper can be helpful for specialty cuts around things like plumbing fixtures, pipes, and round corners.
Pro Tip: If you’re doing a one-time renovation or home improvement project, consider renting a mud mixing drill and a tile saw.
Use a Layout
When laying floor tiles, draw a layout directly onto the subfloor. The lines in your drawing indicate where to start tiling and ensure that all of the tiles are properly centered If you do not make your tile lines perfectly square, your tiles will not fit together properly at the corners.
To draw accurate square lines, first, make a floor plan by drawing the walls of the room on a sheet of grid paper. Include doorways and floor obstructions such as cabinets and fixtures—as well as any tile edging or trim—then add dimensions to ensure everything fits inside your space.
To find the center of a room, measure four walls for their midpoints. Snap two chalk lines from those points so that they intersect at your desired location.
To check if lines are square, place one line 3 feet long and another 4 feet long at right angles to each other. Measure the diagonal between them; this should be exactly 5 feet.
If the lines are not at right angles to each other, your tiles might be crooked. If the room is not rectangular—which is common—you will need to adjust one line and then find a way of making another line parallel by using either the 3-4-5 method mentioned above.
Pro Tip: To scale a floor plan, make a grid and mark each square inch with the corresponding dimensions of your space—for example, 1 inch = 1 foot.
Test the Layout
Try laying out the tile pieces to see how they fit together.
Lay a single row of floor tiles, starting at the center point and working outward. Some tiles have directional arrows on their backs—make sure these always point in the same direction as other rows to ensure pattern alignment.
Stop when there is not enough room for a full tile. If the space at either end of either row is smaller than half of a tile, adjust your chalk lines so that both ends can accommodate at least one-third of it.
Prepare the Thin-set Mortar
Thin-set mortar is a common bonding agent used on ceramic tile floors. It consists of cement and sand, which need to be mixed with water if bought dry. It’s best to mix thin-set mortar in a large bucket with the help of a drill fitted with a mixing paddle, following package directions. Keep in mind:
If a mortar is used immediately after mixing, it will not harden properly. To activate the chemicals in the mortar and ensure proper hardening, you must let it stand for five to 10 minutes—this is known as “slake time.”
When you are applying thin-set, work in manageable batches; if you mix too much at once, the material will begin to harden before you have used all of it.
Clean the paddle promptly after each use, so that no mortar hardens on it.
A porcelain tile must be installed using a thin-set mortar to achieve the right bond between the tile and substrate.
When laying the tile on the backer board, wet the backer board using a spray bottle filled with water before spreading thin set. Spray the backer as you work—otherwise, it will soak up water from the mortar and cause it to dry too rapidly. The quality of your subfloor will affect how well the tile adheres to it.
Pro Tip: Do not add water to the thin set once it has begun to harden. Doing so weakens the mortar and negatively affects the bond between the tile and the substrate
Use a Tile Trowel
Tile trowels, like other types of trowels, have smooth edges and notched ones called teeth. The size and number of the teeth will depend on the type or shape of tiles you are using. The size of the notch determines how much thin-set material will be left on the floor under a tile. Typically, larger tiles require deeper notches and smaller ones only need shallow ones to hold them securely in place.
Use your trowel to scoop out enough mortar from the mixing bucket so that you have a generous amount.
When applying mortar, spread it in thin layers using the flat side of a trowel. Press down each layer at roughly a 45-degree angle to ensure complete adhesion between the floor and the backer board or subfloor.
Pro Tip: When choosing a trowel, follow the manufacturer’s recommendations.
Test the Mortar & Lay the First Tiles
To ensure that the consistency of a mortar is appropriate, always do a test before beginning tile floor installation.
Start by spreading the thin set onto a small test area at the center of your layout.
Place a test tile on the thin set bed and gently slide it back and forth 1/4-inch over the ridges.
Check the back of each tile to make sure it is completely covered with a thin set.
If there are bare spots on your test tile, it means that you didn’t mix the mortar properly, spread it out evenly or wait long enough before setting your first tile. If the tile doesn’t lie flat, it may mean that you didn’t press firmly enough when setting the tile.
Once you’ve confirmed that your mortar is the right consistency, re-lay your first tile. Make sure it lines up with the chalk lines at the center and is fully pressed back into place.
Place a spacer on each end of the side where you will be adding a tile. Always position your spacers so they stick up and out, rather than laying them flat in corners where four tiles meet. If you do this, they become embedded in the mortar and can be hard to remove.
Align the edges and corners of your second tile, hinge it down, and twist slightly if needed for a perfect fit.
Apply Mortar in Sections
If you are tiling a floor for the first time, it may be wise to apply mortar only as needed—for just one or two tiles at first.
Using the grooved side of your trowel, push it into the thin set at a 45-degree angle.
It is important to comb the thin-set mortar in one direction, rather than swirling or circular patterns. The flat surface that results will ensure proper coverage and compression when tiles are placed on it.
Use a small, thin trowel to apply the thin set around the edges of your tiles as you go. Do not allow any of it to skim over or start drying; if that happens, remove it and replace it with fresh material.
As you lay each tile, make sure that it is free of dirt or dust. Wipe the tiles clean if necessary so the mortar will stick to them more effectively.
When you are done, wipe off any excess mortar with a damp sponge. If it dries on the tiles, it is very difficult to remove.
Pro Tip: Keeping the layout lines visible as you work helps to ensure that all of your tiles will be laid in a straight line.
Level Tiles
After installing three or four tiles, check to see if they are level.
Place a 2 x 4 on top and tap lightly with the end of your rubber mallet. This will level the tiles and ensure they are firmly embedded in their new mortar bed.
While the mortar sets, continue to set tiles.
Check the alignment of your tiles by stepping back every so often and looking down the edges of each tile to make sure they’re straight. This should be done often—before the mortar starts to dry out.
If you find a misalignment while the mortar is still wet, try correcting it before continuing.
Finish Laying Full Tiles
Lay the full tiles in your first four quadrants and let the mortar dry. Then cut tiles to fill any spaces left between these rows of full tile courses and the wall, finishing with a layer of floor cement on top.
Most mortars must dry for at least 24 hours before you can walk on them. If a project requires breaks, scrape off any excess mortar that has dripped onto other areas of the floor so it doesn’t end up stuck under your tiles. If you allow the grout to dry before polishing, it will be difficult for new tiles to adhere properly.
Pro Tip: Install floor tiles so that you have a way around them before the thin set completely dries in 24 hours.
Measure & Cut Tiles
Measure and cut the tiles to fit in place along the wall.
Allow an expansion gap between the tiles and the wall as recommended by the tile manufacturer. This will allow the floor and grout to expand without causing cracks. It also accounts for space needed for the tile installation.
Install small groups of tiles at a time, leaving them in place to check their size and color.
Measure twice before you cut.
Install tiles in small groups to avoid mixing too much mortar, which can dry out before you have a chance to apply it.
To cut a curve, mark the line you want to cut. Then use tile nippers or tin snips to remove bits of tile along that line. Smooth out rough edges by rubbing them with an abrasive stone.
When laying natural stone or porcelain floor tile, always cut with a wet saw to prevent the tiles from breaking.
When cuts are not clean, change the blade on your tile saw.
Apply the Grout & Clean the Excess on Tiles
If you’re interested in learning how to grout tiles, we highly recommend checking out our blog. It provides a comprehensive guide on the proper techniques and tips for grouting tiles: How to Grout Tile
Seal the Grout
Sealing your grout is essential to keeping it clean and looking like new. Unsealed, grout lines attract dirt, stains, and mold over time—but once sealed with the right product, this won’t happen anymore!
Before applying the grout, use a liquid sealer that is designed to be brushed onto marble slabs during the curing process. You can also apply stain-resistant additives added to the grout mixture before it dries
You should wipe up any excess sealer within 10 minutes of applying it, especially if you are using glazed tile.
Follow the manufacturer’s instructions on when to apply your sealer; most recommend waiting three days after grouting before sealing.
Pro Tip: Grout sealers typically last for one to two years before needing reapplication. If water seems to soak into your existing grout when you drop it, that’s a good sign that the sealer has worn off and needs renewing.
Install Thresholds & Baseboards
Once you have finished your project, remove the tape from any protected surfaces.
To cover the gap left along walls, install either bullnose tile trim or wood quarter-round molding.
Add any desired thresholds between your tiled floor and adjoining floors.
In Summary
Now that you have learned how to tile a floor, creating your beautiful room is as simple as picking the right tiles and gathering your tools. Be sure to account for all materials used when calculating how much material you will need for this DIY project. Make sure you get the right amount of tile for your room. If you’d rather leave it to the experts, you can get help at :https://thefloorbox.ca