
You've seen it in photos. The bathroom floor runs straight into the shower, with no step at the entrance. Many people call it an Italian shower. It's also called a curbless shower or a walk-in shower.
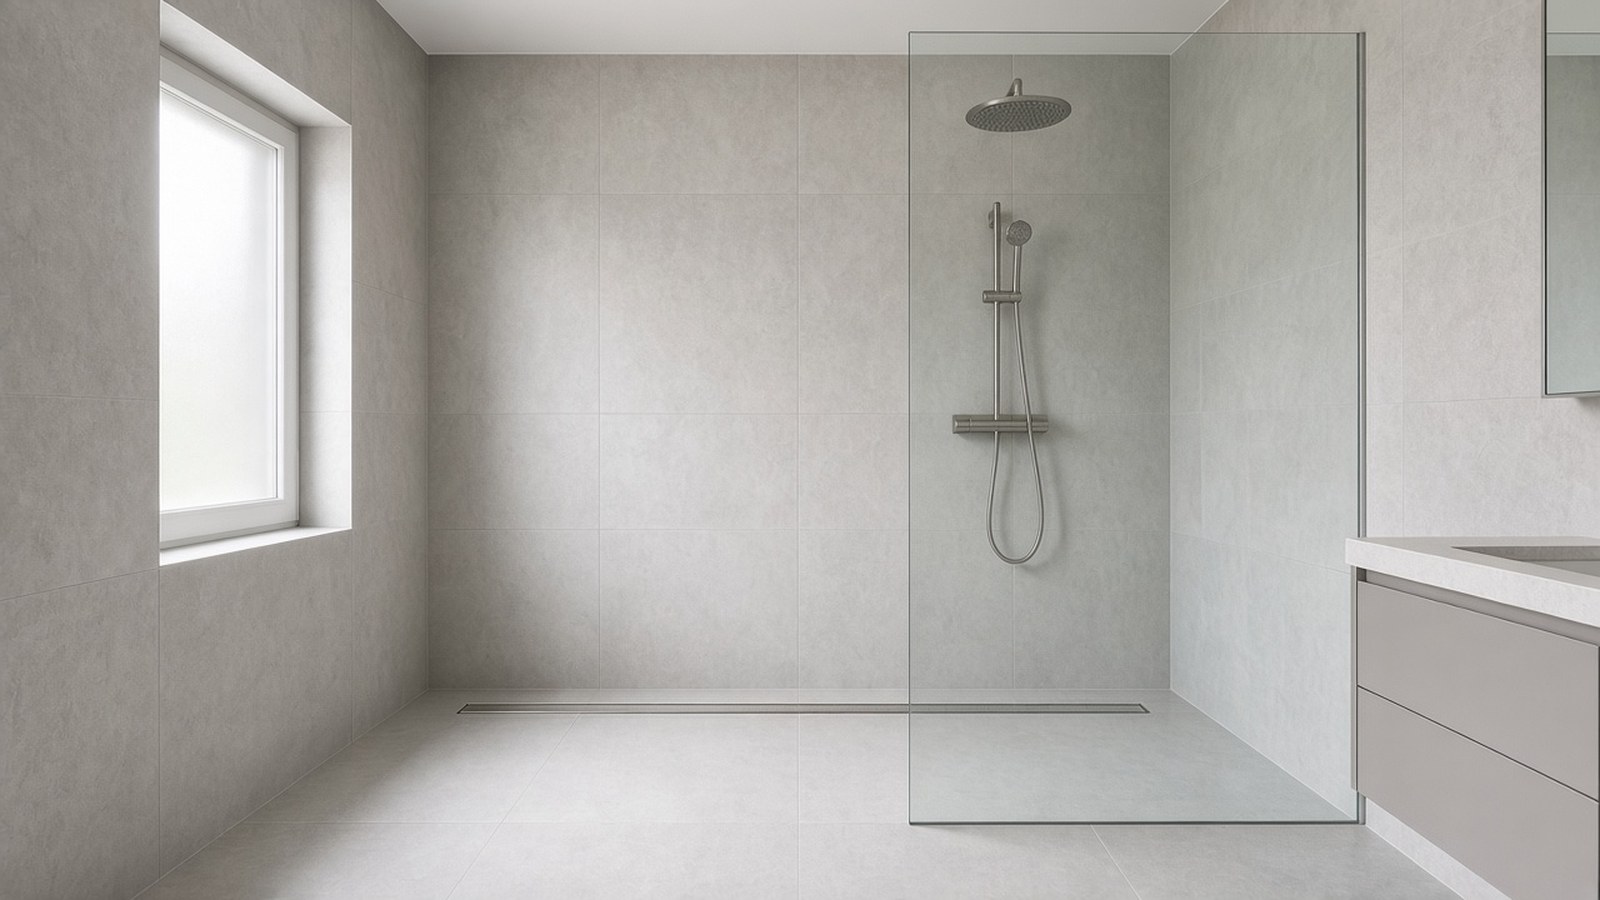
It looks simple. But there is no curb to hold the water back, so the shower floor has to do all the work. This guide explains the parts you choose, the questions to settle before you buy, and where FloorBox products fit.
An Italian shower is a walk-in shower with no curb. A curb is the low step that keeps water inside a regular shower. In a curbless shower, the shower floor sits at the same level as the rest of the bathroom floor.
Without a curb, two things keep the water in the shower: the slope of the shower floor, and the drain. Schluter's curbless shower brochure (you can download it from the Schluter KERDI-SHOWER-R shower ramp page) adds an important point. With no curb, the wet area and the dry area are not clearly separated. So the whole bathroom floor needs protection against water, not just the shower.
You choose four things:
Still deciding between a curb and no curb? Shower Base or Shower Pan explains the basic choices.
The Prova Pan-Multi sloped shower pan, 60" x 60" is made for this job. Its page says:
What that means for you: you buy one pan and cut it to fit your space. Plan to buy the drain separately. The data sheet on the same page says the foam pan must be combined with the pan liner to be waterproof. The foam alone is not the waterproof layer.
The data sheet also lists what the pan can go on. The subfloor is the layer of wood or concrete under your finished floor. Joists are the wooden beams that hold up the floor. The pan can go on:
This is the big question for any curbless shower. The user guide on the Prova page says the edge of the pan must be level with the floor around it. The guide gives two ways to get there:
Schluter's curbless brochure adds a third way: a shower tray with a ramp at the entrance. The Schluter KERDI-SHOWER-R shower ramp is a 12" x 48" ramp. Its page describes it as a "lightweight, prefabricated shower ramp with integrated waterproofing for creating accessible, curbless showers." The page says it is designed to work with the Schluter shower system. It also says the ramp gives wheelchair access and meets the ADA slope ratio. The ADA is the U.S. accessibility standard.
Two cautions:
Whichever way you choose, follow the instructions of the system you pick, from start to finish.
Centre drain. The Prova Pan-Multi sloped shower pan, 60" x 60" has its drain in the centre. Its user guide gives the exact height for the drain pipe, below the surface the pan sits on. Show that page to your plumber before the floor is closed up.
Linear drain. This is a long, narrow drain along one edge of the shower. The Prova Linear Drain Kit, Tile-In-Top, 36" is one example. Its page says:
You can compare other options in Linear Drains & Grates and Shower Bases, Pans & Kits.
The Prova user guide covers three areas:
Remember the brochure's point: in a curbless bathroom, protect the whole floor, not only the shower. Tiling the bathroom floor too? What Is an Uncoupling Membrane? explains what goes under floor tile. You can also compare products in Shower Waterproofing Membranes.
The FAQ sheet on the Prova Pan-Multi sloped shower pan, 60" x 60" page answers three common questions:
When the tile is done, the user guide suggests a soft joint around the edge of the pan, where it meets the floor. A soft joint is a flexible sealant in the same colour as your grout, used instead of grout.
Answer these questions before you buy:
Not sure which setup fits your floor? Contact us and we'll help you sort it out.
How do I choose between raising the bathroom floor and recessing the shower?
Recessing keeps the bathroom floor at its current height. But you have to cut the subfloor, and the Prova guide says never to cut the joists. Raising the floor avoids cutting, but you add material to the whole room. Schluter's brochure says recessing may need an architect or engineer.
Can I use a curbless shower pan for a shower with a curb?
Some pans work both ways. The Prova Pan-Multi sloped shower pan, 60" x 60" page calls it "a one pan solution for curbed or curbless shower installations."
Do I need a linear drain for an Italian shower?
No. A centre drain works too. The Prova Pan-Multi sloped shower pan, 60" x 60" uses a centre drain. A linear drain is a design choice. It has to match the pan system it was made for.
What size of tile can I put on a curbless shower pan?
It depends on the pan. For the Prova Pan-Multi sloped shower pan, 60" x 60", its FAQ sheet says at least 2" x 2".
Can I put a heated floor in a curbless shower?
The FAQ sheet for the Prova Pan-Multi sloped shower pan, 60" x 60" says heated floor cables can go on that pan.